New In
Glues & Liquids
Lashes
LASH LIFT
Dolla Nails Pro
Online Training
Save up to 57% off
London Lash’s Christmas Lash Mapping Guide!
December 17, 2023 5 min read

Get Festive with FREE Lash Maps | London Lash’s Holiday Lash Mapping Guide
Merry Christmas, London Lash Techs! It’s that time of year again when the air is filled with the scent of mulled wine, the sound of jingle bells, and the sight of twinkling lights - and what better way to spread the holiday cheer than by adding a festive twist to your lash extensions? Welcome to London Lash’s Christmas Lash Mapping Guide, where we’re dishing out the merriest and brightest of lash maps that will make your clients' eyes sparkle!

Christmas Tree Lashes: Go Green and Glittery!
Imagine capturing the essence of a Christmas tree right on your clients' lashes. That's what our Christmas Tree Lashes are all about! Using the Squirrel lash map as a base, we have incorporated green-colored wispy fans of varying lengths. But wait, there's more – we’ve also added a touch of magic with glitter-tipped volume lash fans, also in mixed lengths. This style is perfect for clients who love a touch of whimsy and are ready to embrace the festive spirit head-on! If you are new to Squirrel lashes, then you can check out this post for a more in-depth guide.
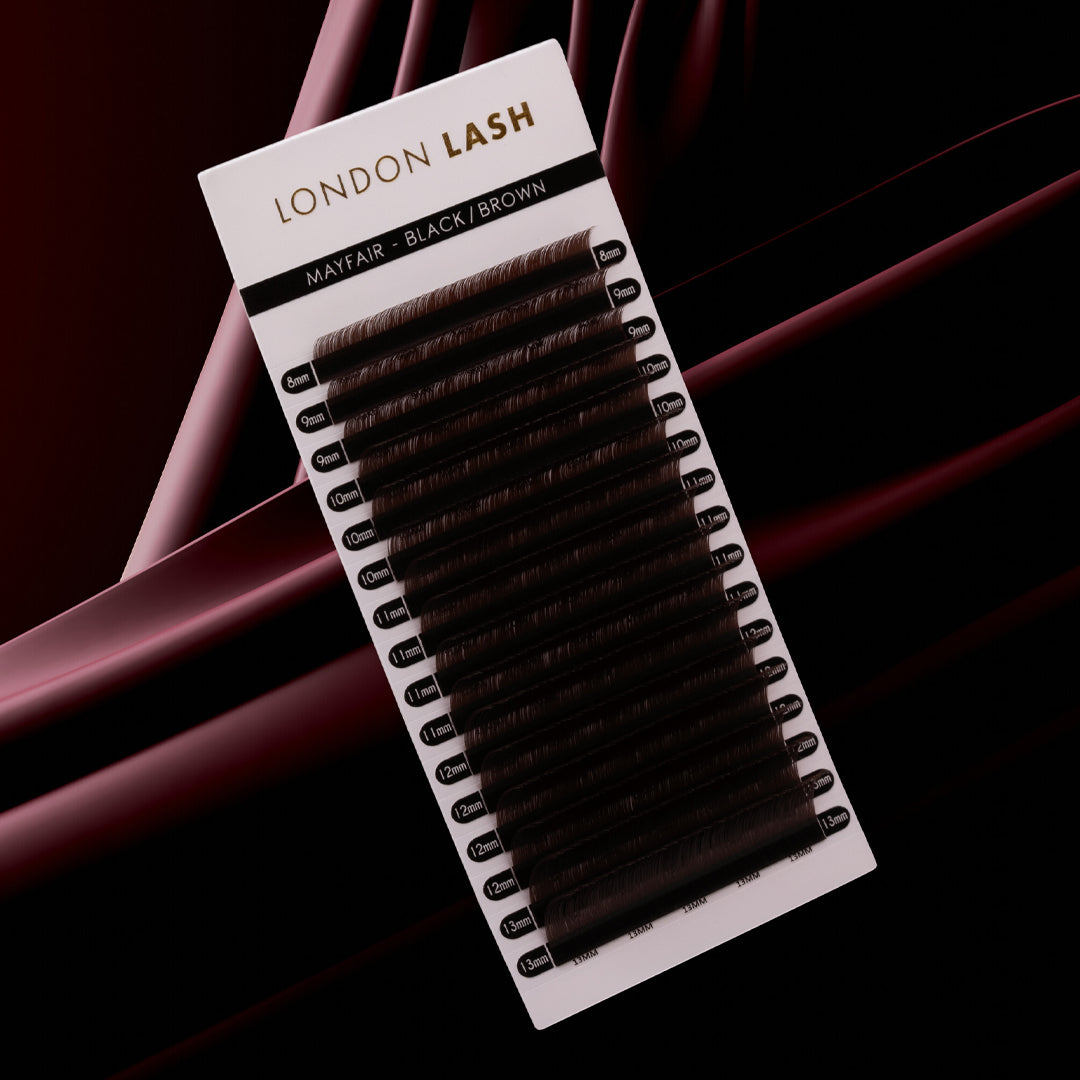
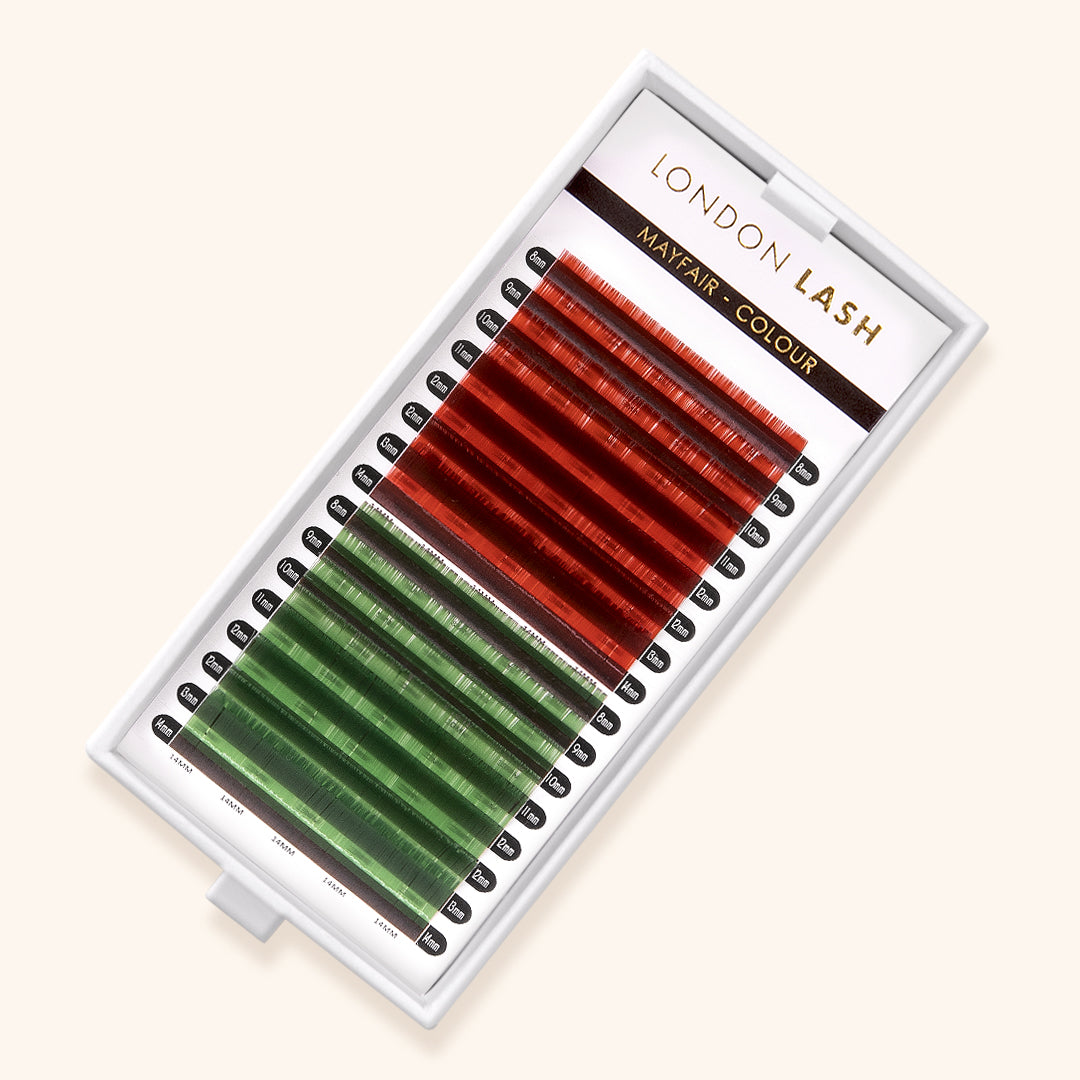
Begin by using your Lash Mapping Pen to draw a map for the lashes on your client's eye patches. Then, using Dark Green Mayfair eyelash extensions with lengths ranging from 6 - 12mm, start lashing! Starting from the inner corners of the eyes, build up from your shortest lashes to the longest ones, and then move towards the middle. When you reach the last third of your client's lash line, start gradually dropping down 1mm at a time until you reach the outer corners. For that extra sparkle, you can create Glitter volume lashes by adding gold, green, or silver glitter to the tips of your fans. If you really want to take these lashes to the next level, you can attach the glitter fans to the middle layer of the lash set to resemble a Christmas tree decorated with sparkling baubles and lights.

Candy Cane Lashes: Sweet Stripes
Who doesn’t love the classic red and white swirls of a candy cane? Our Candy Cane Lashes, based on the popular Manga lashes lash map, bring this iconic holiday treat to life. To create this sweet masterpiece, you’ll need to be working with the natural lashes in layers, using Micropore Lash Tape to separate them. To start with, use white-colored lash extensions to create wispy Volume lash fans ranging from 6-10mm for the bottom layer. Then, add bright red-colored closed fans to the middle layer, ranging from 8-12mm in length.
Finish off with a top layer of long red spikes and closed fans that you can create using Primer, a Micro Swab, and of course, red lashes. These will be the longest lash extensions that you’ll need to use, ranging from 10-14mm in length. So, to make your spikes, simply apply Primer to a Micro Swab, brush it along the strip of lash extensions you’ll be using, and voila! When applying your spikes, preferably using a clear lash glue, make sure to distribute them across the lash line to ensure an even look. This lash style is a sweet choice for those who want to add a playful yet stylish twist to their holiday look.

Rudolph Lashes: Sleigh with Style
Inspired by everyone’s favorite reindeer, these Rudolph-inspired lashes use a Kim K lash map to create a look that’s as unique as Rudolph’s red nose. If you’ve never tackled a Kim K lash set before, feel free to check out our lash mapping blog post that discuses the super popular lash style!
To create Rudolph Lashes, you’ll need to mix black/brown lashes with red lashes, ranging in lengths from 9-12mm. Starting with your shorter lashes, create wispy fans in Black/Brown and increase the lengths as you move towards the middle section of the eyes. Throughout the middle layer of the lash line, you’ll need to attach and evenly distribute brown lash spikes to create the coveted Kim K style. When you reach the outer third, now is the time to add your wispy red fans in 10-11mm and long red spikes to really make this look pop. Rather than stopping with brown lashes and starting immediately with your red lashes, try to blend them together to create a more cohesive look. This lash style is ideal for clients who want to stand out at their holiday parties, just like Rudolph leading Santa’s sleigh.

Santa Lashes: Red, White, and Fabulous
Embody the jolly spirit of Santa Claus with our Santa Lashes! This Eyeliner Effect lash map combines black, red, and white lashes for a look that’s as iconic as Santa’s suit. You’ll again be working in layers, using black, red, and white lash extensions to create Volume lash fans of 7-13mm. To start, use your Volume Lash Tweezers to create wispy fans in shorter lengths with your regular black eyelash extensions.
When you reach the last quarter of the lash line, this is where you’ll start adding your red and white lashes. For the bottom layer, apply white or silver lashes ranging from 9-11mm, which will compliment the red spikes that you’ll add to the top layer. Towards the outer corners of the eyes, add those red lash spokes in lengths ranging from 11-13mm. These red spikes will create an eyeliner effect, reminiscent of the original style but with a festive twist. This style is perfect for clients who want a bold, statement look for the holiday season.

Snow Angel Lashes: Glisten Like Snow
Last but not least, our Snow Angel Lashes. These gorgeous lashes perfectly capture the serene beauty of a winter landscape. Using an Angel lash map, blend together white, silver, and blue lash extensions, varying from 7-11mm in length to create a frosty, ethereal look. If you’ve yet to complete an Angel lash set, take a look at our Angel lashes blog post - it’s a favorite of London Lash readers!
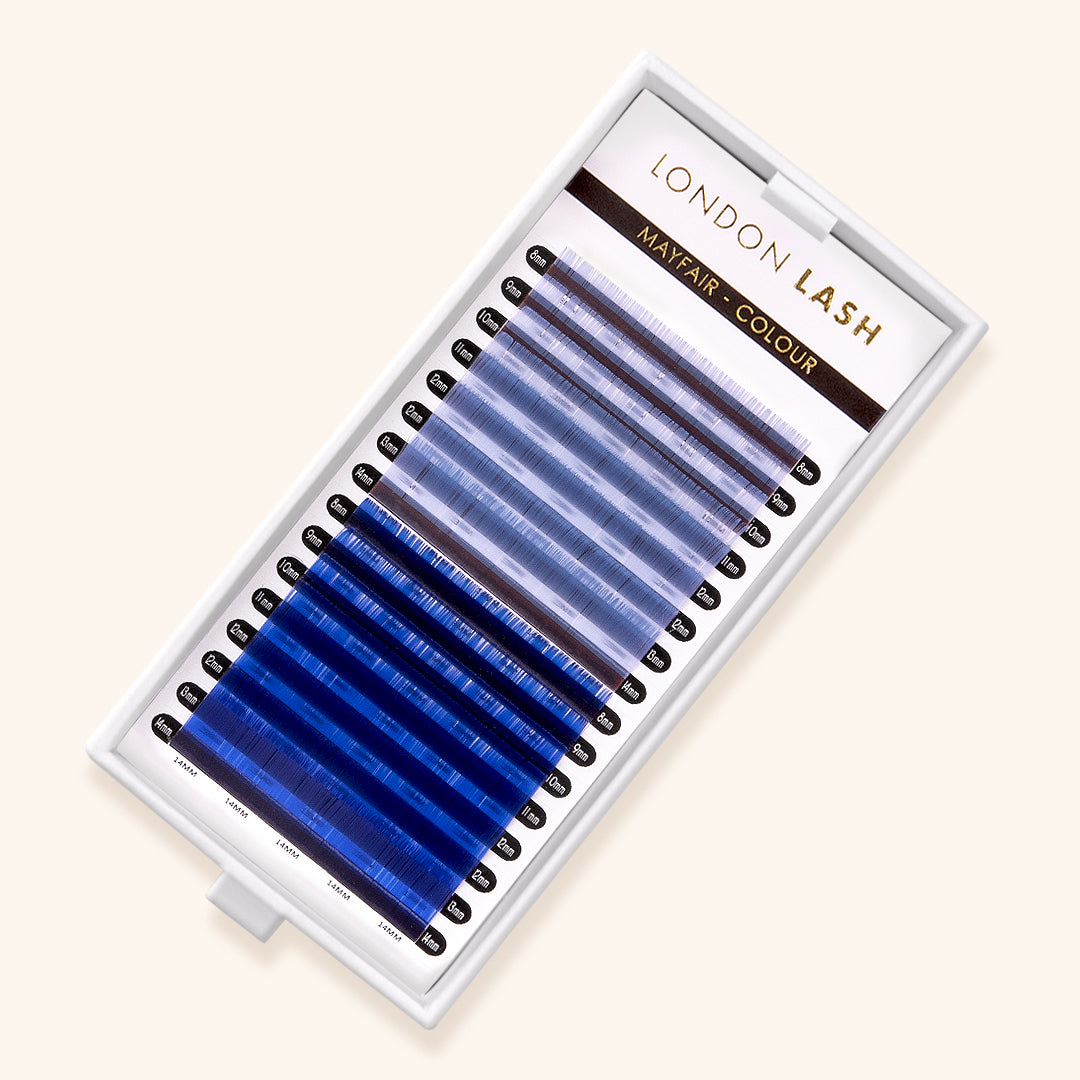
To start, use your shortest lengths of white wispy lash fans and lash the inner corners of the eyes, building up gradually in length. For a lightweight but dense look, we’d recommend making fans of 2-4D. From the middle to the outer corners is where you’ll incorporate your blue lashes and evenly disperse your glitter lashes. As you add your blue eyelash extensions, begin to drop down in length as you move towards the outer corners of the eyes, adding a pop of color to the outer corners. Placing the silver and blue glitter lashes in long spikes towards the outer corners of the eyes will give this style an extra sparkle, reminiscent of a snowy angel.

Our present to you! Five free lash maps to inspire your creativity this holiday season. Whether your clients are looking for something playful like our Candy Cane Lashes, or the elegance of Snow Angel Lashes, these styles are sure to add a festive flair to any look. However, it’s important to remember that the key to creating a gorgeous set of lashes is not just following a lash map, but also understanding your client's unique eye shape and style preferences so you can design a bespoke set of lashes perfect for them.
Get ready to deck the halls (and your clients’ lashes) with these fabulous Christmas lash styles. And don't forget to share your creations with us @london_lash_usa – we’d love to see how you bring these festive lash looks to life!
Happy Lashing and Merry Christmas from all of us at London Lash! 🎄✨
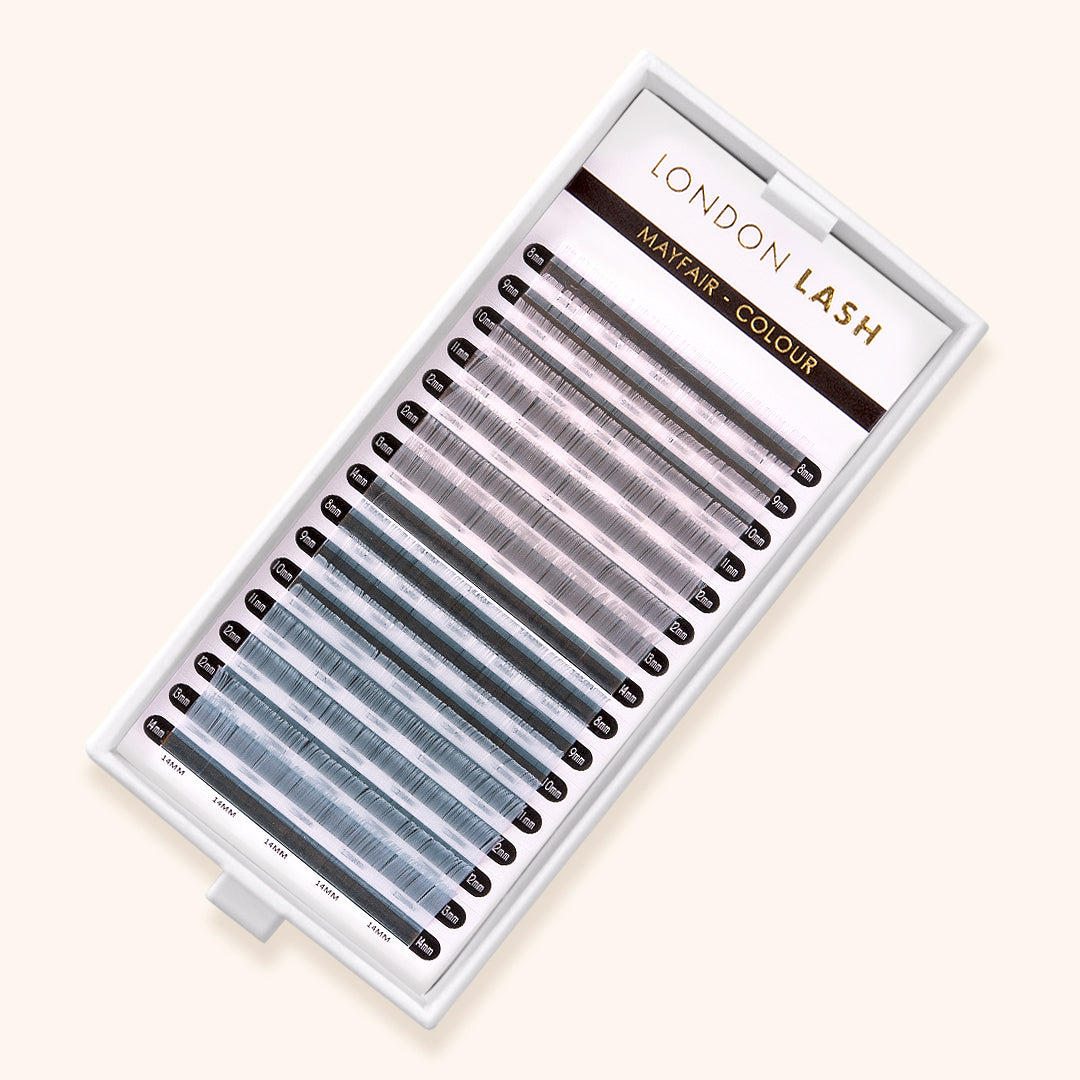
Check out these featured products
Subscribe
Sign up to get the latest on sales, new releases and more …
