New In
Glues & Liquids
Lashes
LASH LIFT
Dolla Nails Pro
Online Training
Save up to 57% off
Wispy Lashes Tips and Tricks
February 14, 2023 4 min read

How to Achieve the Perfect Wispy Lash Extension Set | Spiky, Fluttery Lashes To Make Your Heart Skip A Beat!
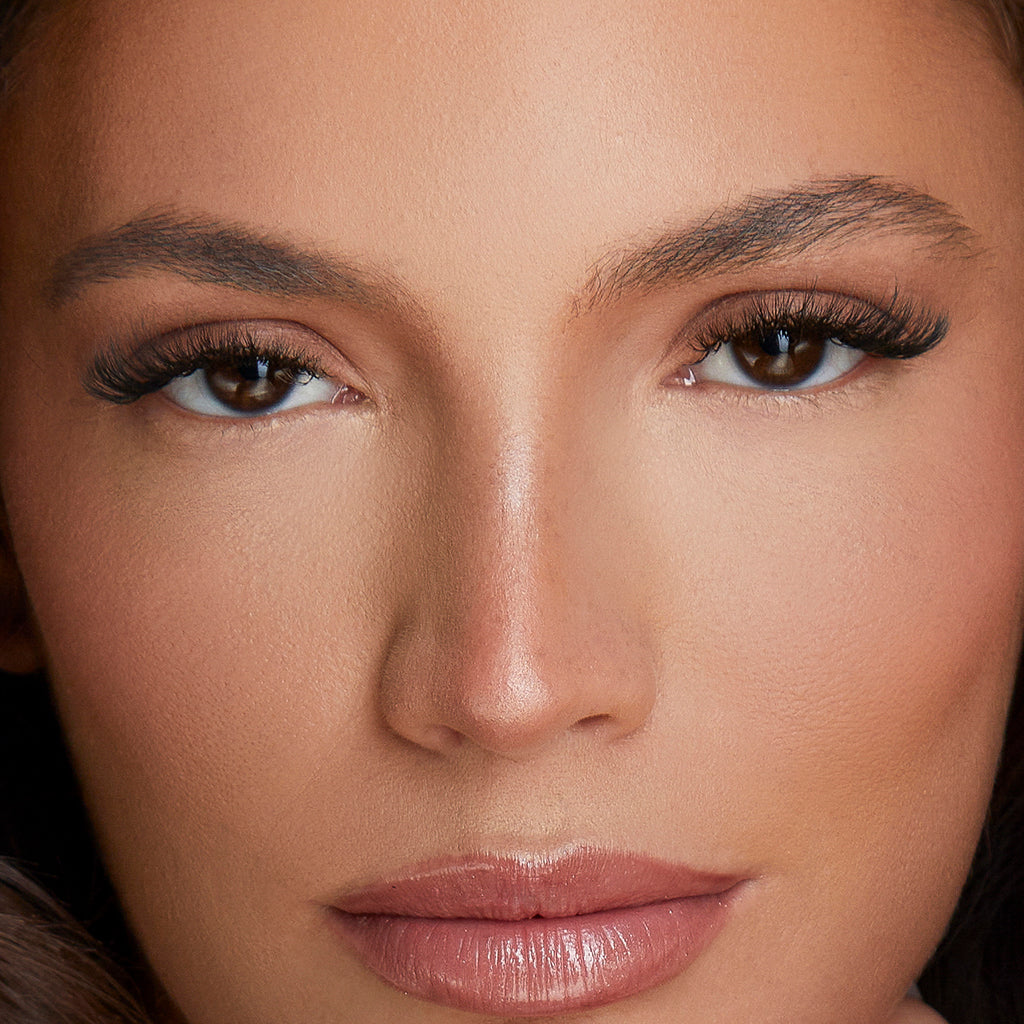
Wispy lash extensions are one of the most popular and requested looks in the lash world currently! Clients love them because they offer a soft, natural look that still adds volume and length and let’s face it, they’re showstoppers. But achieving this style isn’t always easy. Although the word ‘wispy’ gives you a little freedom as you don’t have to have a perfect top line, you do still have to make sure the various lengths complement each other so that it doesn’t end up messy! Here are some tips for creating a perfect wispy set every time!

Pretreatment
When you think of natural lashes, think of your hair. When you want your hair to be nice and sparkling clean, (generally speaking) you have to rinse it, use a shampoo to strip away any excess oil, dirt and grime, but you also have to rehydrate the hair with conditioner afterwards. The same applies to natural lashes, which is why we have two products specifically formulated for these exact purposes.
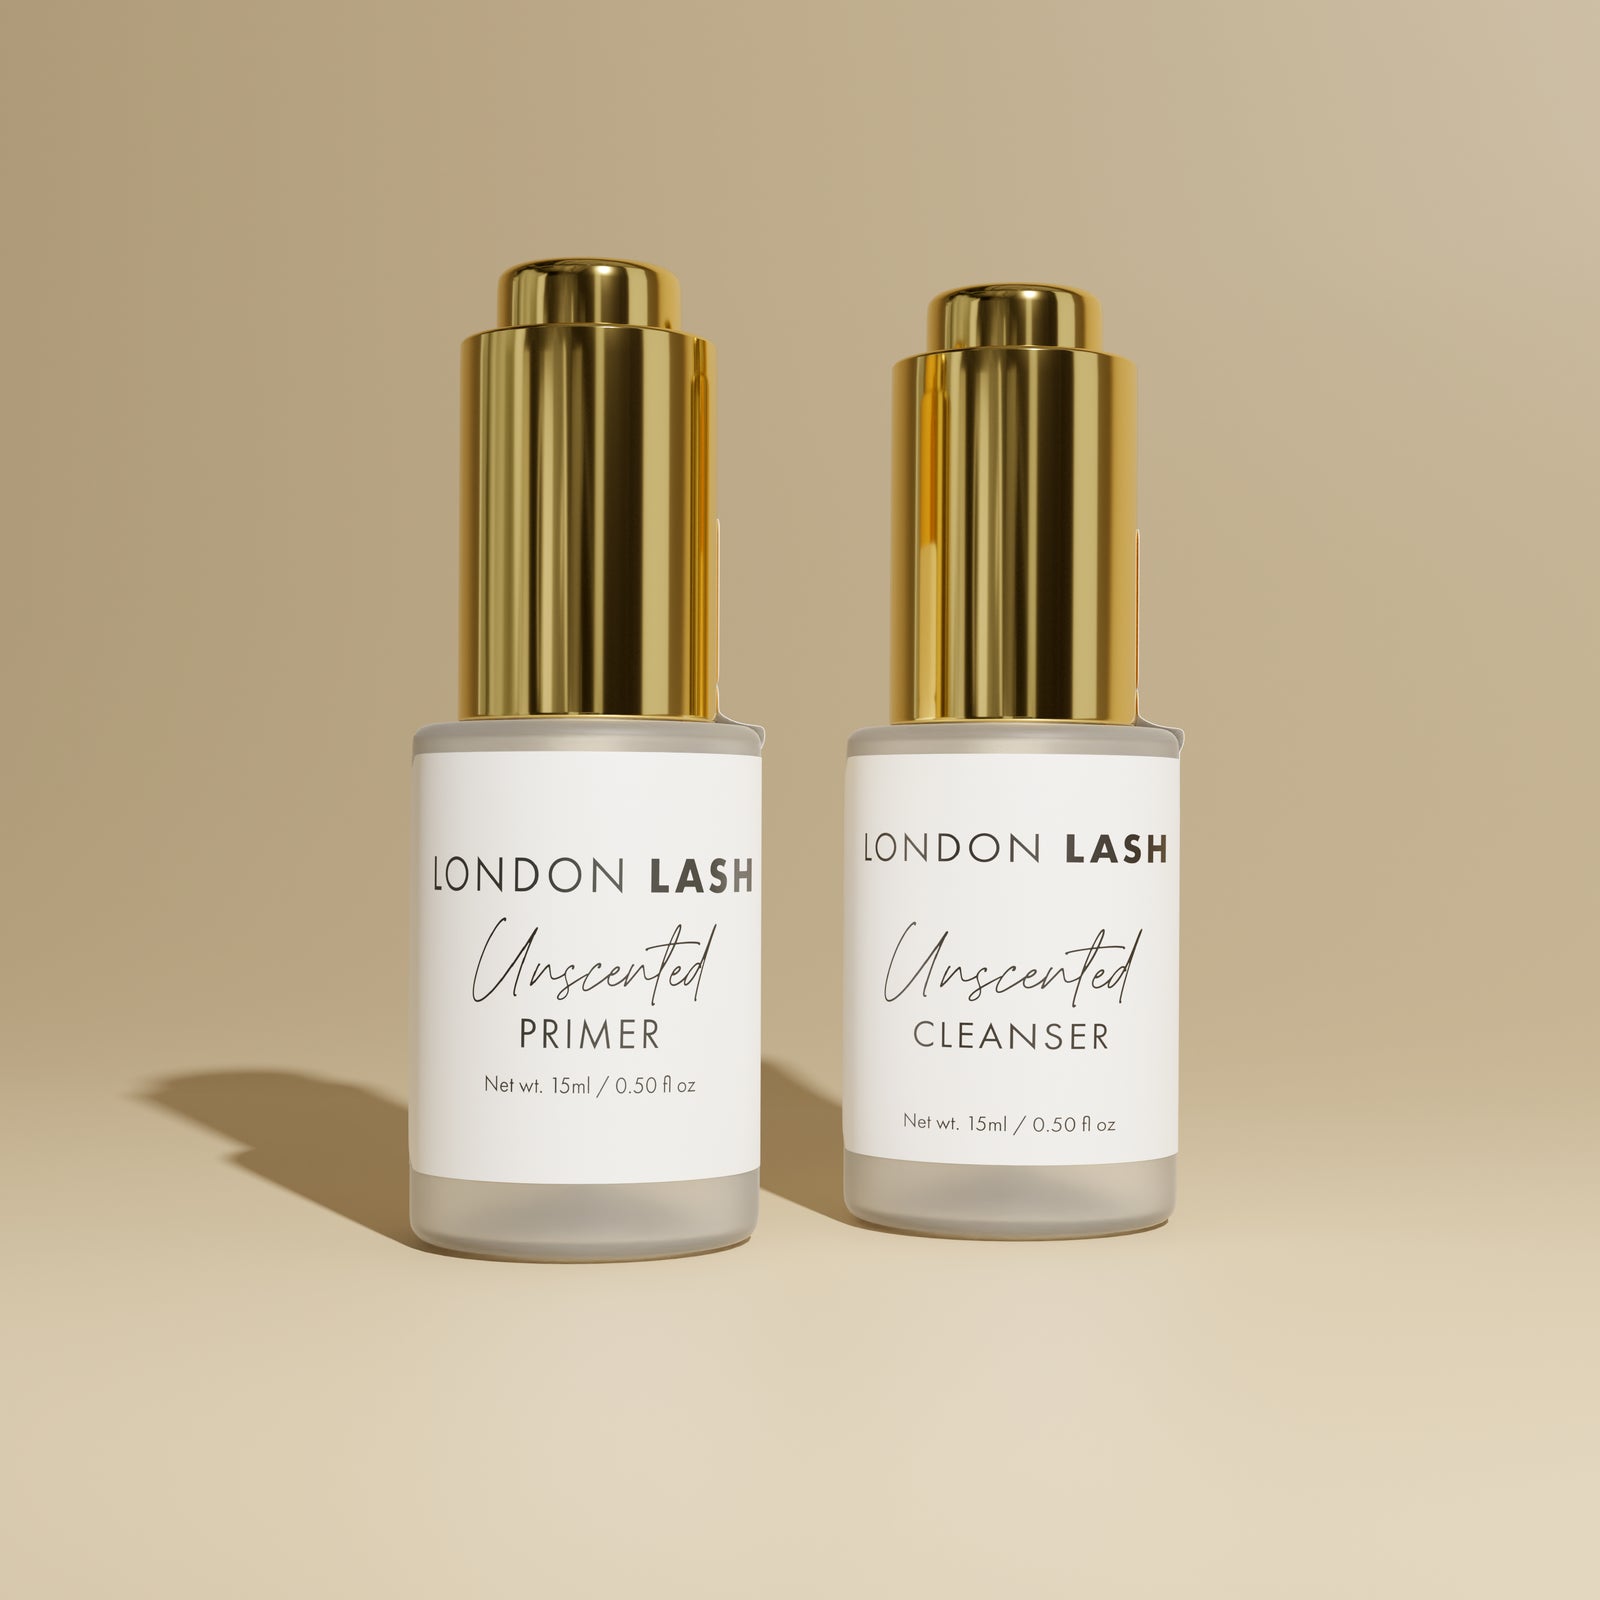
CLEANSER & PRIMER
Cleanser acts as the shampoo, it strips the natural lash of any excess icky stuff. Cleanser just needs to be brushed on with no need for rinsing so is super effective, and super fast too. The Primer acts like a conditioner, putting a little necessary moisture back into the lashes. These two were love at first sight. You apply both in the same way – add a drop to an applicator brush and then (after dabbing off the excess onto a tissue) simply apply to the lashes brushing from root to tip.
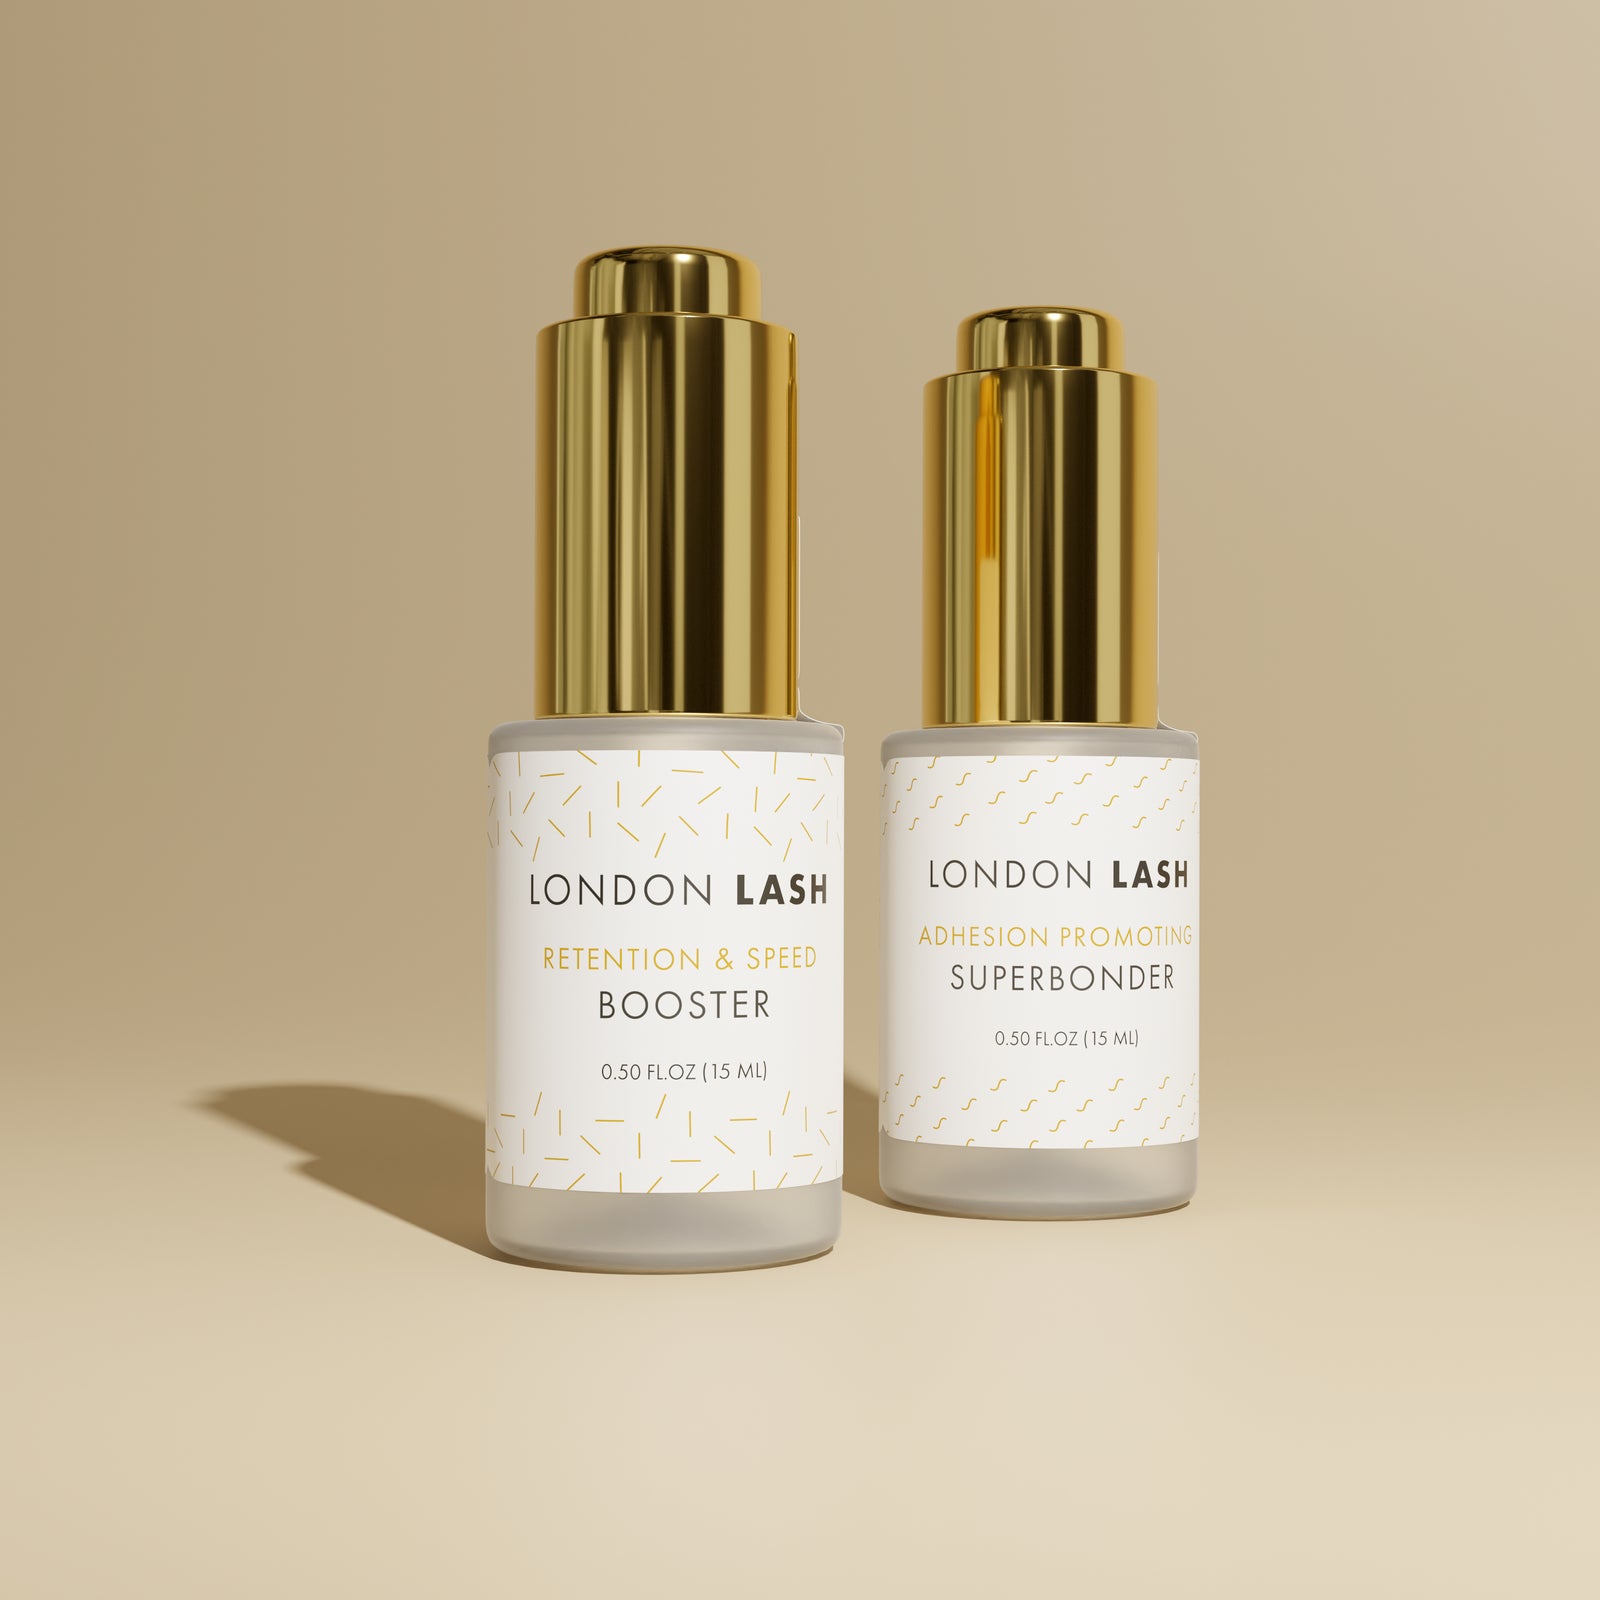
BOOSTER & SUPERBONDER (but we’ll talk about Superbonder later ;)
Now, just to give you a crash course in Booster, because of its alkaline pH when it’s applied to the base of the lashes, it gently opens up the hair cuticles and makes the hair slightly rougher. So, this means that glue will have more surface area to bond with.
Get Ready...
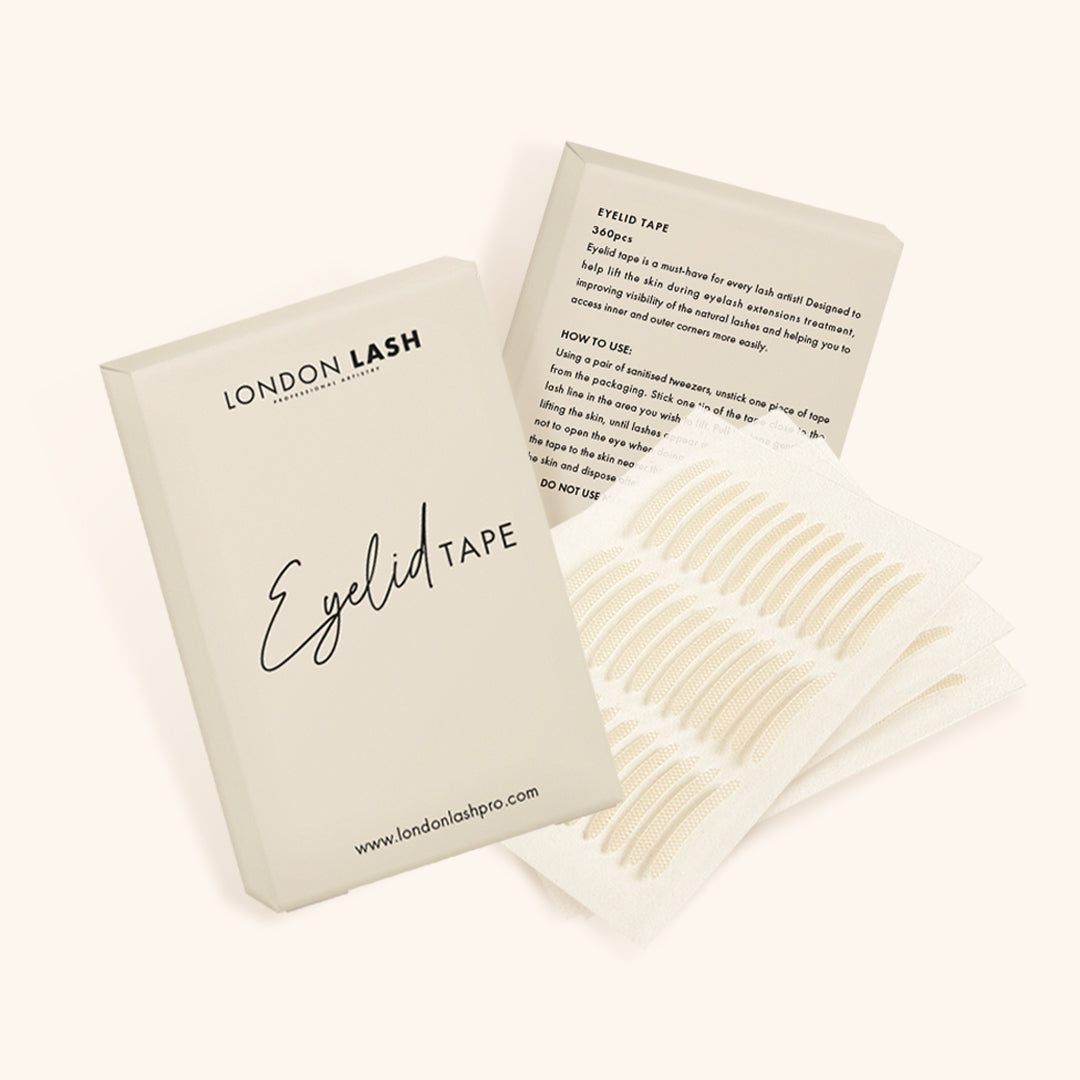
What you’ll want to do for a wispy lash set is to make sure you have access to the inner corner lashes as well as the outer corner lashes, and not forgetting any naughty lashes hiding along the bottom! For the best view of the inner corner lashes, you’ll need to use a piece of eyelid tape and pull back the inner corner eyelid ever so slightly, same with the outer corner, and when it comes to lifting up the whole eyelid, just place two pieces of eyelid tape in an X shape on the eyelid and slightlyyyyyy pull back. You don’t want the eyes to be open of course, so take a lash mirror and just make sure the eyes are still closed.
EYELID TAPE & EYE PATCHES
TOP TIP! If your clients have fluttering eyelids, you can also use our Eyelid Tape to help keep them shut! Take a piece of tape and pull it downwards, sticking it to the eye patch!
Choose Your Lashes Carefully
The type of lash extension you choose is key when it comes to creating a wispy look. Start by selecting lightweight lashes with thin diameters, such as 0.03 or 0.05.
Another key factor in achieving a perfect wispy set is to use either the same length lashes on each layer, or to increase lengths as you go up a layer. The goal here is to create a look that appears natural while still providing enough volume and length to be flattering and noticeable. Try starting with 8mm on the inner corners, graduating up to 14mm in the middle, then going back down again at the outer corners – 8-10 mm should work well there to look beautiful and to protect the health of those fine lashes in the inner and outer corners.
0.03 & 0.05
It’s good to have both in your arsenal as one client may want a softer look, and another may want a more dramatic filled look!
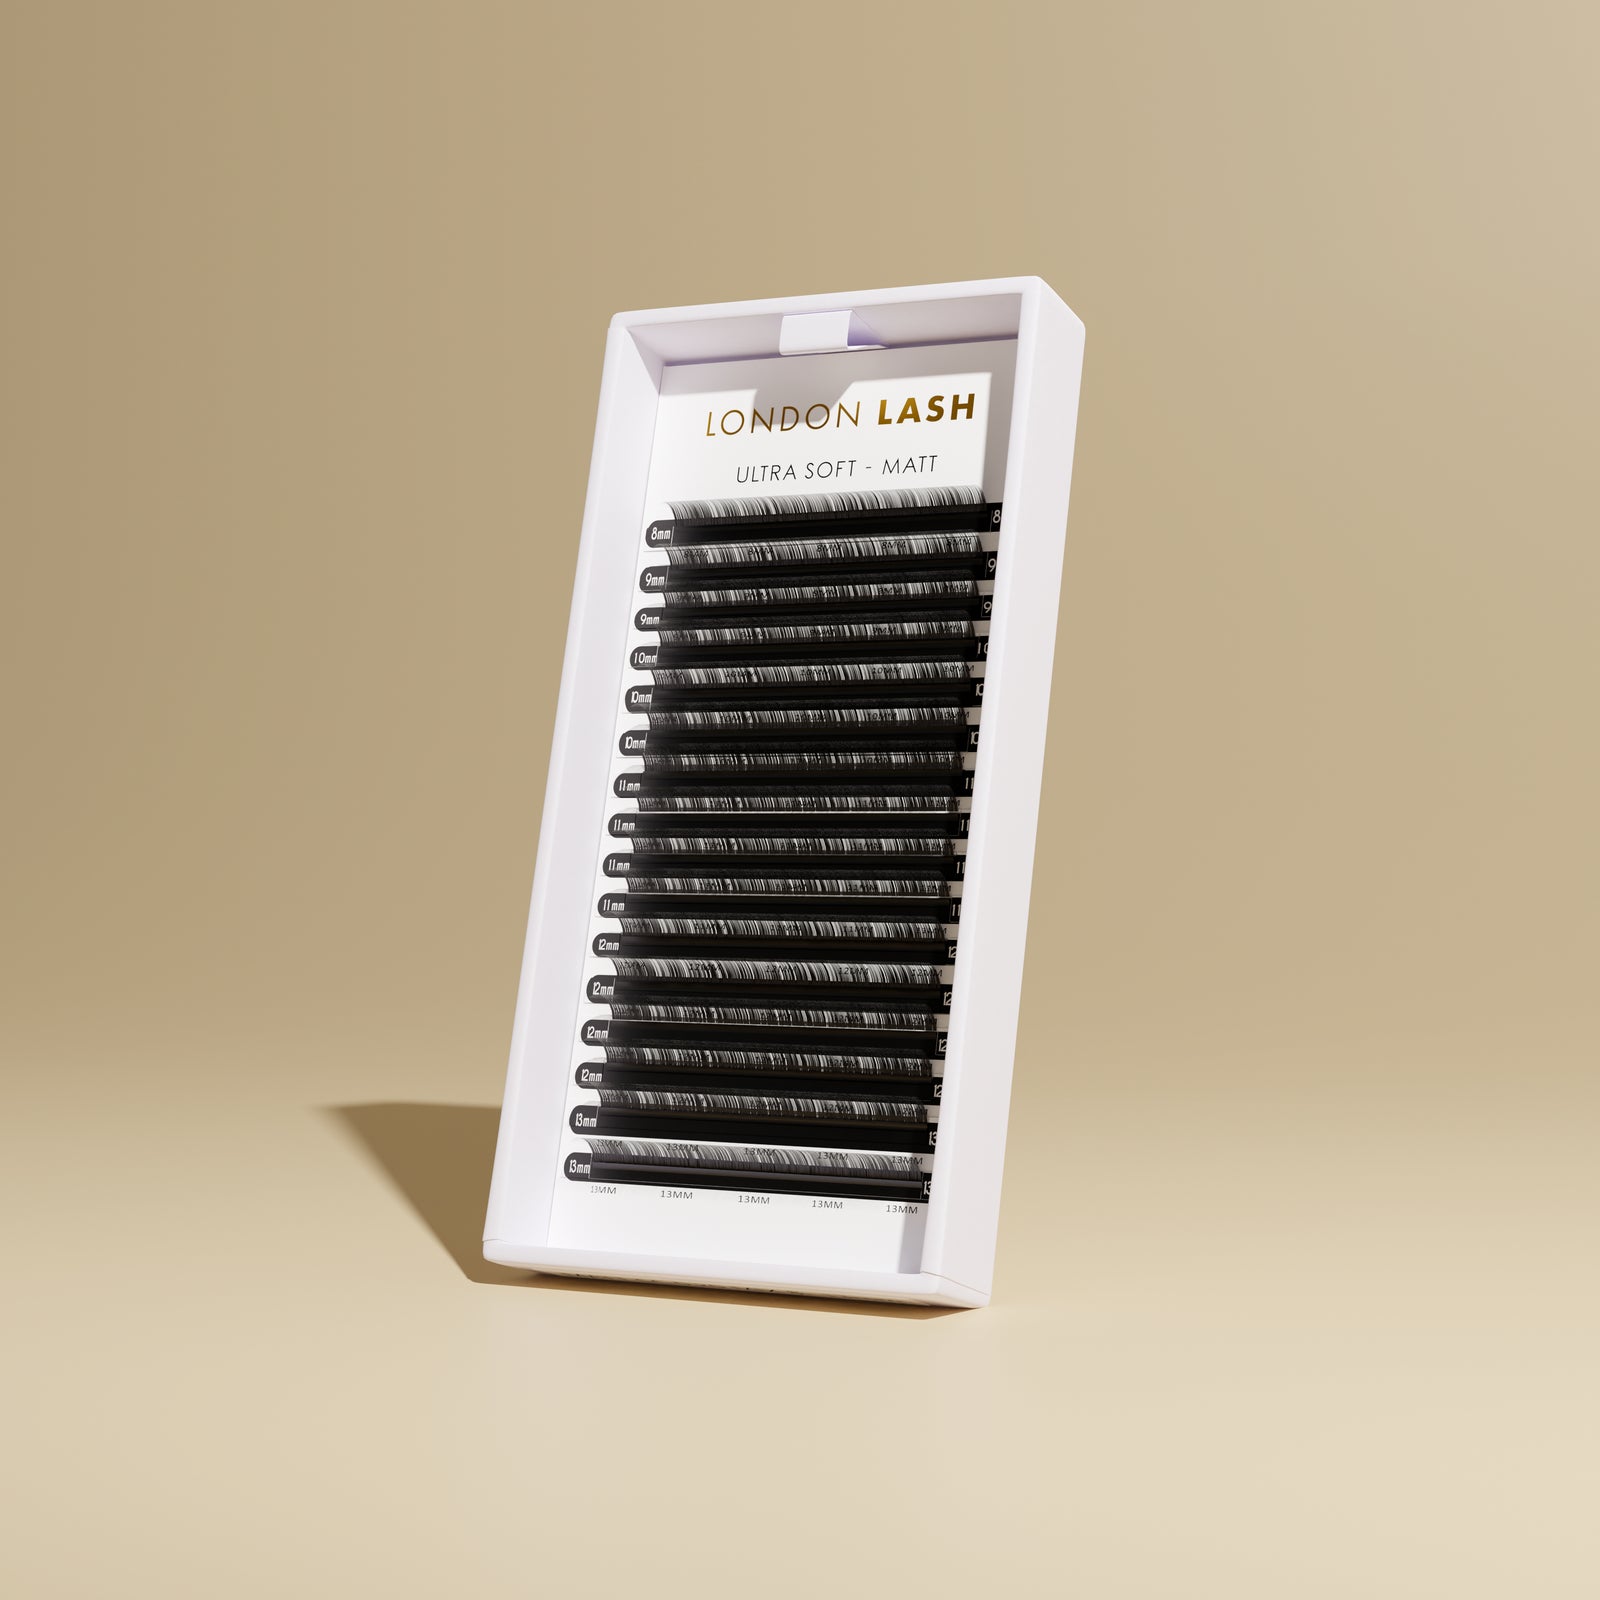
MAYFAIR & MATT FLAT LASHES
Mayfair lashes pair beautifully with Matt Flat lashes. You can create gorgeous, effortless spikes with our Matt Flat lashes, filling out the rest of the natural lashes by making fans with our shinier, more dramatic Mayfair lashes.
Master the Fanning Technique & Spikes
Mastering any fanning technique takes lots of time and practice, so if you’re in a rush then you’re advised to opt for Easy Fanning Lashes, or even Premade Fans for the volume parts! When it comes to making spikes, you can use Matt Flat Lashes, or you can apply a little bit or Primer to the tips of the volume lashes, which will help to stick the tips together, making spikes easier than ever.

VOLUME TWEEZERS & SILICONE PAD
For fanning, we recommend our Fine Tip Volume Tweezers or our Regular Tip Volume Tweezers - whichever one you choose is simply down to personal preference! BTW, did you know? A silicone pad is a super easy way to practice your lash fanning as it helps you to get a neat base!
Make Sure Your Glue Has Its Soulmate
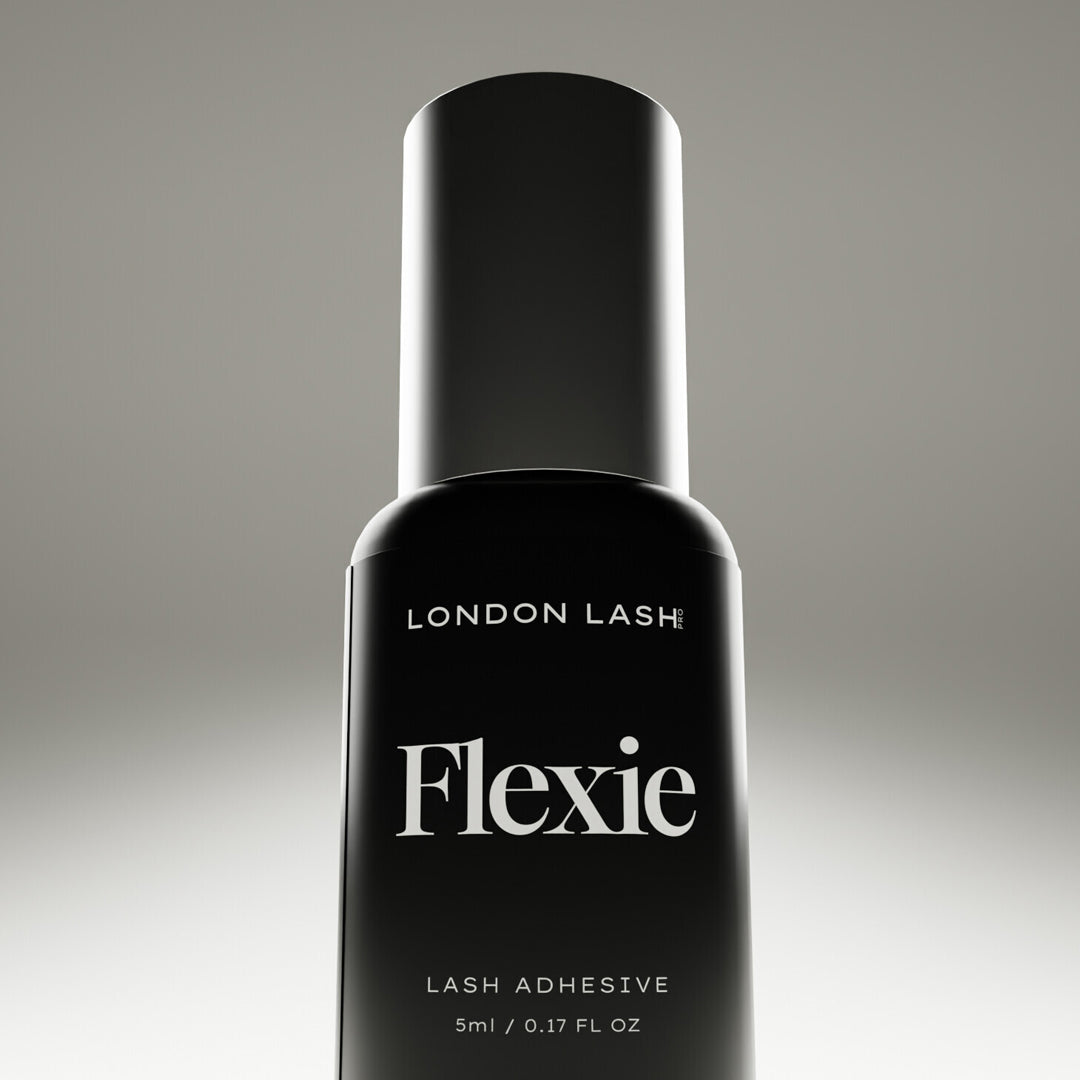
Listen, brittle or shock polymerized glue just isn't going to last you long. You need to make sure that the glue – once cured – has enough flexibility so that when the lashes are brushed, washed, squished against a pillow, etc. that they’re going to be able to move freely without any chance of the glue snapping or crumbling.
GLUE & SUPERBONDER
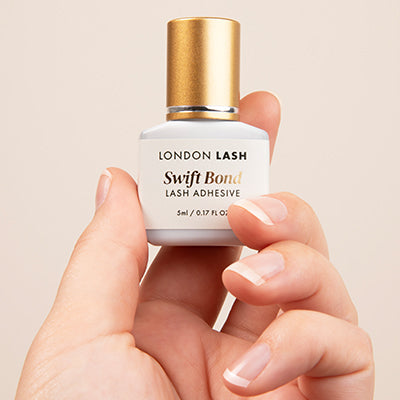
The product we are known best for - the Superbonder. The first amazing thing this liquid does is it adds elasticity to the adhesive - the additional flexibility ensures the bonds don't break as easily, therefore resulting in better retention! Secondly, it instantly polymerizes the glue, without shock curing! It locks in the fumes from the adhesive and with the fumes contained, irritation and sensitivity are significantly reduced! 
Achieving the perfect wispy lash extension set isn't easy, but with these helpful tips, you can master this popular eyelash style in no time! For some mapping ideas and which lashes to choose, check out this blog post next!
Check out these featured products
Subscribe
Sign up to get the latest on sales, new releases and more …
