
5 Top Tips for Avoiding Shock Polymerization
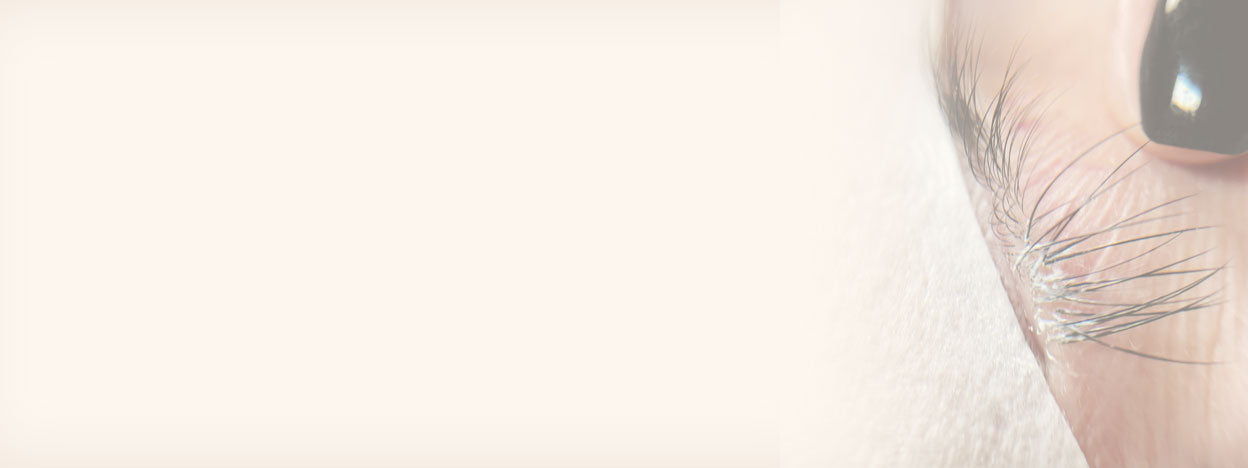

Table of Contents
Shock Polymerization: Why Lash Glue Turns White & How to Prevent It
The vast majority of eyelash extension glue is black in color, allowing it to blend in with the extensions and the natural lashes. Then, of course, there are also clear glues on the market which are ideal for colorful lash looks. But if you're working with lash glue that contains black pigment and it turns white, that's an issue. So, what is shock polymerization, how can you avoid it, and how can you fix it? Stay tuned to find out...
Shock polymerization happens when cyanoacrylate lash adhesive cures too rapidly after exposure to excessive moisture. It can leave a white, frosted appearance around the adhesive bonds and may affect retention. However, not all white residue on lash extensions is shock polymerization, so identifying where and when it appeared is an important first step.

Why Is My Lash Glue Turning White?
If your eyelash extension glue develops a white, frosted appearance on the lashes, jade stone, or nozzle after contact with moisture, shock polymerization may be the cause. Cyanoacrylate — the main component of most professional lash glues — needs a little moisture to cure well. Too much moisture can make it cure too rapidly, leaving a brittle bond rather than the flexibility you want for good retention.
Check the temperature and humidity in your treatment area against your adhesive’s recommended working range. Tears, lashes that are still wet after pretreatment, and water droplets from a nanomister can also bring excessive moisture into contact with fresh adhesive.

Is All White Residue on Lash Extensions Shock Polymerization?
Not necessarily! White residue may also be leftover cleanser, makeup, or product buildup. A frosted appearance concentrated around the adhesive bonds after exposure to moisture is more consistent with adhesive whitening, but appearance alone doesn’t confirm the cause.
If a client notices white residue between appointments, ask when it appeared and which products they have used. They should contact their Lash Technician rather than pick at the residue or try to dissolve the adhesive at home. White residue from lash sealants or cluster-lash products should also be assessed according to those products’ own instructions.
Six Tips to Avoid Shock Polymerization
Tip 1. Watch for Watering, Especially at the Outer Corners
The outer corners can be particularly vulnerable when a client’s eyes water. Beginning with the outer corners may give those adhesive bonds more time to cure before you finish the set, but it isn’t a substitute for addressing watering or discomfort.
Check your client’s comfort throughout the treatment. If their eyes begin to water, pause application and check that the eyes are fully closed and the pads or tape are correctly positioned. Address the cause before continuing rather than simply blotting away tears and carrying on.

Tip 2. Make Sure Lashes Are Dry
After completing your cleansing step with a pretreatment cleanser and any other required preparation, make sure the lashes are dry before you start applying extensions. For best results, complete your pretreatment and then draw your lash map onto the eye patches to give the products a chance to dry. Always check the lashes before you begin — the time spent mapping alone doesn’t guarantee they are dry.
Tip 3. Take Care with Booster Treatment
If you’re using Booster on volume lash strips, use the amount recommended in its instructions and wait for it to dry before dipping the extensions into glue. Like with your pretreatment, complete this step and then draw your lash map to avoid putting wet product directly into the adhesive.

Tip 4. Avoid Water Droplets on Fresh Adhesive
We recommend using a suitable finishing product according to its instructions rather than introducing water droplets with a nanomister. If you do use a nanomister, follow the device and adhesive manufacturers’ guidance on compatibility, distance, and timing. The aim is to avoid soaking fresh adhesive.
Keep room humidity within your glue’s recommended range, too. More moisture doesn’t automatically mean better curing!
Tip 5. Keep the Lash Glue Nozzle Away from Moisture
If the white residue is on the nozzle rather than the lashes, there are two things to keep in mind:
-
Your glue nozzle may be coming into contact with moisture. Wipe it with a completely dry wipe designed for lash adhesive, and replace the lid tightly. Follow the adhesive’s storage instructions, using an airtight container and silica gel desiccant where recommended.
-
Your glue’s quality might be compromised, particularly if its consistency has changed or it has become stringy. White residue on the nozzle alone doesn’t prove that the entire bottle is affected, but don’t use adhesive on a client if its condition is doubtful. Check the opening date, storage conditions, and manufacturer’s guidance, and replace it when necessary.

Tip 6. Use Superbonder Sealant as Directed
Once you've applied all of the lash extensions and completed your stickies check, Superbonder can be used as the finishing step. It is designed to support adhesive curing while helping the bonds remain flexible.
Following the current product instructions, dispense one small drop onto a fresh microfiber brush and apply a minimal amount to the adhesive zone at the bottom 2–3 mm of the extensions. Avoid saturating the lashes or allowing the product to enter the eyes. Let it air-dry for 1–2 minutes before the client opens their eyes, and always check the instructions supplied with your bottle.
Superbonder is applied with a micro brush, not a nanomister. It also doesn’t replace correct humidity, dry lashes, or good application technique — and choosing not to use it doesn’t automatically mean your adhesive will shock polymerize.

How Do You Fix Shock Polymerization During a Lash Set?
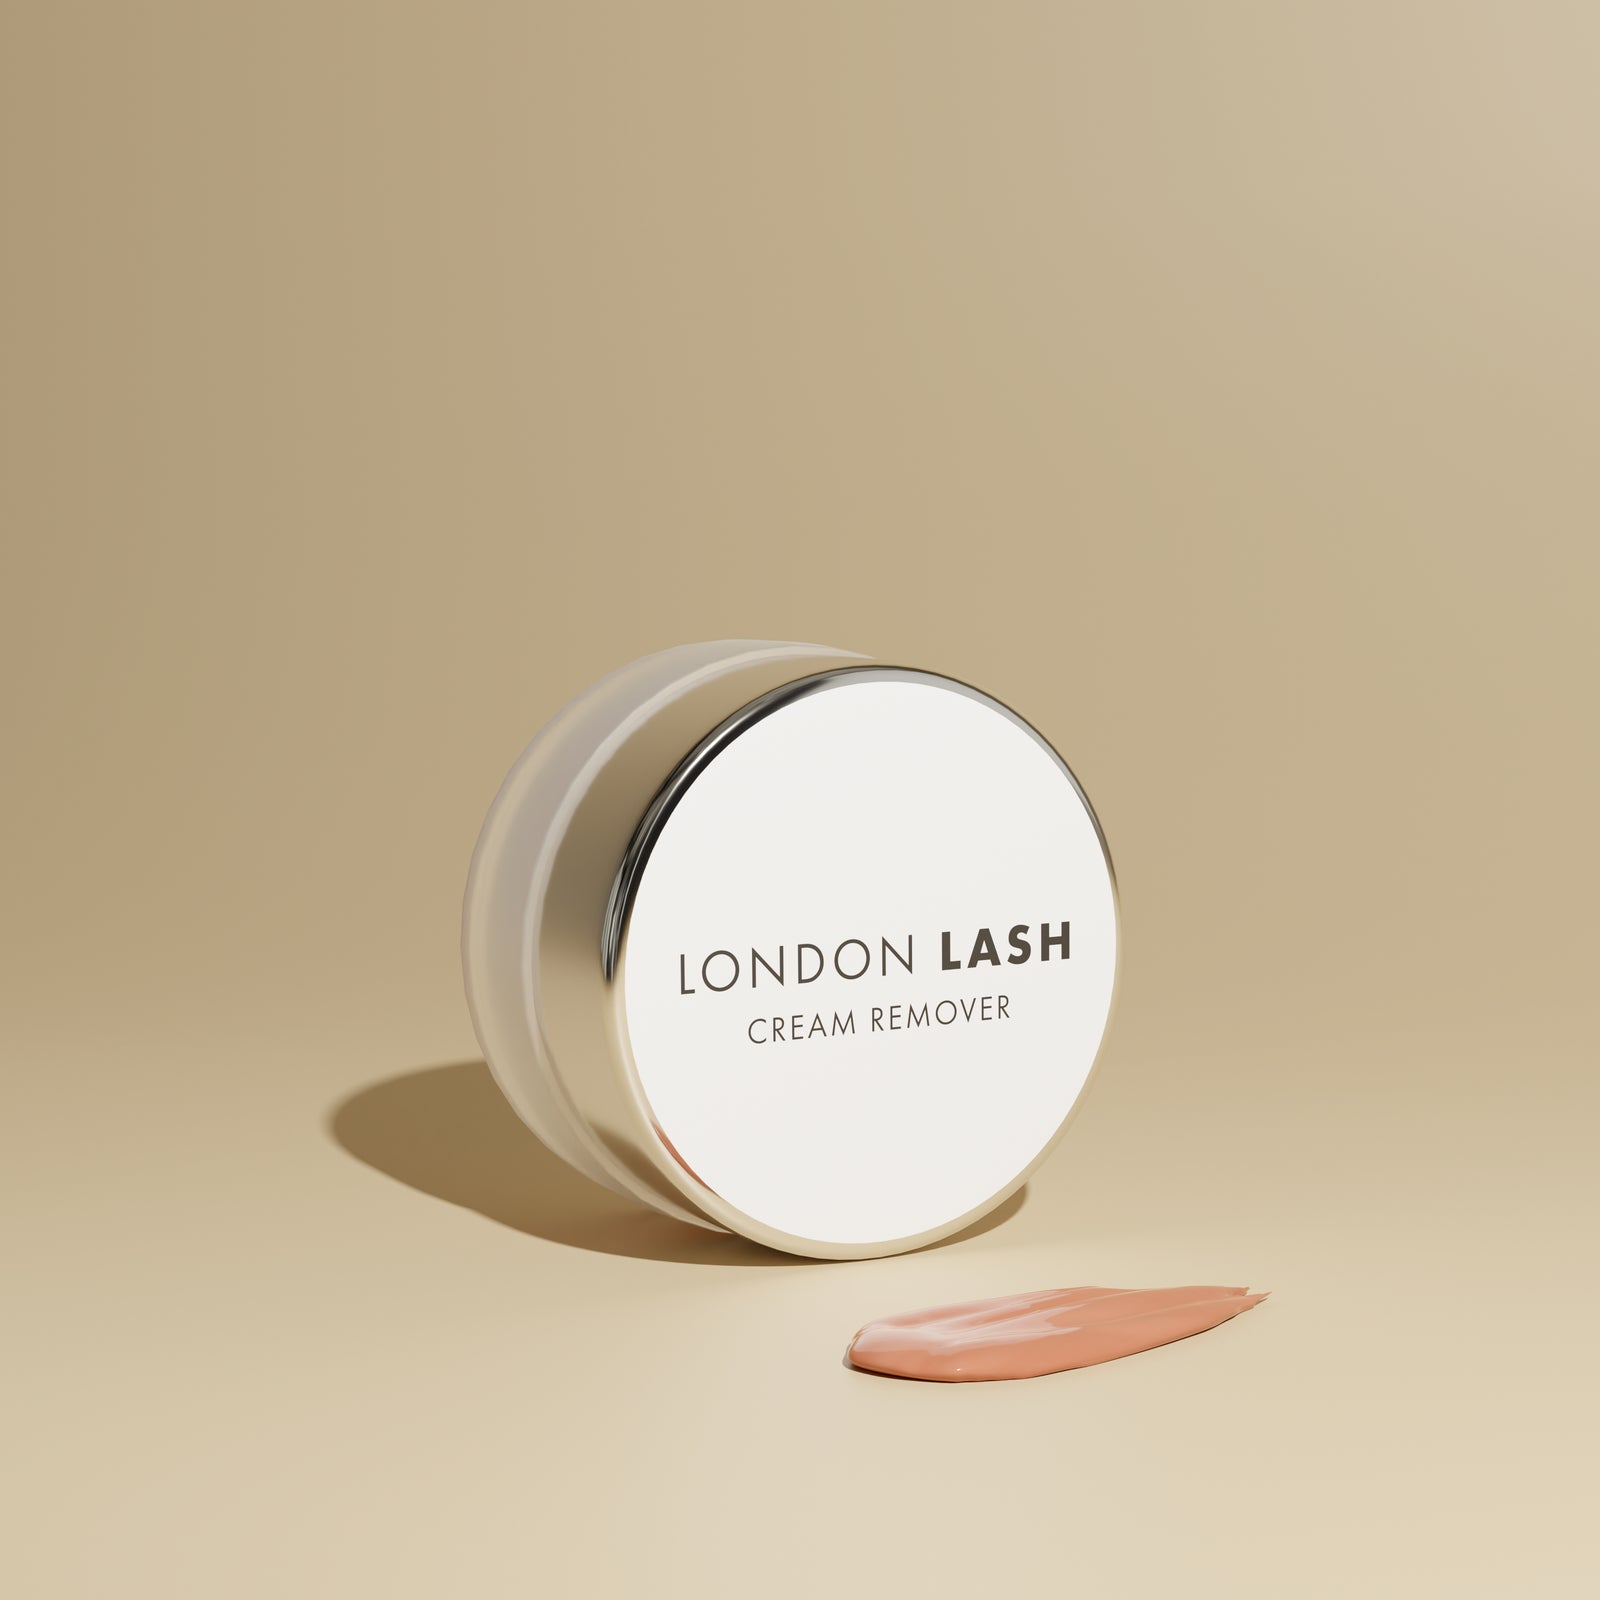
There’s not really a quick fix that restores an affected adhesive bond. A trained Lash Technician should assess the lashes and, where necessary, professionally remove the affected extensions using a suitable lash extension glue remover.
Protect the eye area and isolate the affected section using appropriate eye patches and tape, following your training. Apply remover carefully according to its instructions, keeping it away from the skin and eyes and avoiding unaffected bonds. Allow the specified processing time rather than pulling or forcing the extensions off.
TOP TIP: Thoroughly remove softened adhesive and remover residue as directed before completing the cleansing stage. Don’t introduce water while adhesive and remover residue are still present, as this can leave further whitening.
Before reapplication, repeat the appropriate pretreatment steps and assess whether the natural lashes and eye area are suitable to continue. Make sure the lashes are completely dry, of course, and make absolutely sure to check for stickies afterward!

Why Did I Get White Residue During Lash Removal?
White residue can appear when water comes into contact with adhesive residue during removal. This doesn’t mean fully cured glue simply becomes fresh glue again — the important point is to remove the softened adhesive and remover thoroughly before moving on to wet cleansing.
If whitening appears during a professional removal, reassess the area and follow the remover manufacturer’s instructions to clear any remaining adhesive. Once the adhesive and remover residue have been removed, complete the recommended cleansing steps. Clients should leave this process to their Lash Technician.

Shock Polymerization FAQs
Why Does Lash Glue Turn White?
Excessive moisture can cause cyanoacrylate adhesive to cure too rapidly, leaving a white or frosted appearance. Check for wet lashes, tears, water droplets, and room humidity outside the adhesive’s recommended range. Other types of residue can look similar, so assess the cause before treating it.
Can You Fix Shock-Polymerized Lash Glue?
You can’t reliably restore an affected bond by brushing it or adding more product. A trained Lash Technician should assess it and remove and replace affected extensions where appropriate, following the remover and adhesive instructions.
We hope this was helpful for you! Understanding your adhesive, keeping moisture under control, and following the correct preparation and finishing steps will help you prevent shock polymerization — and keep your cool if whitening does show up in a lash set!
Check out these featured products



Selling Fast!


