New In
Glues & Liquids
Lashes
LASH LIFT
Dolla Nails Pro
Online Training
Save up to 57% off
3 Ways to Use Lash Layers to Your Advantage!
August 25, 2021 3 min read

3 Essential Techniques for Enhancing Your Lash Sets with Layering!
Are you looking to speed up your lash extension process, steer clear of the dreaded stickies, and offer a variety of top lines in your lash sets? It's not magic, but it's pretty close.
In the lash industry, the use of layers is a known technique, yet often overlooked. Typically, when a client arrives, we go through the consultation, perform the pre-treatment, and start on their lashes. Working with their layers seems like too much of a time-consuming process, right? Wrong! Once you discover the benefits of layering, you'll never want to go back to your old methods. Here are some tricks to get you started!

Technique 1 - Speed Up Your Full Sets and Infills with Layering!
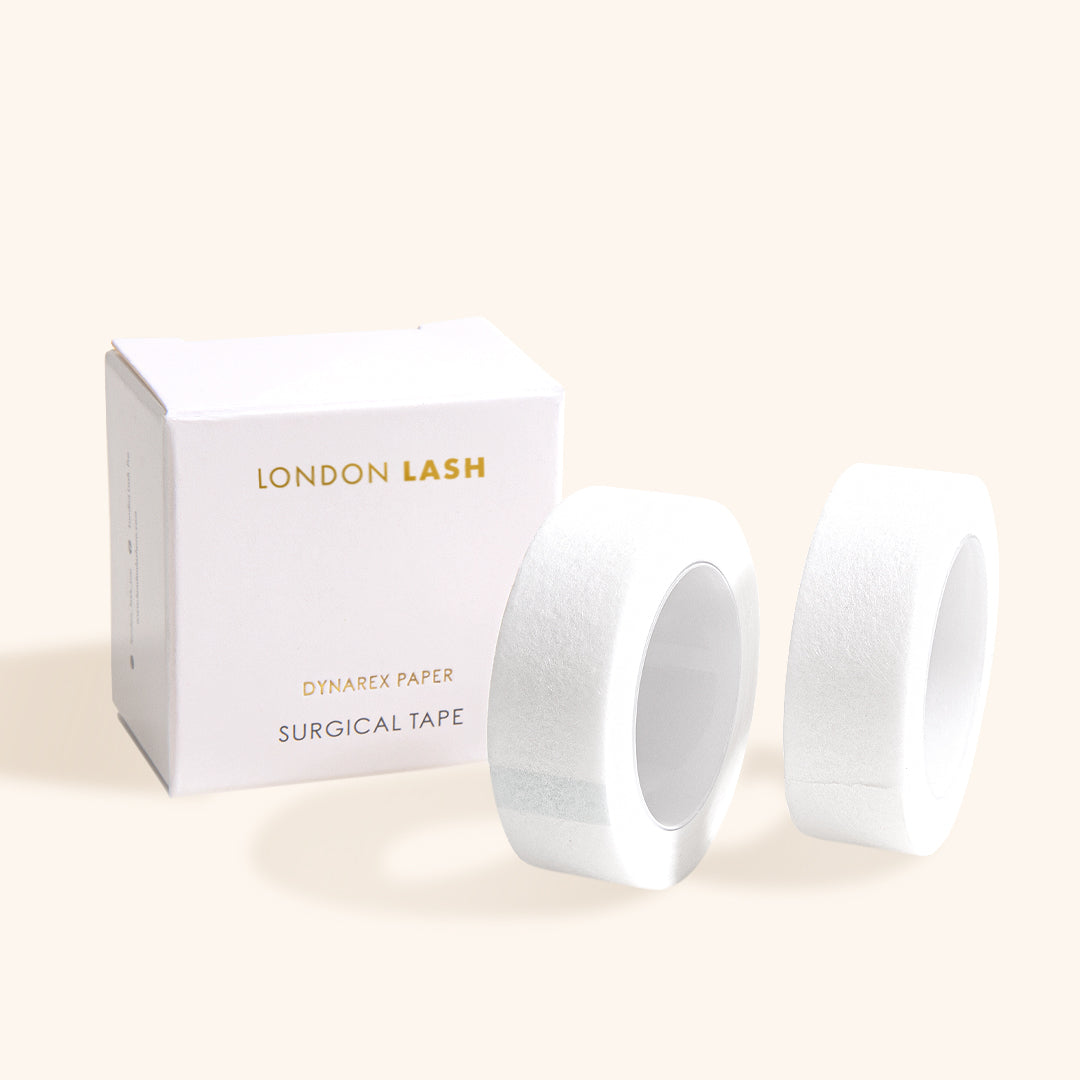
First, grab some tape. After your standard pre-treatment, de-tack a piece of tape on the back of your (sanitized) hand. Then, lift the lashes and stick the tape down at the ends, letting it rest on the lashes to keep them in place.
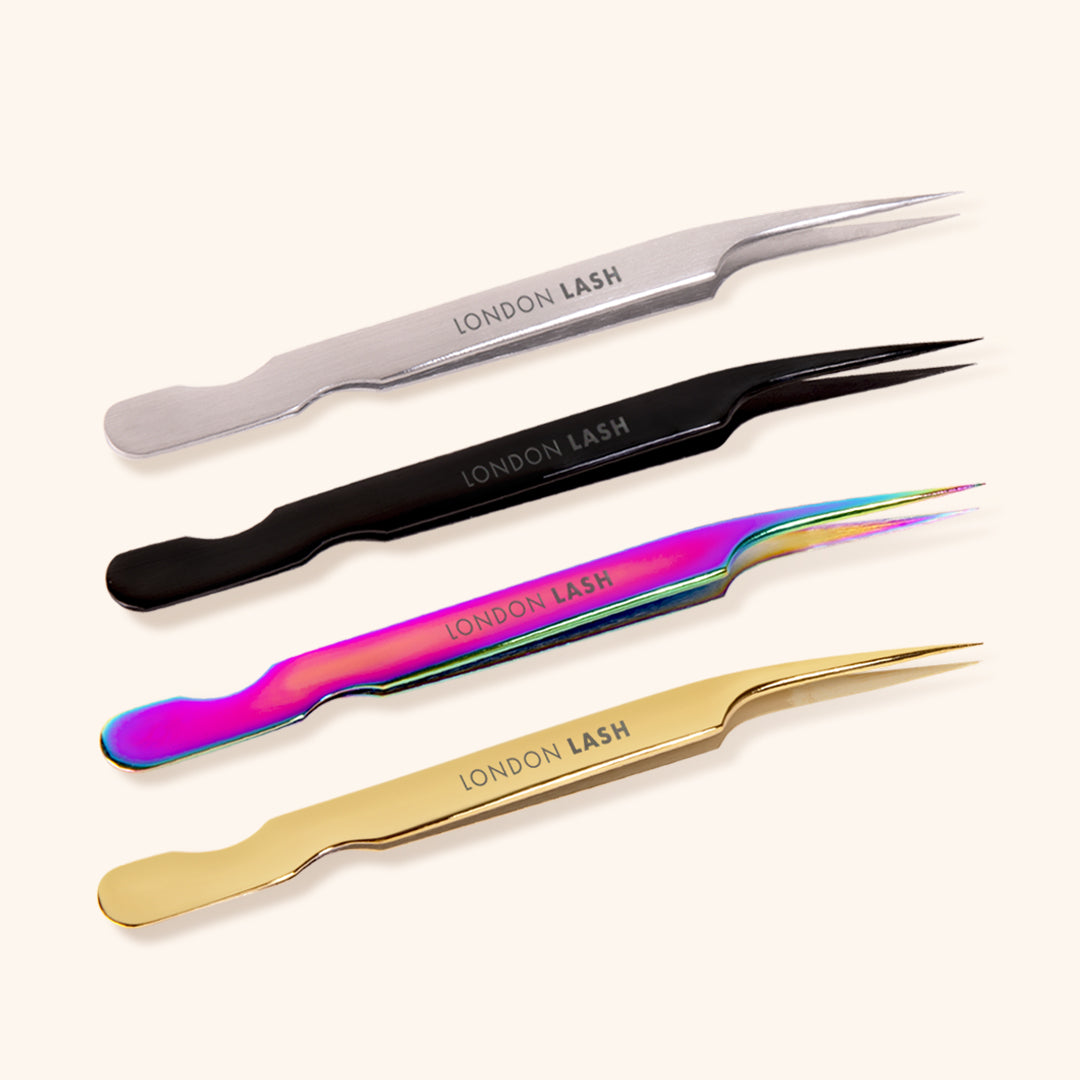
Use your isolation tweezers to gently pull down the bottom layer of lashes. Apply extensions to this layer of lashes, and then proceed to the next, continuing until all layers are done. Make sure to check that no lashes are stuck together (‘stickies’), and finish off with Superbonder as usual.
For infills, the process is even simpler. After pre-treatment, take some tape, de-stick it on the back of your hand, and lift the extended lashes with tape, sticking the ends of the tape to the skin and revealing the natural lashes underneath. You should now see some unextended lashes just poking out of the bottom. Extend these lashes and gently remove the tape before brushing through the lashes; then, check for stickies, apply Superbonder, and schedule the next infill!
Technique 2 – Crafting Three Distinct Top Lines
The way we attach extensions to different layers, especially in terms of length, significantly impacts the top line of the eyelashes. By applying varying lengths across layers, you can create a perfectly even top line typical of Russian volume sets, a more natural top line, or a wispy, fluttery top line.

For a super even top line, apply the longest lashes (as per your lash map) to the bottom layer. Next, you will then decrease the length of the lash extension by 1mm and apply it to the middle layer. Finally, you’ll drop down by 1mm again and apply it to the top layer. This creates a uniform top line, so when the client opens their eyes, all of these layers will appear as equal lengths.
For a natural top line, you’ll use the same length for all layers. This results in a slight irregularity, offering a natural but not overly wispy appearance, mimicking the look of our natural top lash line.
For a wispy, fluttery effect, you’ll need to reverse the even top line process. So, start with shorter lashes on the bottom layer, medium length in the middle, and the longest on top. This creates a dense look on the lower two-thirds of the lashes, with a wispy, uneven, and textured top line that you see on Kim K lash sets.

Technique 3 – Preventing Lashes Sticking Together with Layering
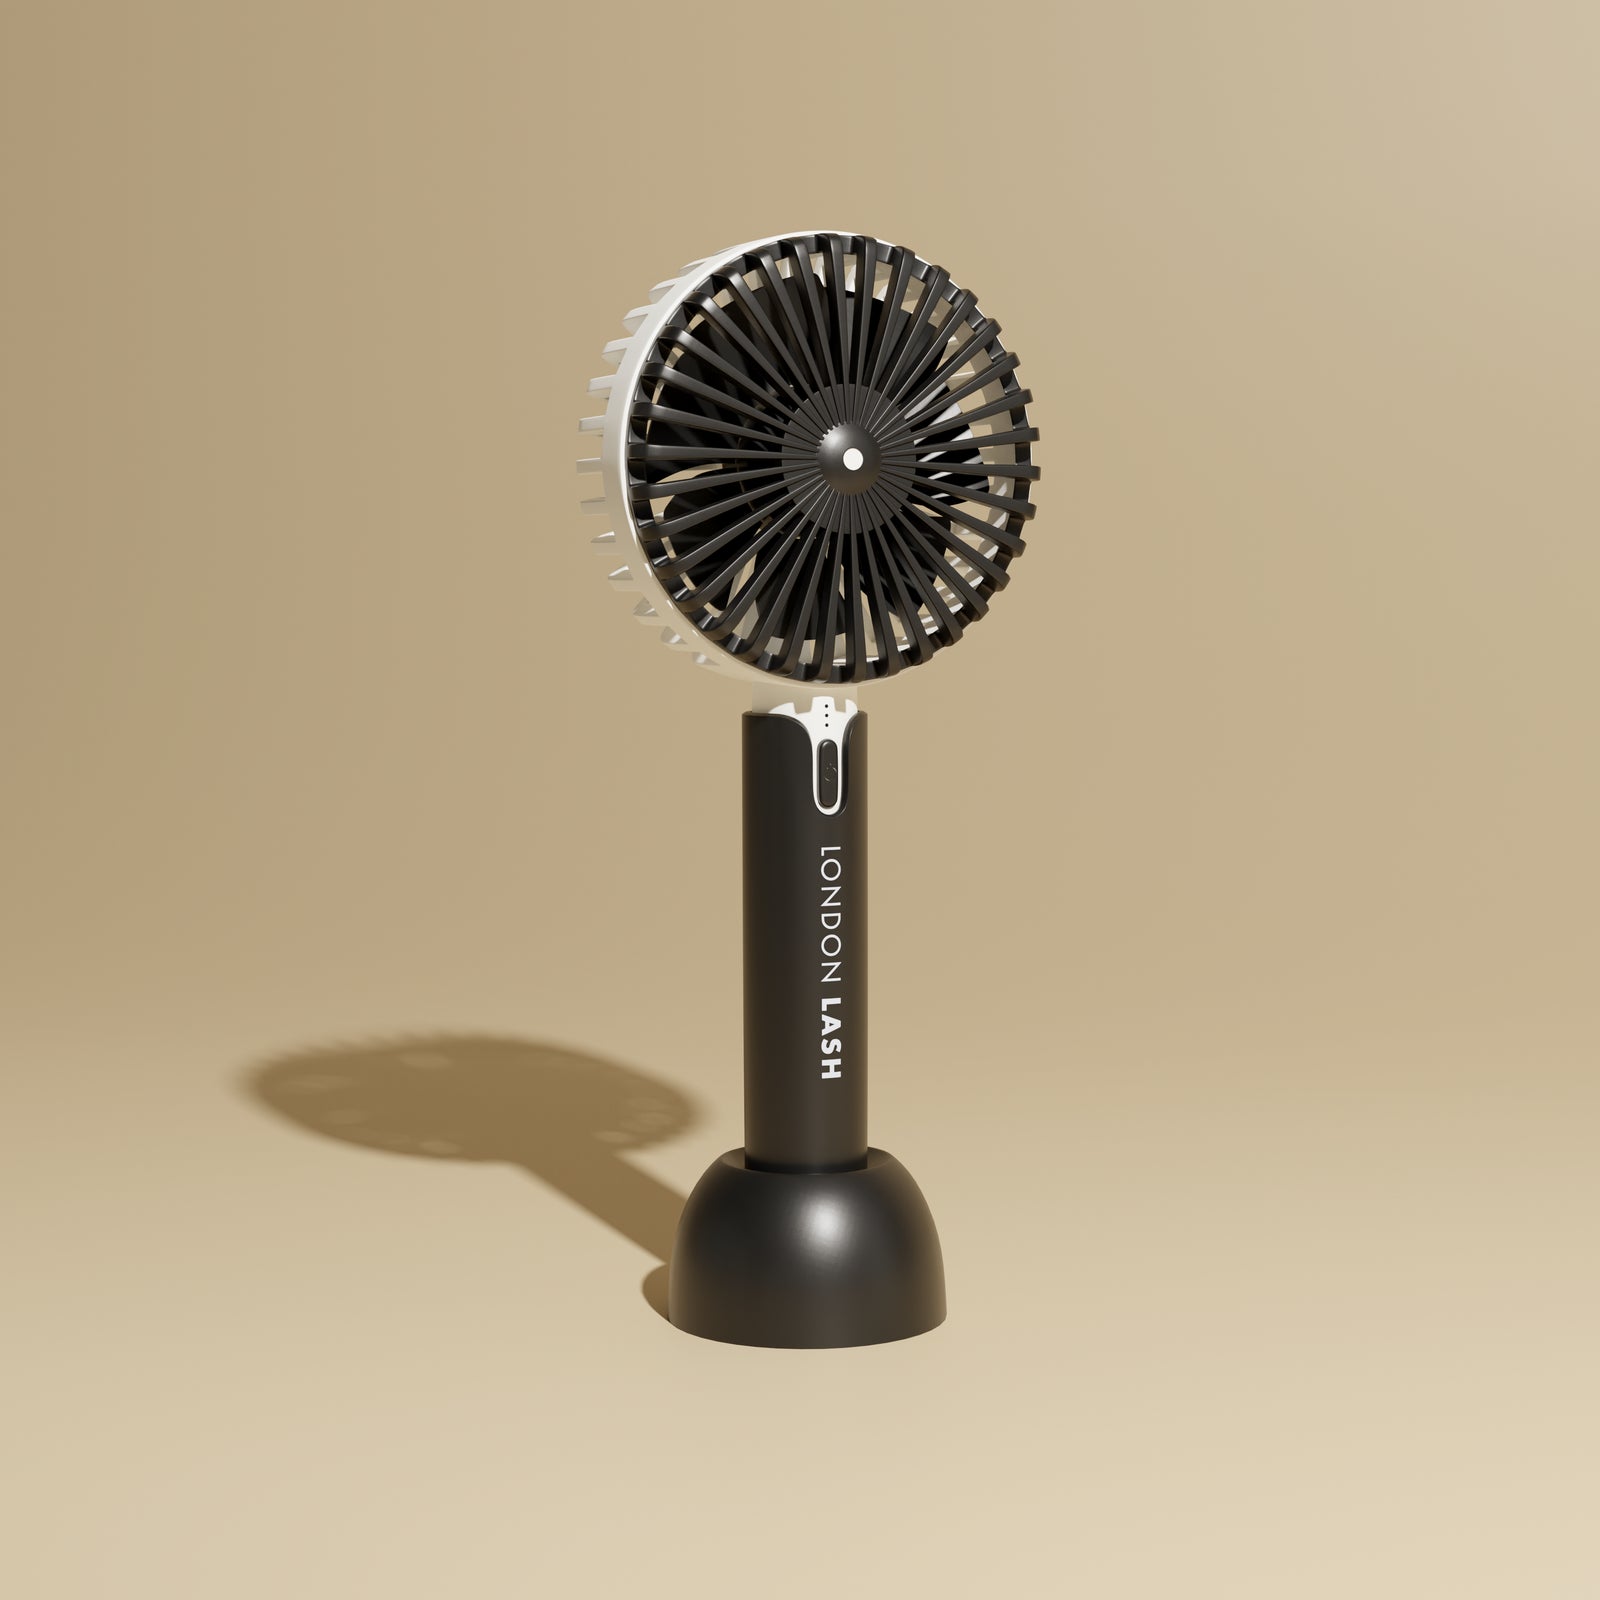
Using tape to separate layers, as described earlier, will help to prevent the lashes from sticking together, also known as ‘stickies.’ As you’re separating the layers, this makes it easier to spot the tiny baby lashes that often get stuck to extensions and that tend to cause the most damaging and uncomfortable type of stickie. Follow the steps from the first technique: gently tape back the lashes, take down a layer, lash, and repeat. To further prevent stickies, consider using a Mini Cooli fan between layers to help cure the glue faster, therefore reducing the risk of stickies.
We've written a detailed post about avoiding stickies which you can read here, which could be incredibly useful if you're looking to learn more about this topic or if it’s something you struggle with.

Hopefully, these tricks were helpful to you, and we hope that you'll see a difference in your lash sets! Implementing these techniques should not only speed up your process but also offer a variety of lash lines and reduce stickies, leading to fuller sets and more satisfied clients!
Check out these featured products
Subscribe
Sign up to get the latest on sales, new releases and more …
