New In
Glues & Liquids
Lashes
LASH LIFT
Dolla Nails Pro
Online Training
Save up to 57% off
Lash Fill vs Full Set — Your Ultimate Guide
February 09, 2024 7 min read

Lash Fills vs Full Sets: A Comprehensive Guide for Lash Technicians
As a Lash Tech, no matter your level of experience, you shouldn’t aim to be an expert in just applying a gorgeous full set of lash extensions, but you should also learn how to properly apply infills to your clients’ lashes too. Let’s keep it real, you could create the most incredible set of lashes, but what’s the point if your clients can’t maintain that look because you don’t know how to do lash fills efficiently? Whether your clients are preparing for a special occasion or simply want to elevate their everyday look, understanding the nuances between lash fills and full sets is crucial. That is why we’re here to help! In this handy guide, we'll be diving deep into the world of lashes and focusing on lash fills vs. full sets, how to perform them, managing time constraints, and deciphering when an infill actually qualifies as a full set. So, let's enhance our skills and knowledge to ensure every client leaves our lash bed feeling nothing short of fabulous!

Understanding the Basics: Lash Fills and Full Sets
Before we delve into the specifics, let's clarify what we mean by lash fills and full sets. Full sets are the initial application of eyelash extensions, where individual lashes are attached to each natural lash, creating a complete transformation. This process is perfect for first-time clients or those who have let their lash extensions fully grow out and shed.
Lash fills, on the other hand, are maintenance appointments. These sessions, recommended every 2-3 weeks, involve adding extensions to new natural lashes that have grown in and replacing any extensions that have fallen out. Lash fills are essential for your clients if they want to maintain the full, lush appearance of their lash extensions. However, if your client doesn’t want an infill, it’s best to remove them, as the last thing you want is them picking at their lash extensions and damaging their natural lashes!

Why is it Important to Get Lash Fills?
As we previously mentioned, lash fills are essential for maintaining the beauty and fullness of your clients’ eyelash extensions. Over time, the lash extensions will naturally shed along with the natural lashes during the individual growth cycles of each lash, and this shedding can leave your clients’ lash extensions looking sparse and uneven with noticeable gaps. Although very short, new lashes (baby lashes) cannot have extensions applied directly to them, strategically placing extensions on surrounding lashes will help to seamlessly fill these gaps. So by the time their next fill appointment rolls around, those baby lashes will have grown enough for lash extensions of their own!
Moreover, as the natural lashes grow, extensions that were applied weeks ago may no longer sit correctly. The added length increases the leverage at the end of each lash, which could potentially cause the natural lash to twist or even damage the hair follicle due to the extra weight. Regular lash fills address these issues by replacing outgrown extensions, ensuring your clients’ lash lines remain beautifully full and their natural lashes are healthy.

How to Perform Lash Fills and Full Sets
Here is a quick rundown of what is expected in each type of lash appointment; but if you want to learn more, check out the rest of our blog posts for interesting tips, tricks, and advice!
For Full Sets:
Consultation: A consultation is crucial if you want to ensure client satisfaction, since miscommunication is often the main cause of dissatisfaction. So always begin your appointments with a thorough consultation, thorough being the key word here, to understand your client's desired look and assess the condition of their natural lashes.
Preparation: It’s super important to cleanse the eye area thoroughly to ensure the best retention possible for the lash extensions, and apply under-eye pads to protect the lower lashes. By doing this prep, you’ll not only be helping to improve your clients' lash retention, you’ll also be showing them that you care about the health of their natural lashes. If you clean your client’s lashes, they are more likely to care for them too after their appointment, meaning that your lash fills should be as easy as they could possibly be with more lashes intact that are nice and clean. If you want to learn more about pretreatment and why it’s so important, check out this blog post!
Application: Isolate one natural lash at a time and apply a single extension (or fan for Hybrid or Volume lashes) using a professional lash glue.
Finishing Touches: Once all the natural lashes are covered, ensure the adhesive is cured by applying Superbonder to the glue zone, do the necessary check for any stickies, and gently brush through the lashes with a mascara wand.

For Lash Fills:
Assessment: Start by assessing the condition of the existing extensions. Look for outgrown lashes and any gaps.
Removal: Carefully remove all of the extensions that have grown out or are twisted.
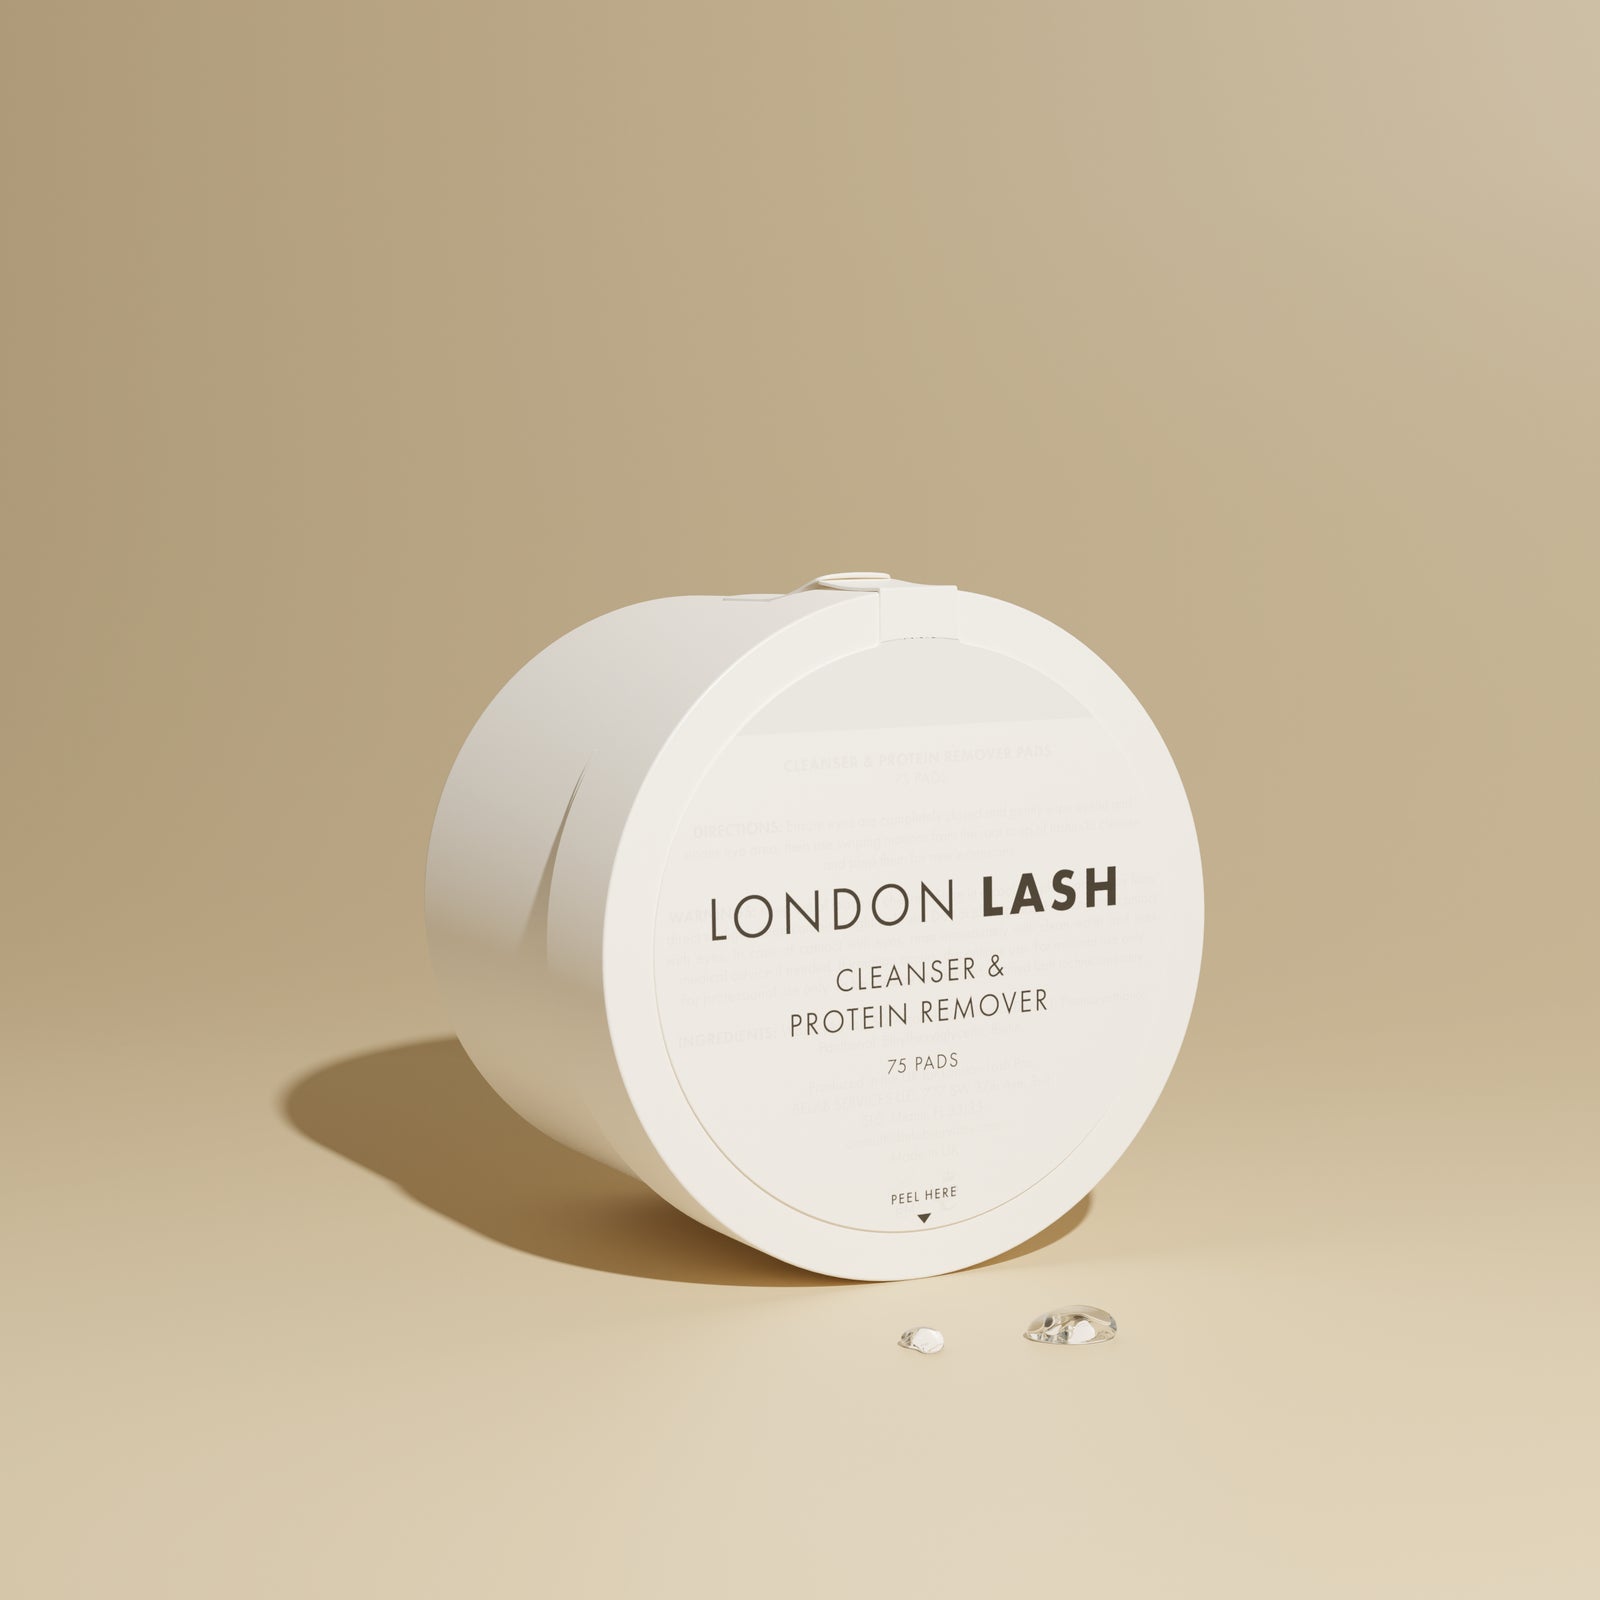
Cleansing: Clean the lashes to remove any makeup, oils, and residue. To do this, you can use a Lash Shampoo and Protein Cleansing Pads — they’re a dynamic duo that are perfect for lash fill prep. When applying a full set of lash extensions, the natural lashes are not covered by extensions, so you can use all of your regular pretreatment products. Whereas, for a lash fill, it's important to be careful while using Protein Remover Pads to avoid the glue bonds. The fibers from the pads can get caught on the glue bonds of the existing extensions, so you need to be cautious!
You can also use the Protein Pads to cleanse the eyelid area both above and below the eyes as you usually do to help your eye patches stay in place. To get a clean lash line, take a microfiber brush or a cleansing brush, dip it into the top of the Protein Pads to pick up some of the product, and then use the brush to cleanse the lash line. You can use this technique during full sets as well, and you'll be surprised how much makeup and skincare residue can collect there!
Filling In: Now that the lashes have been prepped, it’s the time to apply new extensions to the new natural lashes and replace any that have fallen out to maintain the style and fullness desired by your client.

Time-Saving Tips!
Time is of the essence, both for you and your clients. Here are some tips to ensure efficiency without compromising on quality:
Prep in Advance: Have all your tools and lashes prepared before your client arrives.
Master Isolation: Refining your isolation technique can significantly reduce application time.
Educate Your Clients: Encourage your clients to practice proper lash care to help minimize any fall-out and make fill appointments quicker and easier. At the end of each appointment for a full set, offer them a Lash Shampoo to ensure they have the perfect product to care for their lashes.
Book Appropriately: Allocate enough time based on the client's lash cycle and the condition of their lashes to avoid rushing. Also, at the end of their appointment is the best time to book them in for their lash fill to ensure that they don’t leave it too long, or forget to book a lash fill in entirely!
When Does a Lash Fill Become a Full Set?
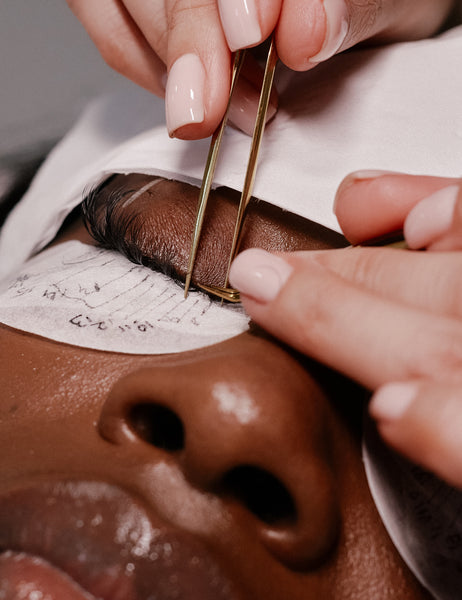
This is a common question, and one that requires a bit of your own judgment. Generally, if a client has less than 40-50% of their extensions remaining, or if it's been longer than 3-4 weeks since their last appointment, a full set may be more appropriate. This ensures that the lashes look their best and maintains the integrity of your work.
Mapping During Lash Fills
It might seem like lash mapping during a lash fill isn't needed since you're working with an existing set of lashes. However, to ensure your sets always look their best, continuing to use a lash map is crucial, particularly when you're dealing with specialized styles like Manga Lashes, Wet Set Lashes, or other designs that need precise styling.
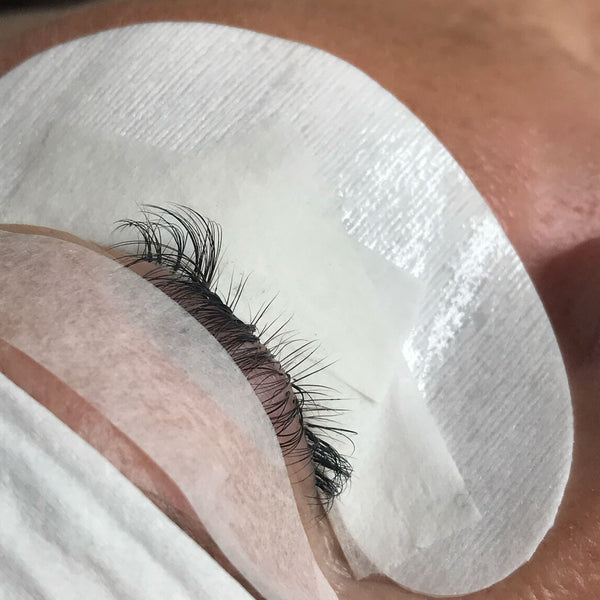
A great strategy to help you maintain the consistency of their lashes and remember exactly where you need to place specific lengths and blend different curls, is to sketch the lash map onto their eyepatch. Then, transfer this map onto their client record card. This way, you can accurately replicate the design during their lash fill appointments, ensuring a flawless look every time.
Changing Your Lash Mapping Style During Fills
You can absolutely switch up your clients’ lash mapping style during fills! However, it's a good idea to schedule a bit more time for this type of appointment. This extra time will allow you to remove not just the outgrown lashes, but also some of the existing extensions so you can reshape the style or incorporate new elements, like spikes, that weren't part of the original design.
It's common for clients to request a style change right when they come in for their appointment. When this happens, adjusting the timing on the spot can be challenging. In such situations, the best approach is to communicate openly with your client and let them know you'll do your best within the allotted time, but achieving the desired transformation might require another appointment since it extends beyond the scope of a typical fill.
For clients desiring a complete style overhaul, consider recommending a full removal and an entirely new set of lashes. This ensures you have a clean slate to work with, allowing for a thorough consultation to align expectations and deliver the exact look your client is aiming for.

We hope that we have answered all of your questions about lash fills, and that you now feel confident enough to offer them and discuss them with your clients! As Lash Technicians, our goal is to provide services that not only meet, but exceed our clients' expectations. So, understanding the difference between lash fills and full sets, being transparent, mastering these techniques, and knowing how to manage time effectively are all crucial elements of our craft. Whether it's a full set for a lash newbie or a fill for a regular, your attention to detail and commitment to excellence can turn a routine appointment into a transformative experience!
Check out these featured products
Subscribe
Sign up to get the latest on sales, new releases and more …
