


Top 5 Eyelash Extension Hacks

Table of Contents
Our Top 5 Eyelash Extension Hacks That’ll Make Your Life as a Lash Tech Much Easier
Let’s admit, it can get a bit tricky at times. Being a Lash Tech isn’t all fun and games, there are occasions where we just need an easier, quicker way to get things done. That’s what we do as Lash Techs - get things done! At London Lash, we pride ourselves on giving our Lash Tech community a little pick-me-up here and there. Whether it be exclusive discount codes, new product launches, or handy tips and tricks; our goal is to enrich your life as a Lash Tech, help you grow your clientele, and create the most glamorous eyelash extensions the world has ever seen! Sticking to our word, today is the day we offer you five lash hacks that will change your life!

1. Isolate From the Root
If you’re isolating with one pair of tweezers and you're getting stickies, or can't seem to isolate the lash as well as you’d like to, then maybe that isolation technique isn't for you! Not isolating the lashes properly means the natural lashes can be damaged in the process, which is painful and unbelievably unpleasant for your client if their lashes are stuck together. Remember, if you don’t correctly isolate your clients’ lashes, then their lashes are not going to be able to shed as they’re naturally intended to.

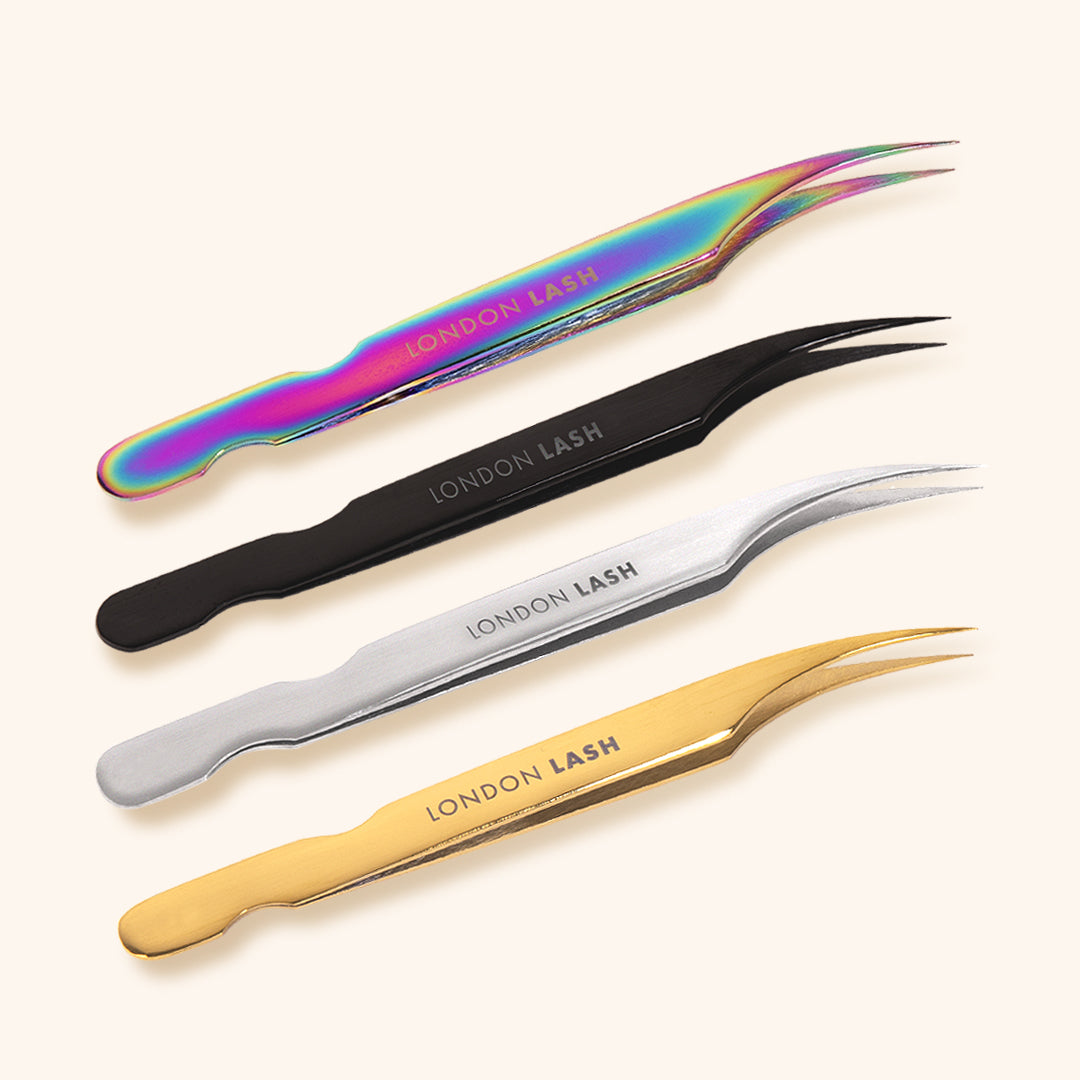
Instead, try this method. When you begin isolating your lash, you want your isolation tweezers to be pretty much closed in order to avoid any other pesky lashes coming into the isolation area. Then grab another pair of tweezers, as this will help you isolate the lash faster - we recommend using a straight tweezer with a fine tip to grab the lash, and a tweezer with a curved or flat base to push all the other lashes to the side. When you have found your lash, scoop up the lash line and open up your lash tweezers simultaneously. This results in a wider gap between the lashes, allowing you to perfectly place the eyelash extension onto the natural lash.

2. Store Your Unopened Glue in the Fridge
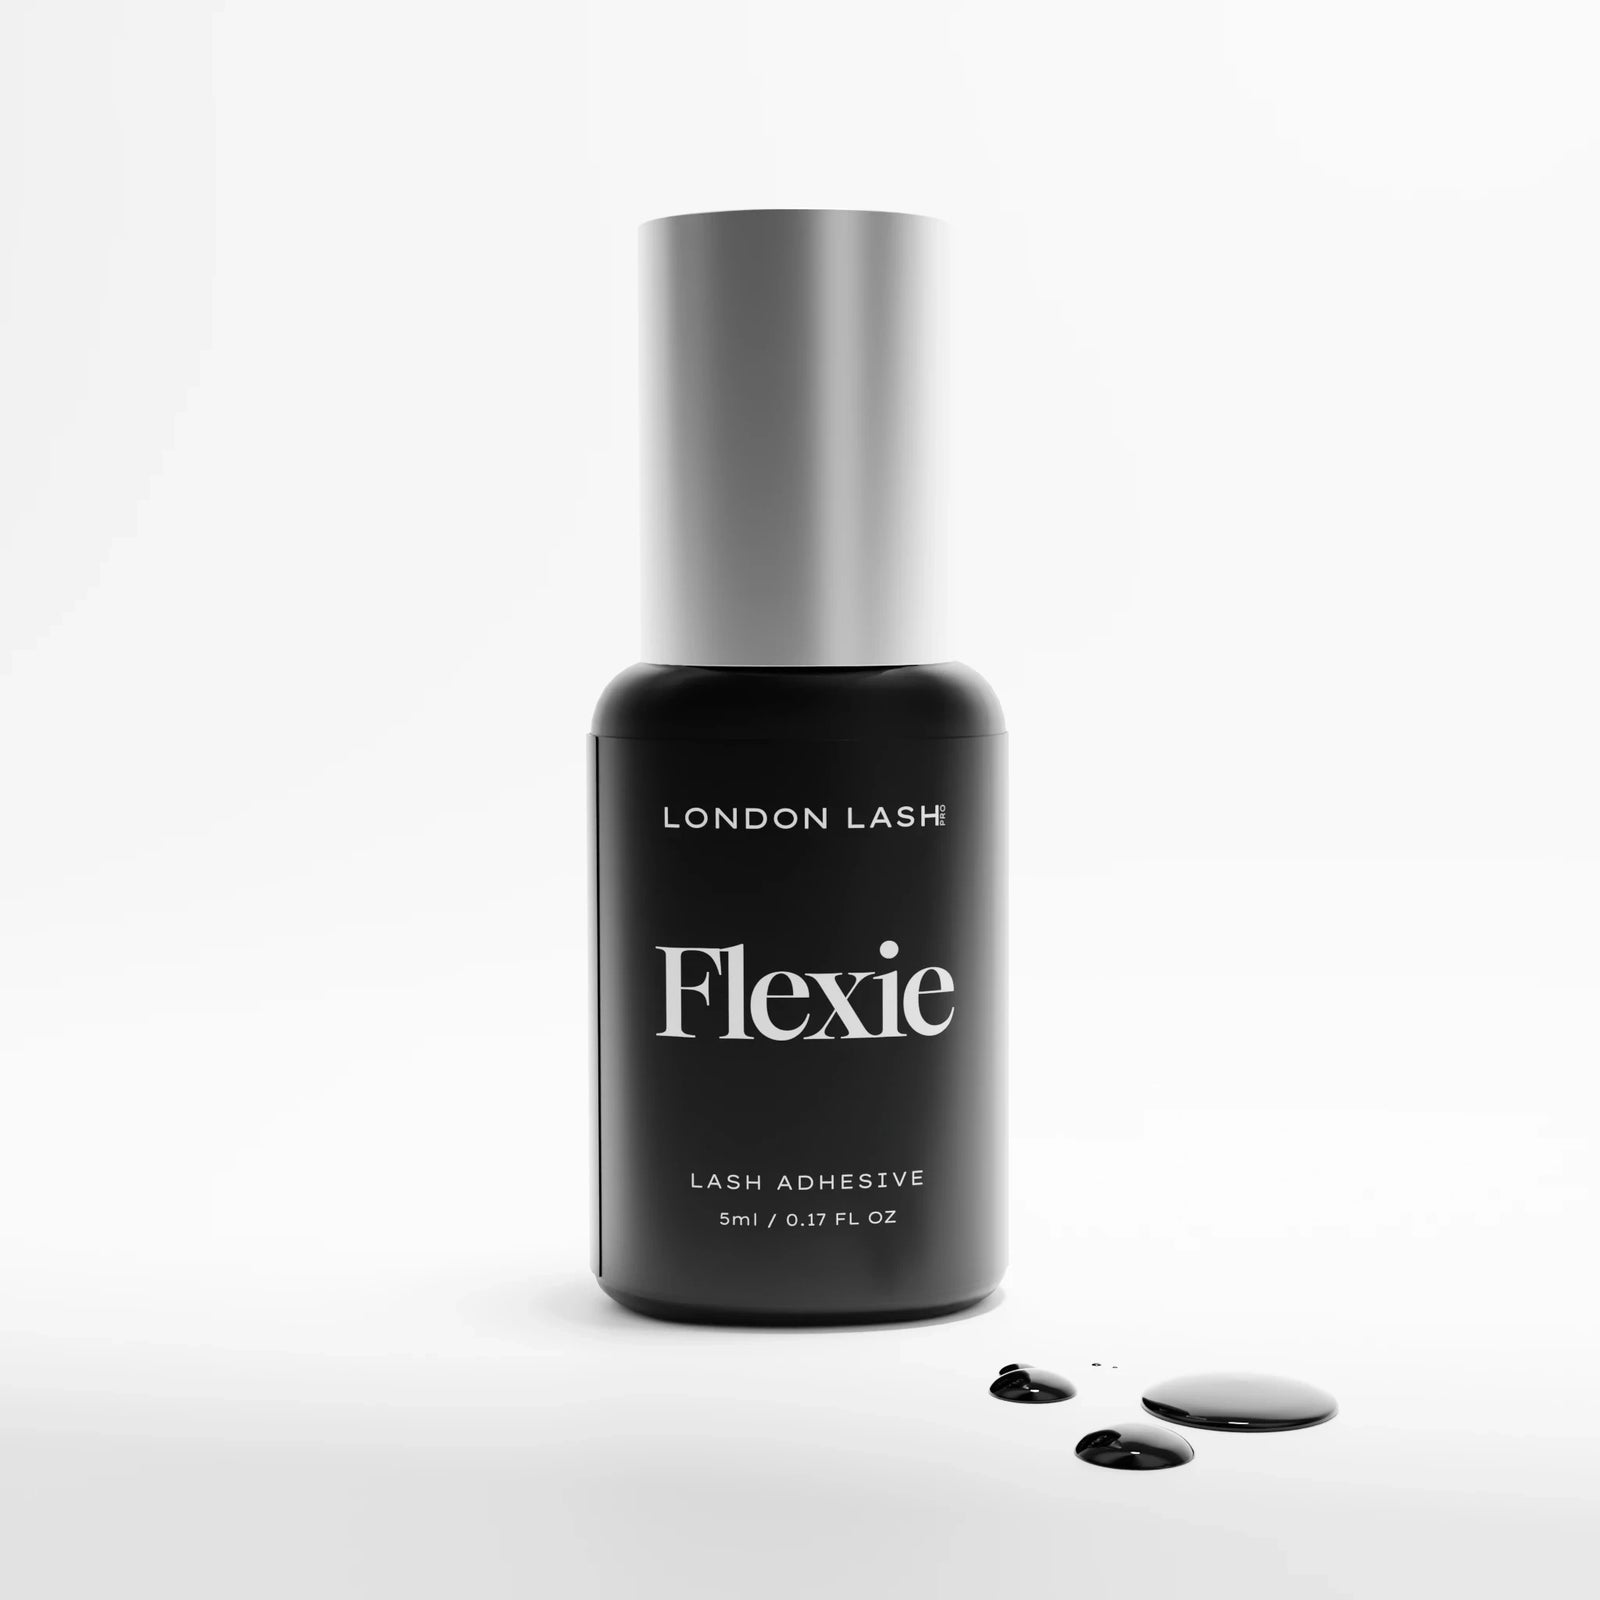
I know what you're thinking, and don’t panic. We know you should NOT store your lash glue in the fridge once it’s been opened, but beforehand, go ahead! This may feel like a controversial tip as, after you have used your glue, storing it in the fridge will spoil your glue - moisture will get into the glue formula and cause the glue to cure in the bottle. However, unopened lash adhesive can be stored for up to 6 months (this varies with each lash glue brand), and believe it or not, it can be stored in the fridge.
After opening, your lash glue will last for about 2 months before you need to switch it out. During this time, we recommend storing your glue in an airtight container in a cool, dark, and dry space in your lash studio. This will ensure that your glue stays fresher for longer. Read more about how to store your lash glue here!

3. Detack Your Tape
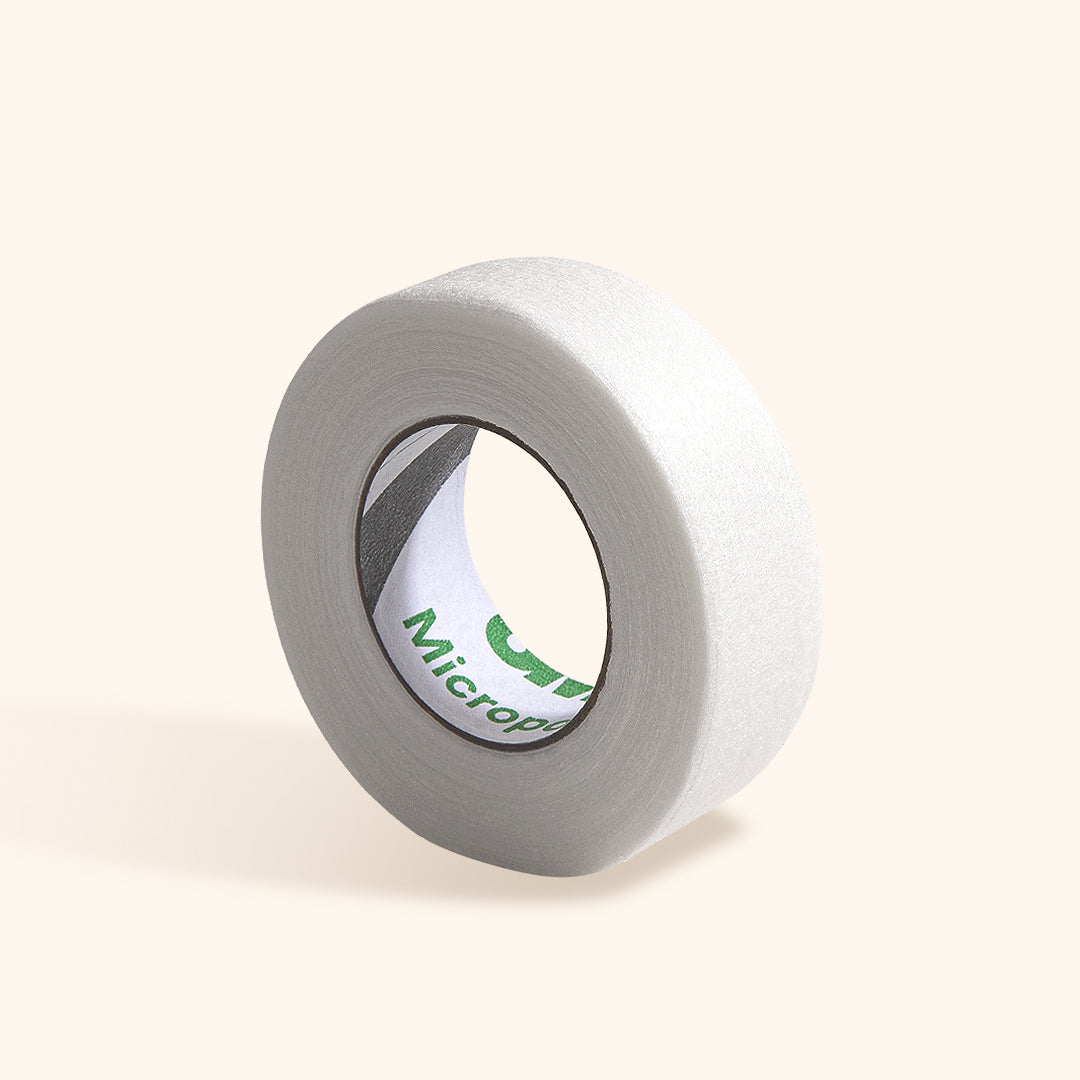
Are you afraid to remove the lash tape when you’re using the tape-back method to apply the lashes in layers? We feel you! We hate the daunting feeling that you get as you peel back the tape, knowing that you could potentially remove some of your client’s lashes - it makes us shiver thinking about it. Let’s preface by saying, if you are using one of our eyelid tapes such as our micropore tape or surgical tape, then you shouldn't have this problem. However, if you want to be super cautious, listen up!

It goes without saying that if you want 100% coverage, the tape back method is IT, so don’t sacrifice it due to fear. There are a few ways you could avoid the lashes sticking to the tape. The first way, which we always recommend, is to detack your tape on the back of your sanitized hand so that when you apply it to the eyelashes, it isn’t mega sticky. Alternatively, use a micro swab and coat the top layer of tape with primer. As you peel back the tape it’ll feel as if it’s sliding off - success! However, primer is more costly than tape, sooo, if you don’t want to do this, you could layer your tape instead.
Start by pulling out a line of tape, then flip it underneath itself so that it sticks together. Before ripping the tape with the lash tape cutter, pull out a bit more, about equivalent to the amount you have already got, and rip it off. Then pull another strand of tape, of the same size, and combine the two sticky tapes together at one end to make a longer strand. You should now have a strand of tape that is sticky at both ends but not sticky in the middle; this middle section will be placed up against the lashes as you tape them back, while the sticky sections will adhere to the skin.

4. Use a Wooden Spoolie for Pretreatment
As we are all aware, pretreatment is KEY! So if you want your lash retention to be top-notch, one of the main things that could be holding you back is a poor pretreatment routine. If you already have a strong pretreatment routine, then this hack is for you!
Place a thin wooden waxing stick underneath the lash line whilst you are shampooing, cleansing, and priming the lashes. This ensures that no makeup, dirt, or residue gets onto the eye patch, meaning you won’t have to use more than one pair of eye patches. This hack also helps to stop the products from getting in your client’s eyes, and in turn, avoiding any eye irritation.
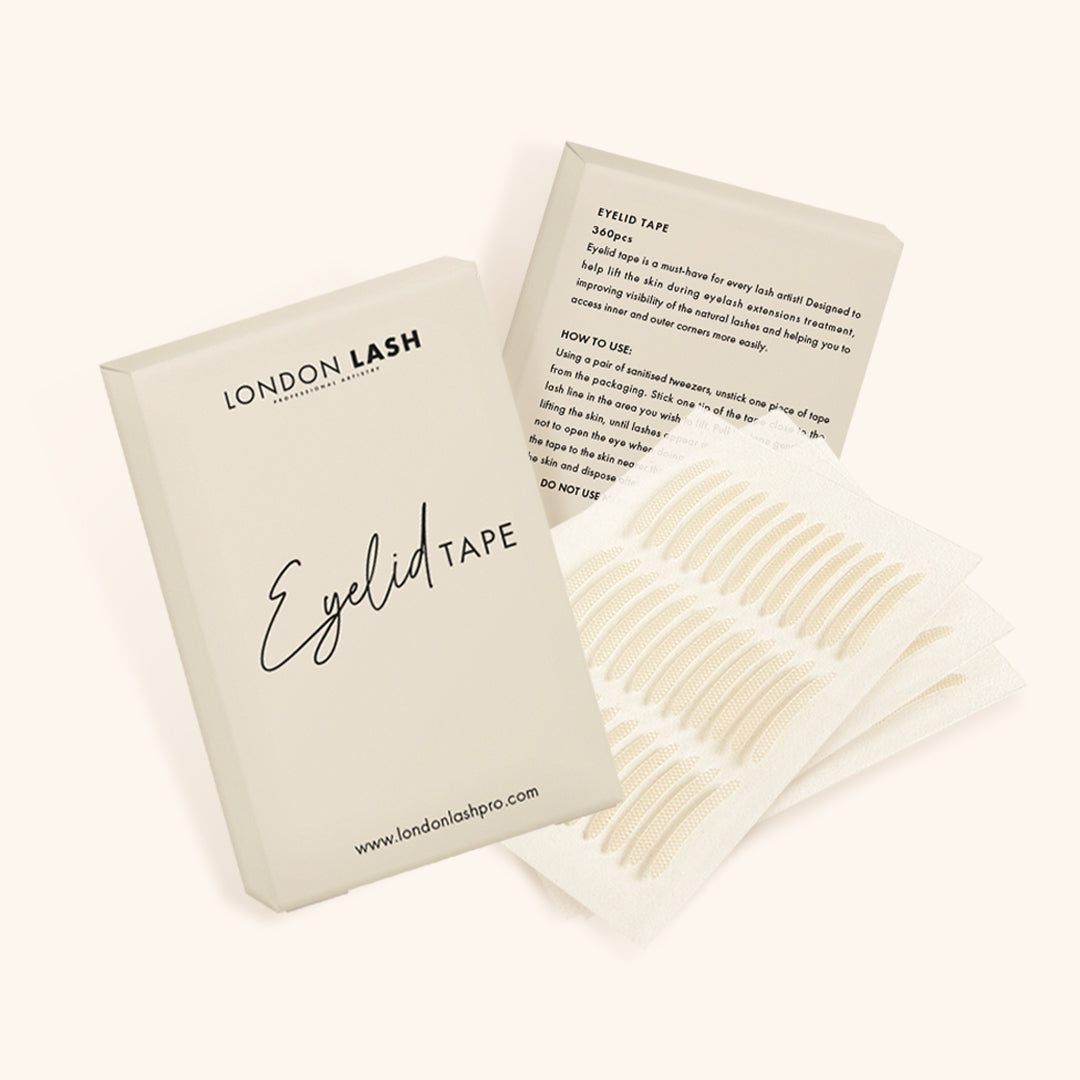
5. Use Eyelid Tape to Lift Downward Growing Lashes
If you’re having trouble lashing downward growing lashes, or inner and outer corner lashes, then eyelid tape will become your new best friend. To solve this issue, simply raise the lids with eyelid tape! Place one end of your eyelid tape on the eyelid near the lash line, then pull the tape upwards and stick it just above the eyelid. This hack is also useful when you are treating a more mature client whose skin may have lost some elasticity. Just like that, with the use of eyelid tape, you can see your clients’ lashes as clear as day.
It doesn’t end there… you can discover more handy lash tips to satisfy all of your lashing needs over on our Youtube and Instagram!

We hope you find these lash-saving tips as helpful as we did. Don’t forget to showcase your lash artistry skills and tag us in your posts on Instagram, we are dying to see how you use these hacks - and if you’ve got any more, tell us!
Check out these featured products