


Wet Look Lashes Tutorial

Table of Contents
Wet Look Lashes Tutorial | How to Map and Style Wet Look Lashes
Spiky Lashes, Wispy lashes, Kim K Lashes and Wet Look Lashes – we’re all suckers for an eye catching spiky finish! Just to help you wow your clients and make your instagram feed the next big thing with your signature Wet Look Lash sets, we’ve put together a little guide for you to follow to create some seriously textured Wet Lash Looks!
First Things First…
Wet Look Lashes rose to popularity in 2020 and immediately grabbed everyone’s attention. Unfortunately, it was a while before the majority of lash techs could actually work on clients in order to try out the styling, so things went a little quiet on the Wet Look front for a while. Since then though, there has been a bit of a resurgence (which we’re super happy about!)

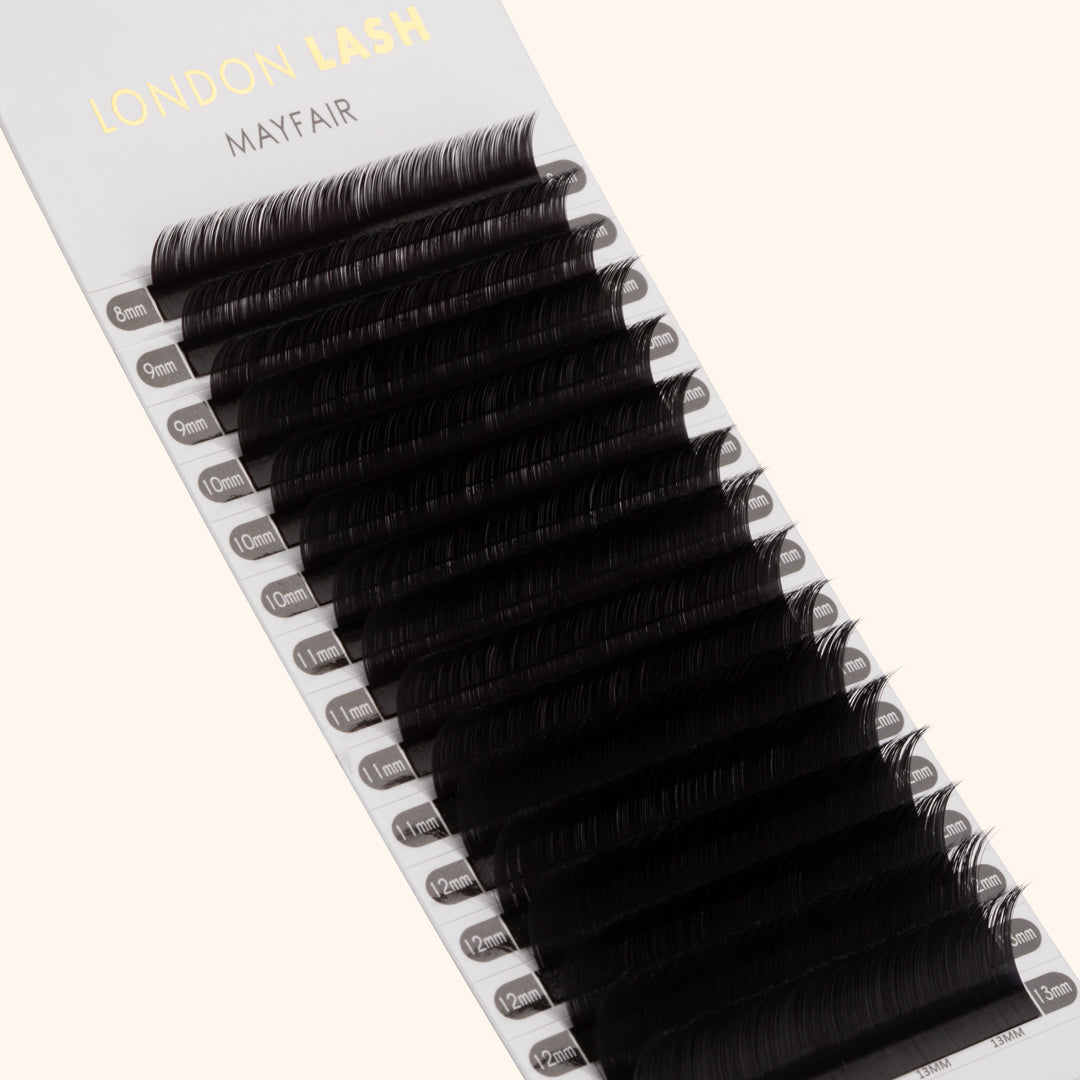
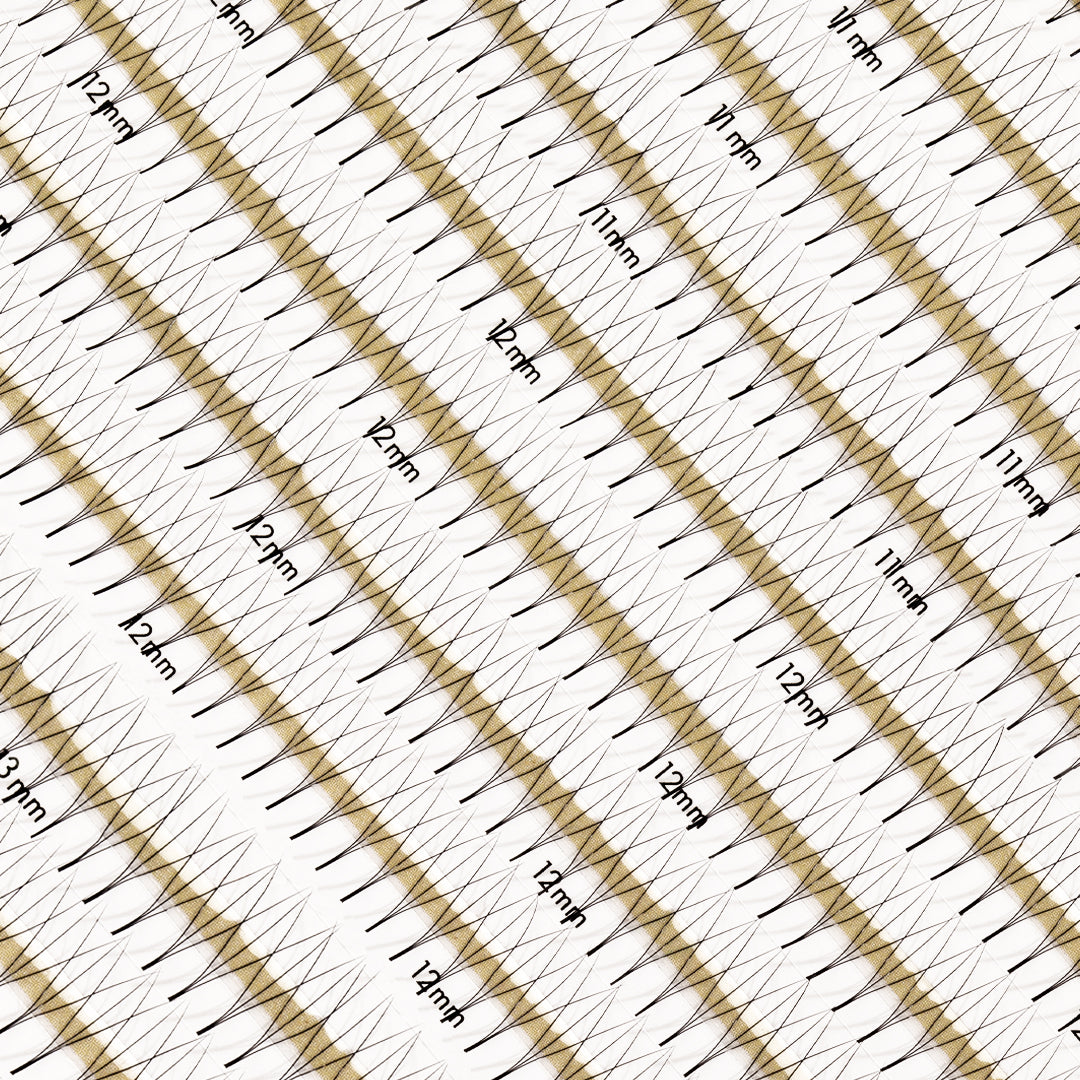
A Wet Look Lash set breaks the rules a little bit in that it uses volume lashes, but doesn’t fan those lashes out - what you’re aiming for is closed fans or spikes.
A Note on Spikes
The easiest way to make spikes is to take some Eyelash Primer on a microbrush and apply it along the tips of the lashes on the strip. This will keep the tips together making spikes much easier for you to pick up. Be careful not to get Primer on the bases of the lashes, as this will cause your lash glue to polymerize more quickly and might give you retention issues as a result.
Secondly, when it comes to spikes we’d recommend using finer volume lashes than you would if you were creating fans – because the weight isn’t as evenly distributed with spikes as it is with fans, you may see that the natural lashes are weighed down more with the spikes than with fans if you use the same thickness.
All that covered, let’s see how to create Wet Look Lashes!
Mapping
You can do Wet Look Lashes in any shape you desire – pick the mapping you’d typically pick for your client whether that be Dolly, Squirrel, Cat, Fox or anything in between. We’re going to be working with layers, so map with the knowledge that you’re going to be applying different lengths to different layers, and account for that when you consider the lengths you’ll be using – the very first thing to consider is what length is safe to use for your client’s lashes and go from there.
It goes without saying that at this point, you’ve carried out your pretreatment routine and have applied your eyepatches, so now we can move on to…
Layer 1
We’re going to tell you a really easy way to work with layers in just a sec – we’re starting from the bottom layer. To do this, take a piece of eyelid tape and use it to lift all the lashes back, fixing the tape to the upper eyelid at the ends. Try not to put too much pressure on the mid-section as you don’t want to stick the lashes down too hard – this will make things trickier further down the line! Take your isolation tweezers and just take down the bottom layer of lashes.
Now you have your first layer, you’re going to start the application. For a really spiky, textured look use closed lash fans on every single lash (if your client has sparse lashes, have no fear – we’ll give you some guidance in just a moment!)

With this layer, you’ll be following your shorter map lengths.
Layer 2
Once this layer is covered, we’d recommend applying some Superbonder to those glue bonds to ensure the lash glue is completely dry as this will just help you to avoid stickies, and will also help you avoid sticking the lashes to the eyepatches, because what you’re going to to is take some more tape and stick down the lashed bottom layer. Again, you’re just resting the tape on the lashes so that it is easy to remove later, and so that you’re not crushing the lashes on the bottom layer.
Once the bottom layer is out of the way, take your isolation tweezers again and free the middle layer of lashes. Generally speaking people have 3 layers of eyelashes, but some do have more. In the case where someone has 4 layers, treat the middle layer as the middle 2 as this will add more density, and will also make the spikes on the top layer stand out more.
On the middle layer, apply your spikes 1 mm longer than you chose on the bottom layer if you want a super textured spiky look – if you’re looking for a slightly less spiky set, you can apply the same length to each layer and you’ll get a slightly less dramatic finish.

Now, we said we’d help you with clients with sparse lashes. If you need more coverage or even if you just want a bit more fluff in the lash set, apply some open fans through the middle layer – not necessarily every lash as this will hide the spikes on the bottom layer, but every few lashes just to close gaps will do wonders!
Once you’re done, apply Superbonder to the bonds and tape down – the best way to do this is to take off the tape that’s holding the bottom layer and use it to hold down layers 1 and 2.
Layer 3
This time, you can finally be rid of that tape on the eyelid! (by the way, if you’re at all concerned that taping your client’s lashes back will be uncomfortable for them, we can tell you with our hands on our hearts that they will barely even feel it)
On this layer, you can either apply lashes 1 mm longer than on the middle layer, or you can use the same lengths as usual, again depending on the overall look you’re aiming for.

Once you’re done with application and you’ve applied your Superbonder for the last time you can remove that tape holding down the bottom two layers and give them a brush through to get everything together!
TOP TIP: When removing your tape from the bottom layer, you might find that it has gotten a little more stuck to the lashes than you’d planned if you’ve rested your tweezers on it whilst isolating. Take your volume tweezers hold down the lashes, then use your isolation tweezers to gently remove the tweezers bit by bit. This will not only ensure that the extensions stay put, but it will also be far more comfortable for your client in the event that it might pull their lashes otherwise.

Other Things To Try
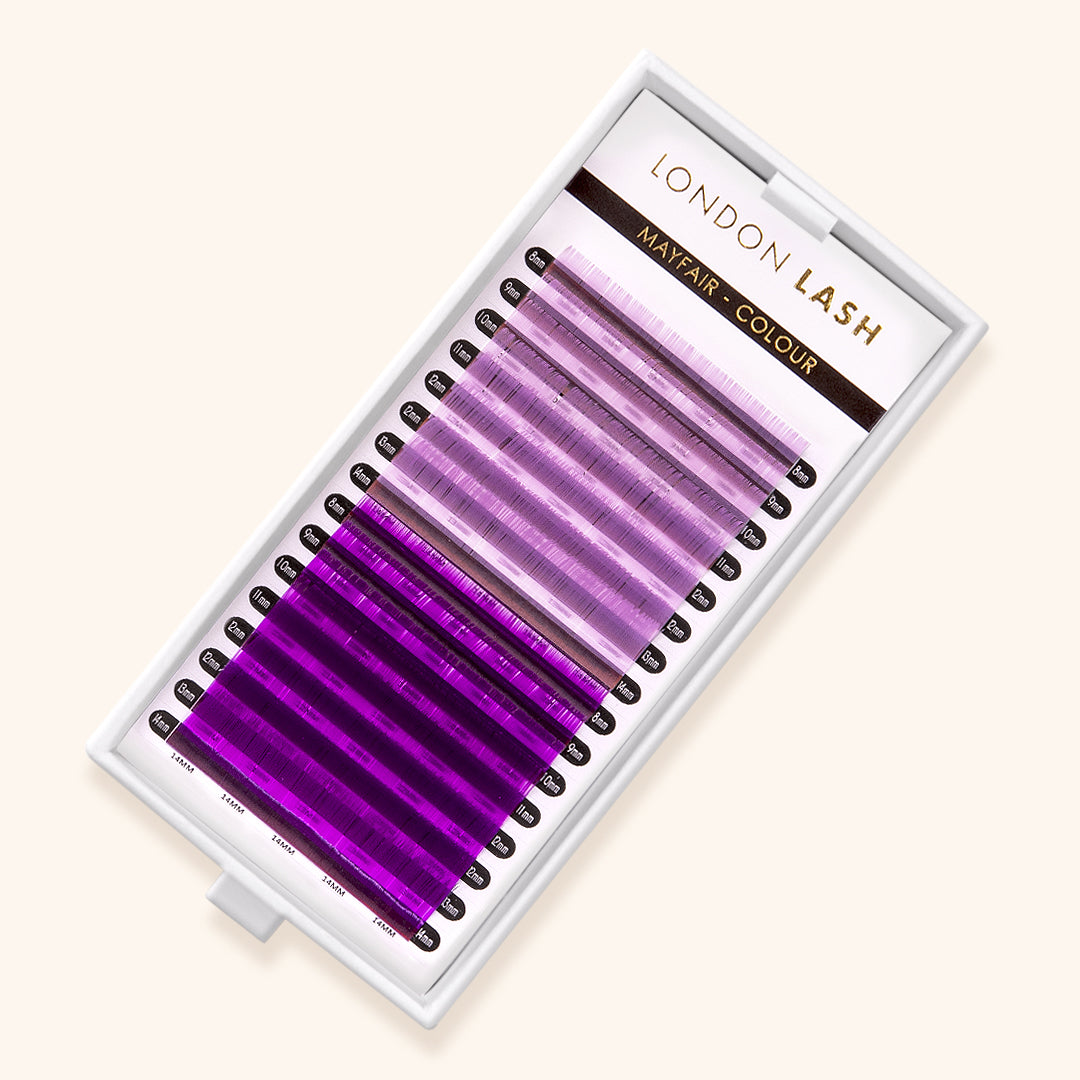
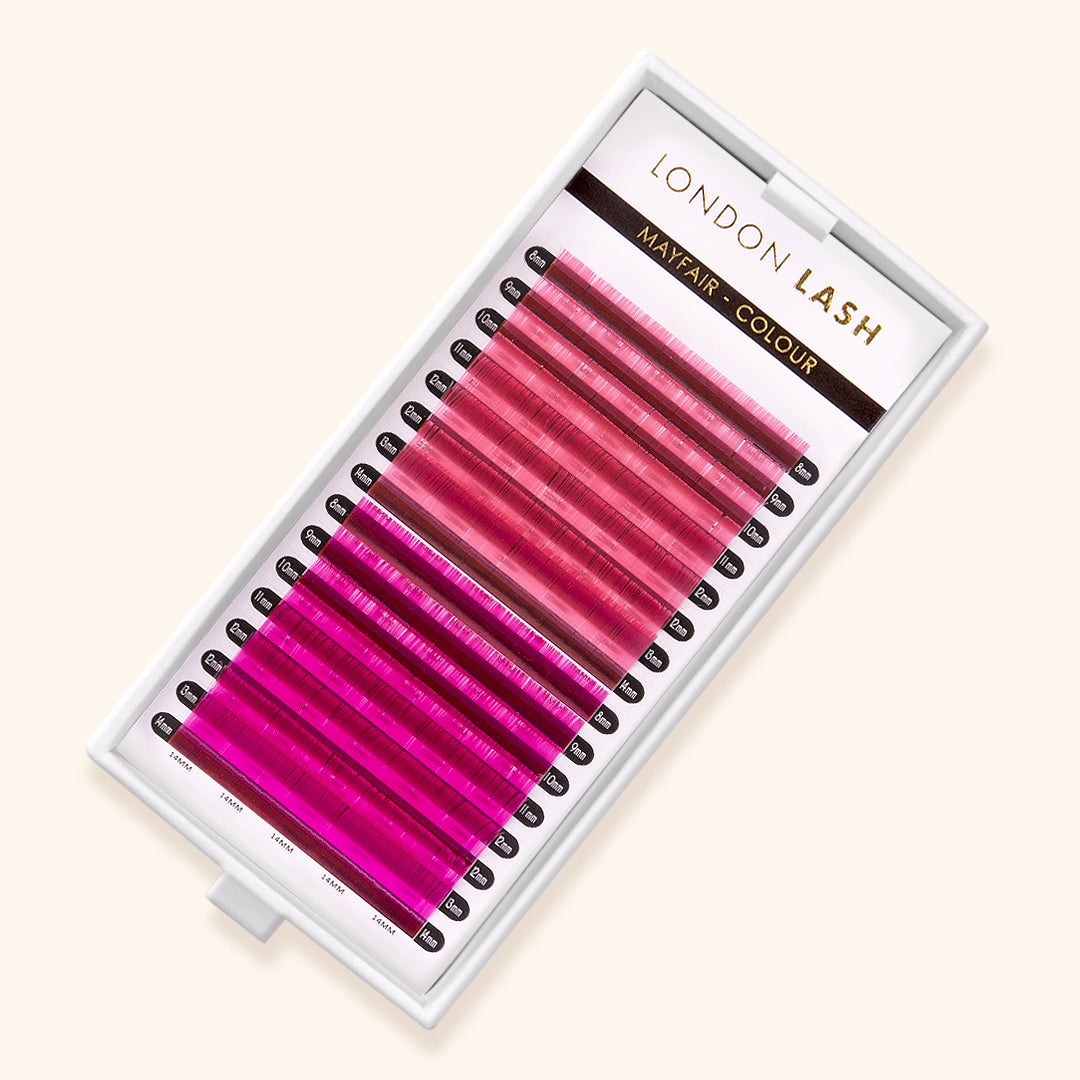
If a wet look on its own isn’t quite as spicy as you’d like it to be, try adding some colored spikes as well as black ones. For the most intense results, apply your colored spikes to the bottom layer, for a bit more of a subtle effect, apply to the middle or the top layers. If you really want to turn heads, apply different colors throughout all layers!
Check out these featured products