


The Best Lash Pretreatment Routine Around!


Table of Contents
The Best Pre-Treatment Routine For Ultimate Lash Retention
In response to the first blog in this series, Is Pre-Treatment Worth it? We can finally introduce you to the most perfect pretreatment products on the market! Not only will your clients' lashes look amazing, but so will your lash trolley.
We’ve taken the stress out of finding which lash cleaning products you need in your life. To make your life way easier, we have a 5-step pretreatment process that you can follow. Your clients will be queuing out of the door!
We must say, our pre-treatment products are a ride-or-die for many lash techs. So, whether you're a beginner or a pro, we’ve got your pretreatment routine on lock. As your lash tech gurus, we are here to guide you through the ultimate pre-treatment routine and tell you why it is not a waste of your time. Let’s jump straight in!
Our 5-Step Pretreatment Routine
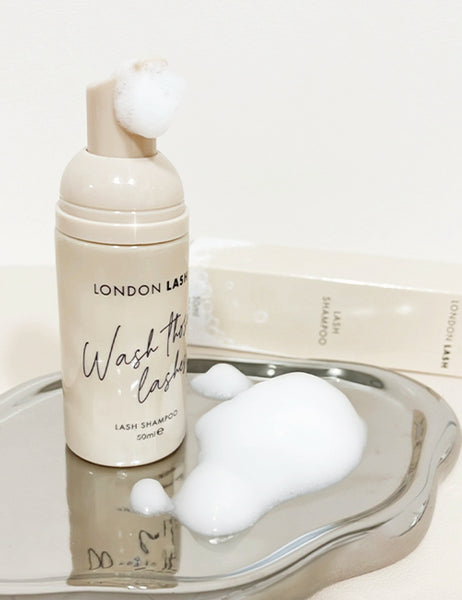
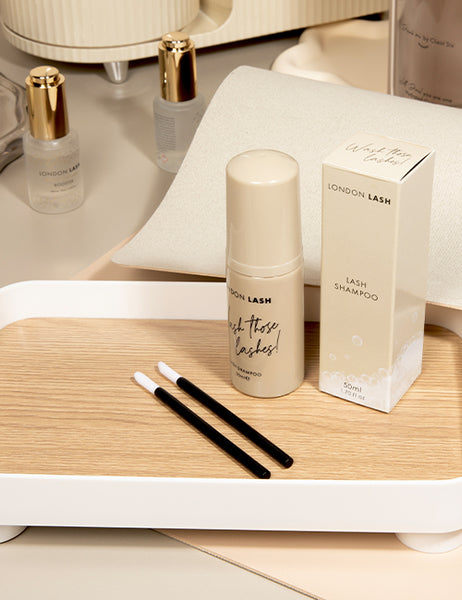
Step 1: Lash Shampoo
We love a good lash shampoo! It is the staple to any lash pretreatment, just like face wash is to any skincare routine. Eyelash shampoo is used to clean the lashes and the skin all at once. Our lash shampoo contains tea tree extract which is a natural antibacterial agent - see ya later bacteria.
Lash shampoo not only cleans the area, but it also prevents bacterial infections such as blepharitis from forming. It’s also great for aftercare too as it flawlessly removes makeup and dirt - you could even offer your clients a sample so that they can clean their lashes at home.
If you are a beginner lash tech, a foam cleanser is the bare minimum. If you're on a tight budget or are just starting out, a lash shampoo is the best way to start! It’s not as thorough as a full five-step routine, but it’s a fantastic base.
Shampoo Suggestion: Make sure that you thoroughly rinse off all of the foam from the lashes. Any residue will prevent the lash glue from bonding to the natural lashes.
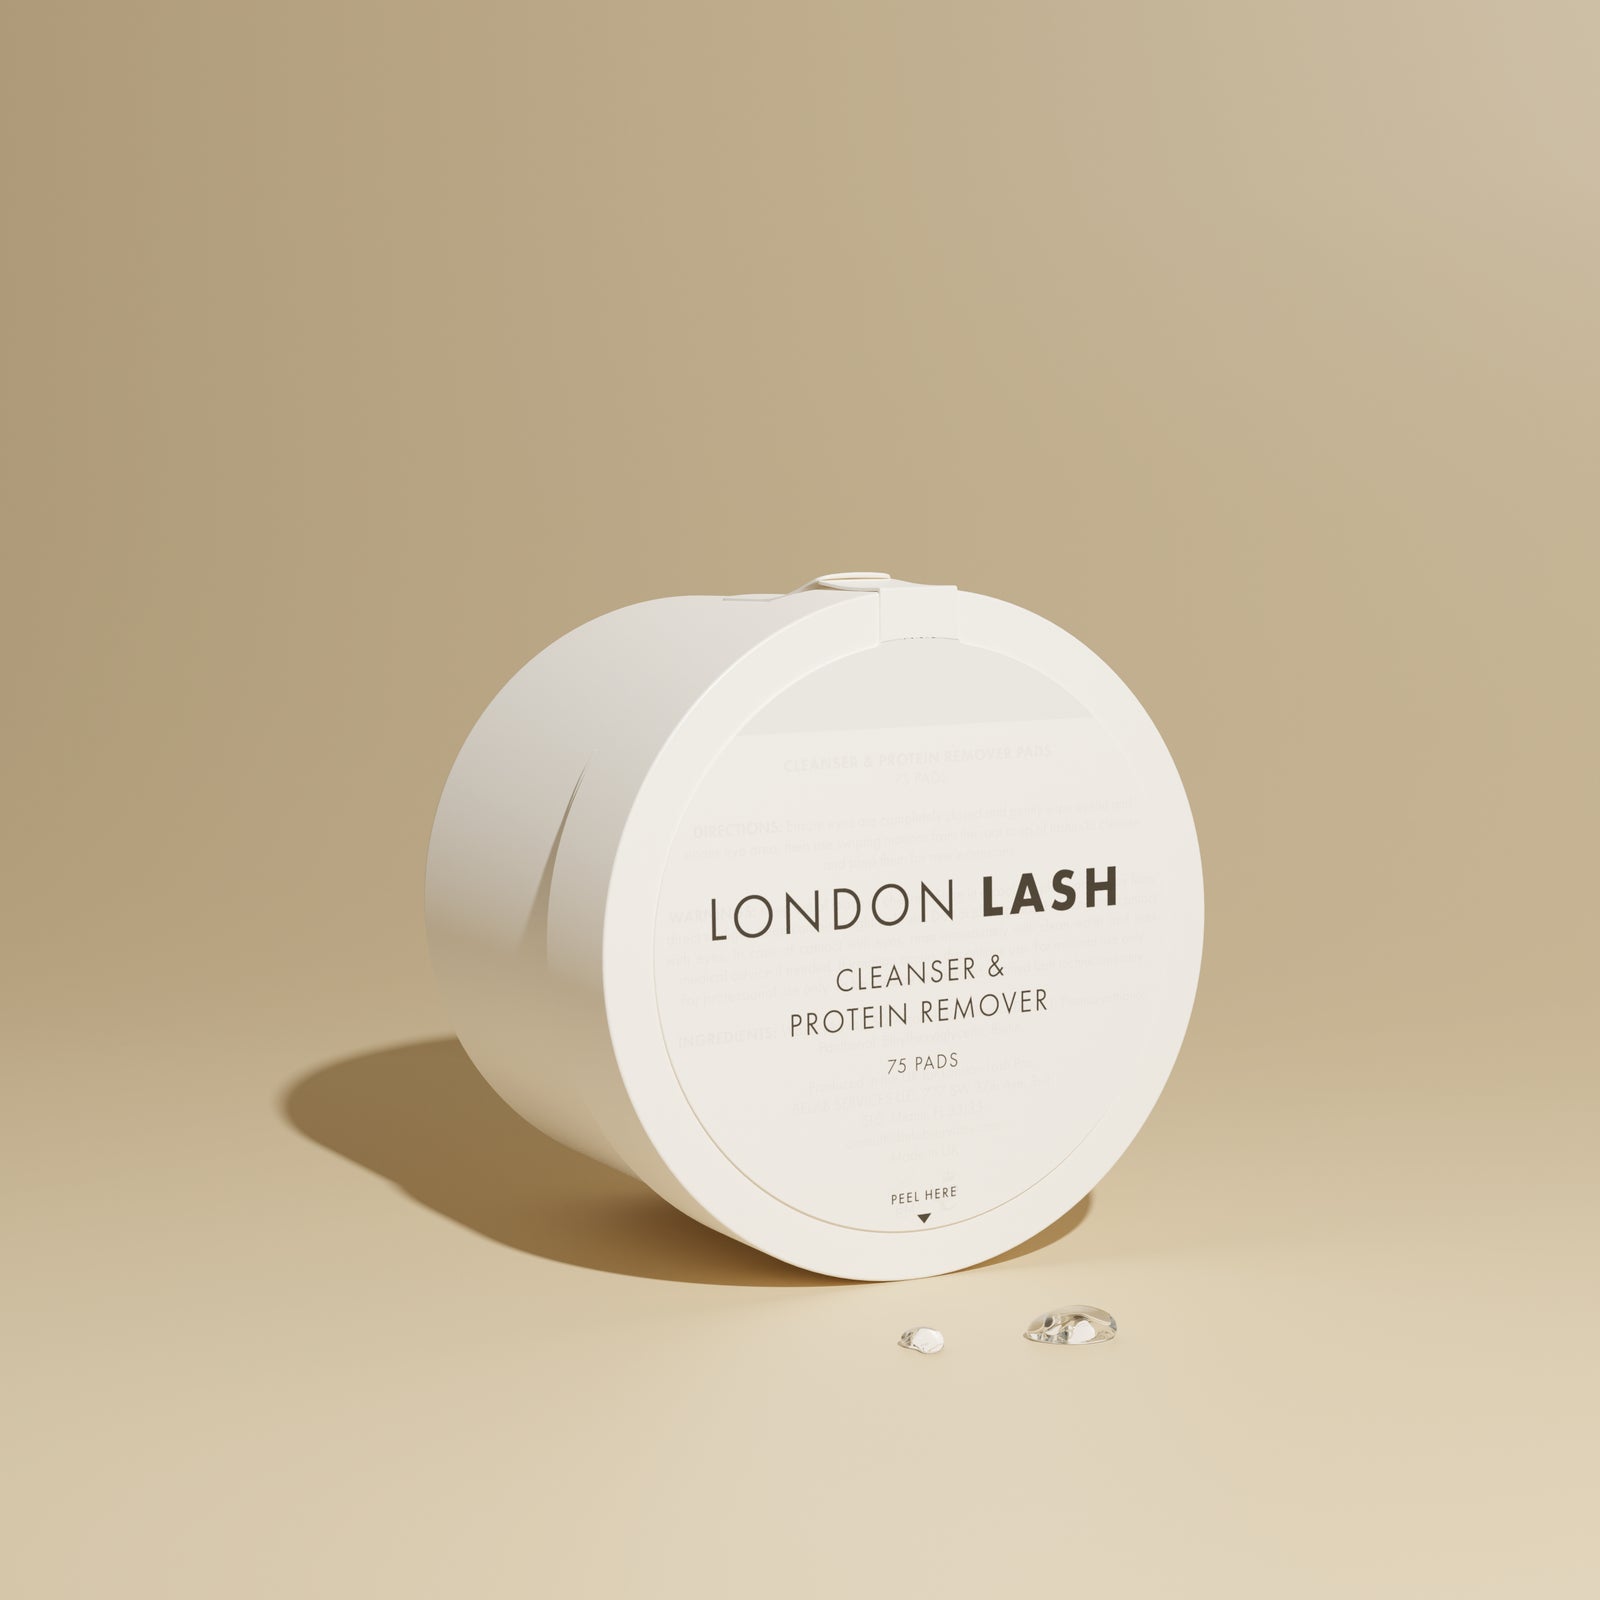
Step 2: Protein Remover Pads
Protein remover pads are a must! These life-savers gently cleanse the skin around the eyes and lashes to help the eyepatches stay in place - we know how annoying it can be when they move!
An essential step to any pretreatment routine, they cleanse the lash line and lash area and are formulated to remove any traces of makeup, proteins, and oils. This product is perfect for getting a super close cleanse of the lash line.

These lash pads contain nourishing ingredients such as Vitamin E, Amino Acid Complex, and Aloe Vera extract. Soothing and satisfyingly beneficial - what’s not to love?
Infill Tip: If you are doing an infill set, try to avoid the glue bonds as fibers from the pads can get stuck to them.
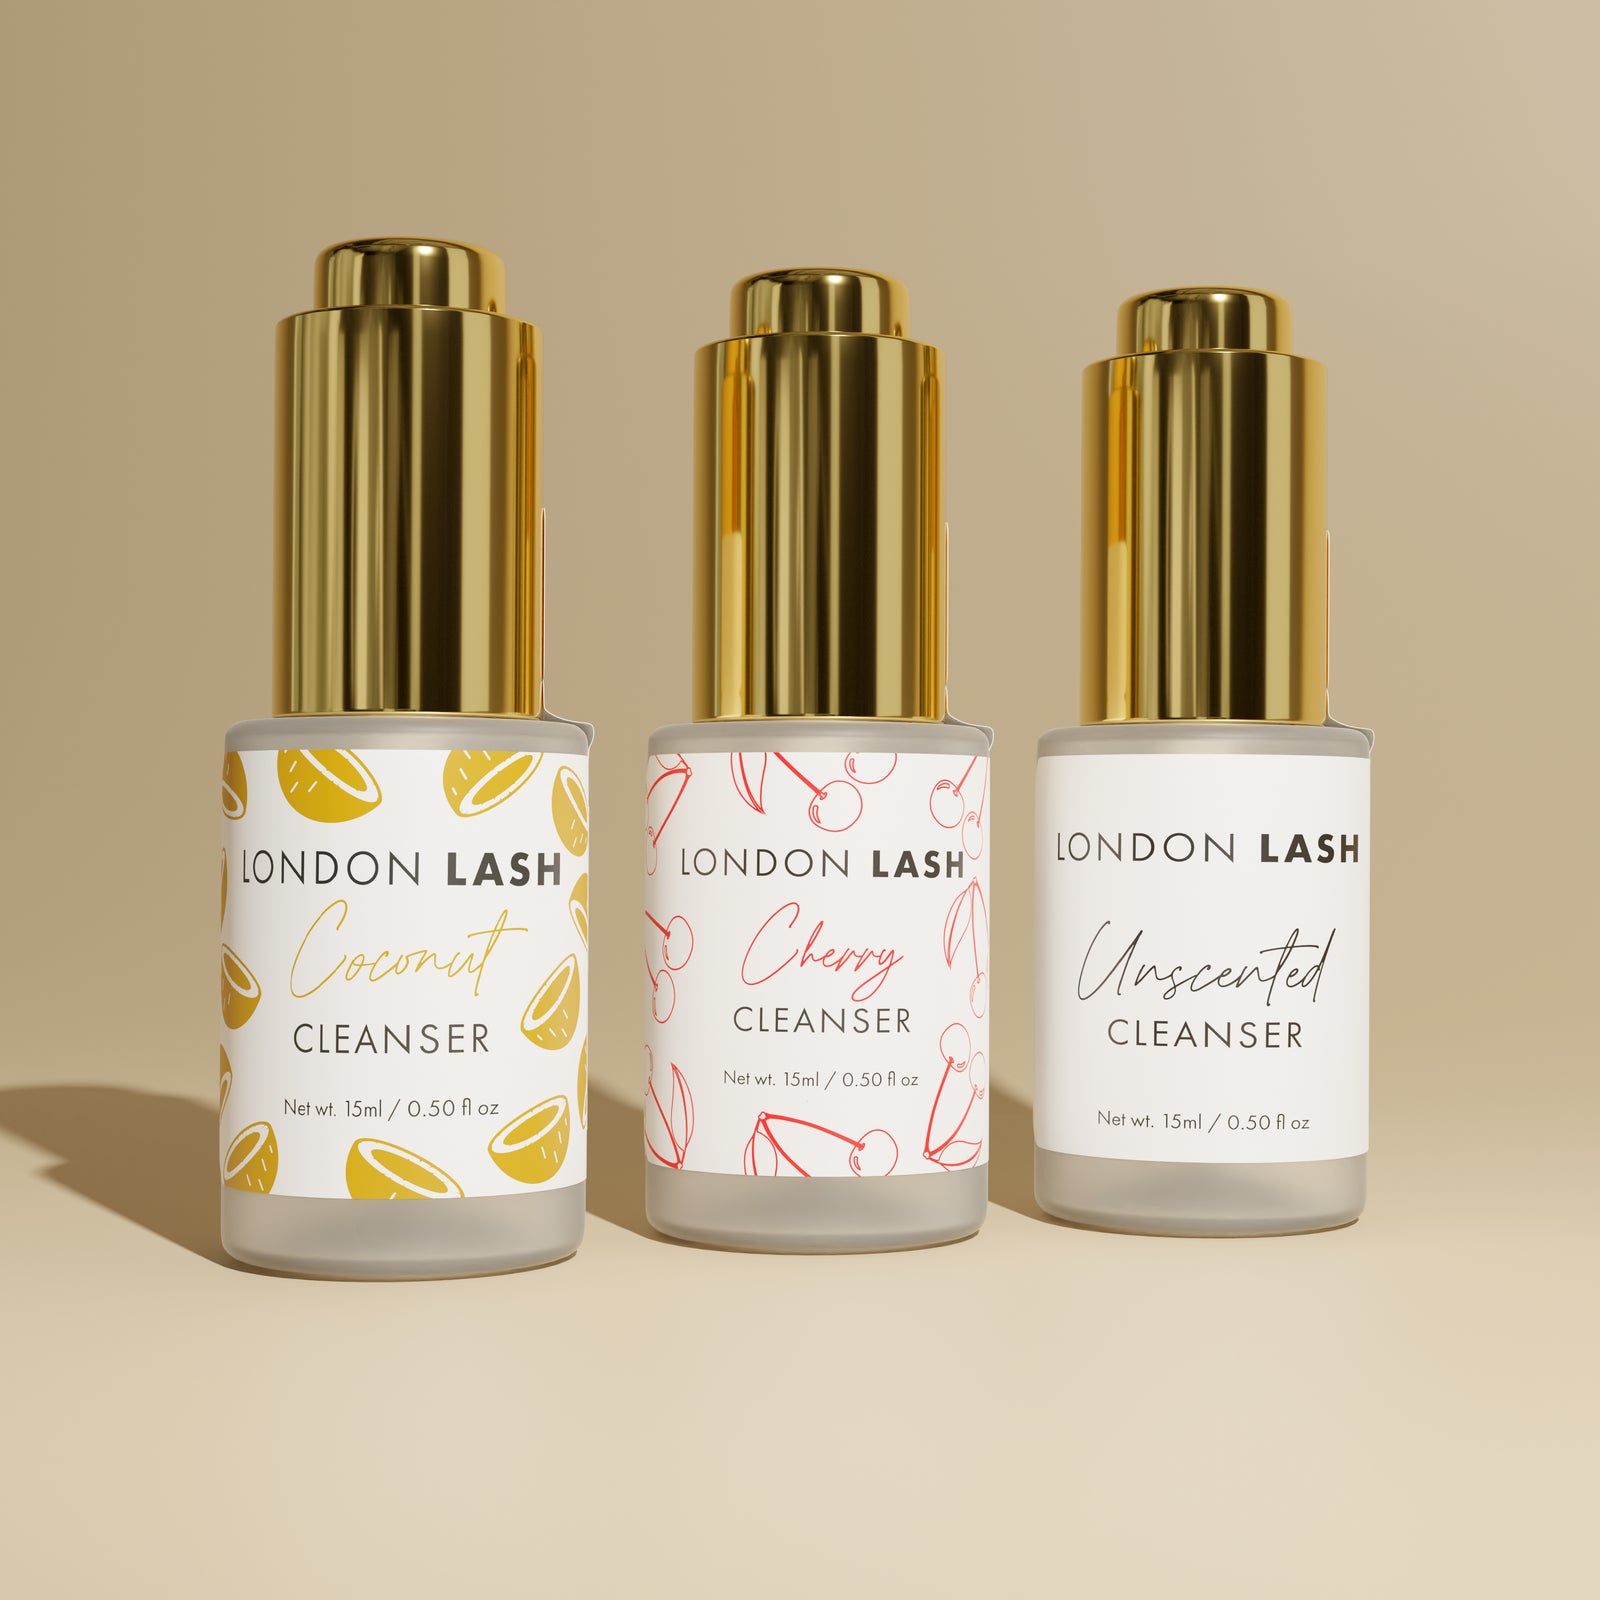
Step 3: Cleanser
The most vital part of the pretreatment routine is the cleanser. Cleanser is an alcohol based product that gets rid of everything. This product is only intended to be used on the lashes and not the skin. With a particular focus on the glue zone, as you don’t want to dry out the tips of the natural lashes, the cleanser destroys any last traces of existing makeup, oils, or dirt.
At London Lash, we offer three must-have cleansers, and in the most irresistible scents too - they smell good enough to eat! Disclaimer: please don’t digest them, no matter how delicious they smell.
Don’t skip this step! It is the most essential product in our pre-treatment range.

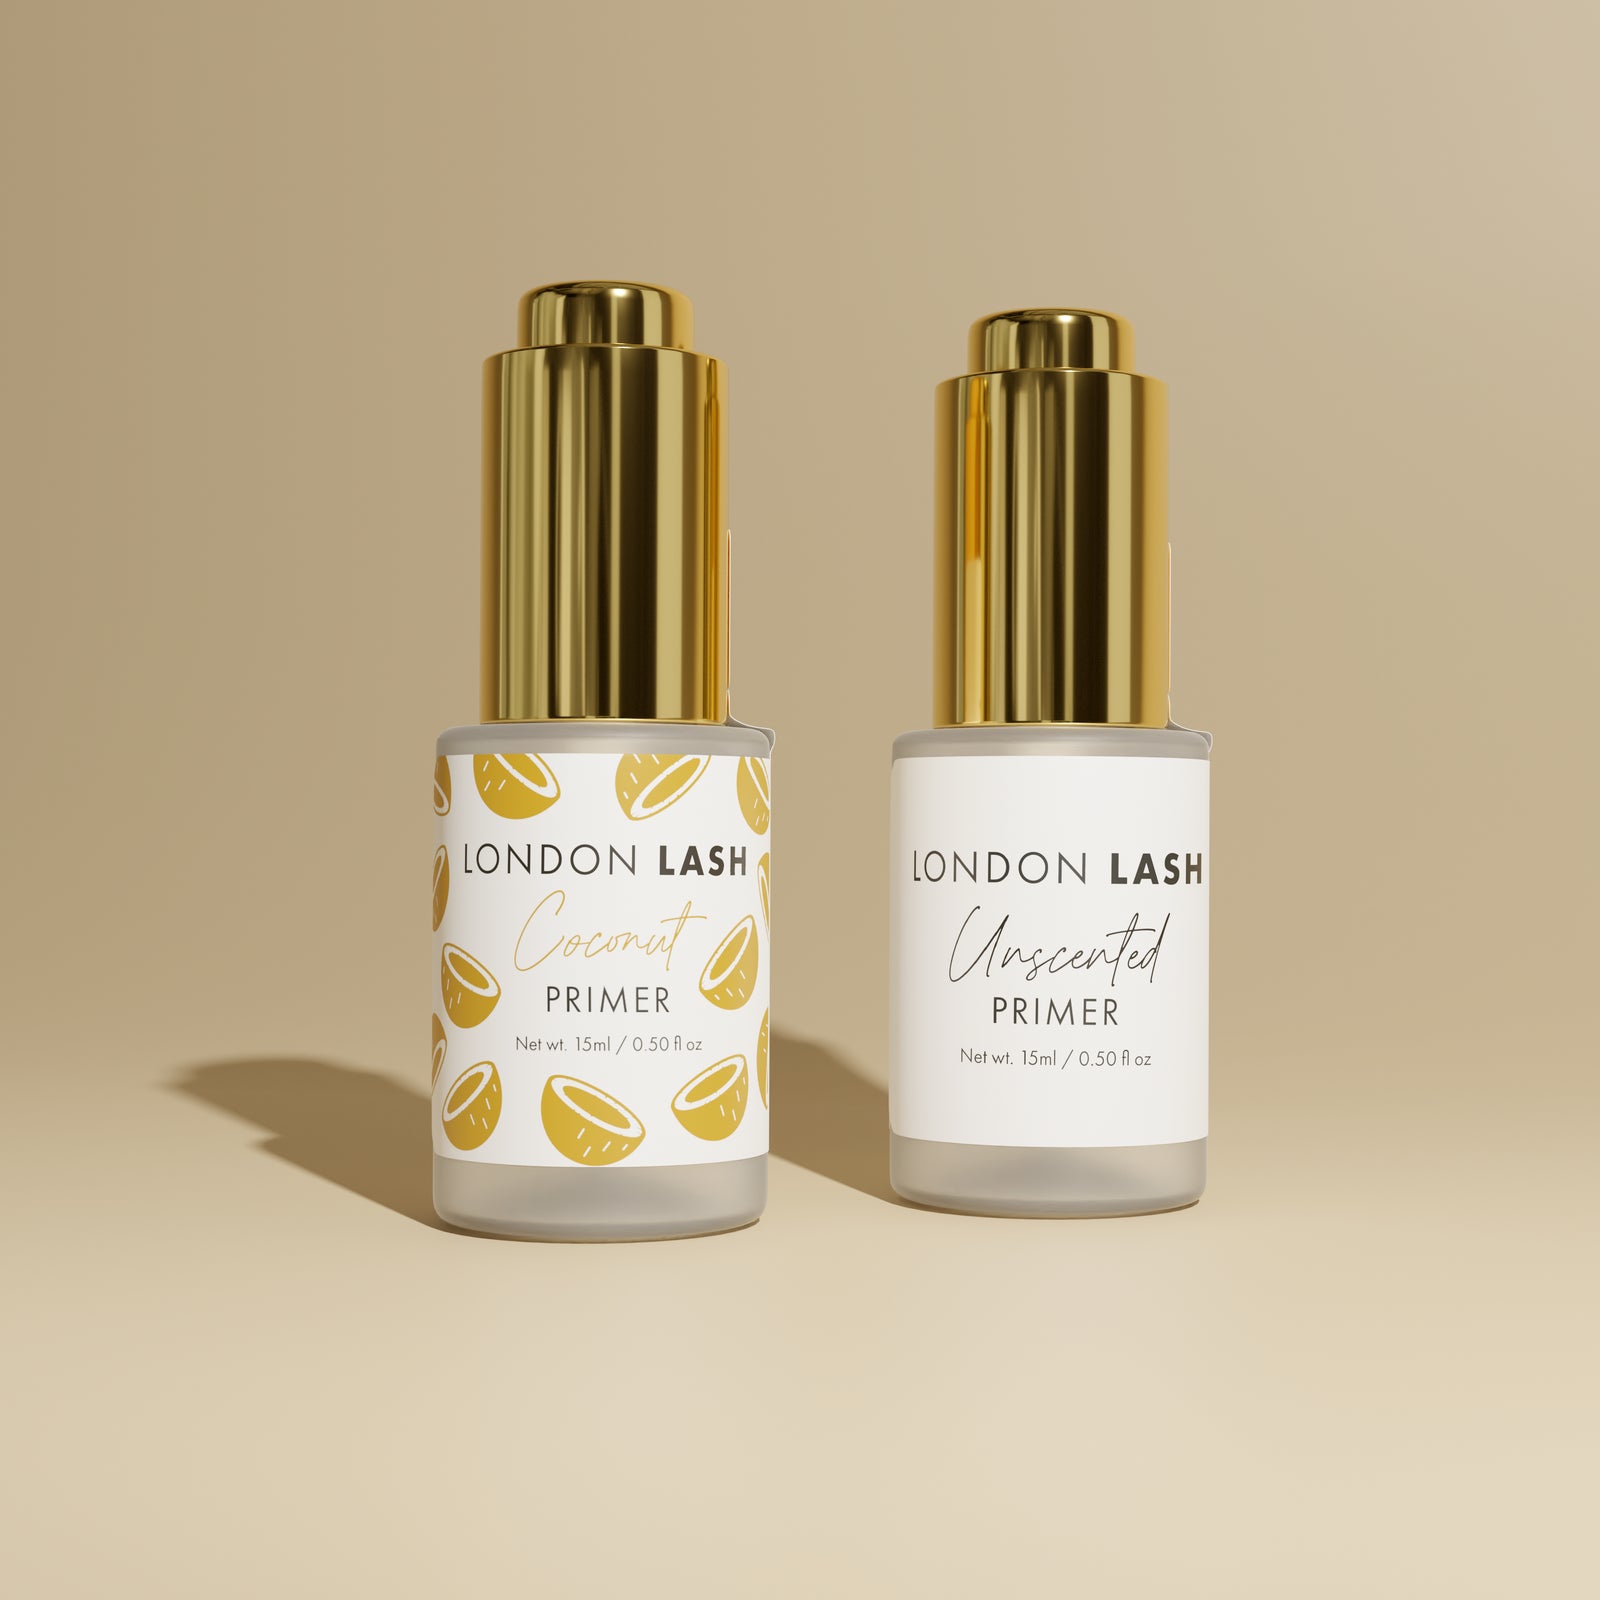
Step 4: Primer
As you have stripped the lashes of any nasty residue, you need a good primer to follow. Let’s add moisture back into those lashes, and create the perfect base for eyelash extensions!
A nourishing lash primer hydrates the lashes, ensuring that your glue doesn’t take too long to cure. It provides the perfect base for lash extensions and allows the glue to easily bond to each natural lash. As we all know, moisture causes our lash adhesive to cure. So, if you don't use a primer, then your lash glue will take ages to dry. You have essentially sucked all of the moisture from the lashes with the cleanser, so you need to add it back in!

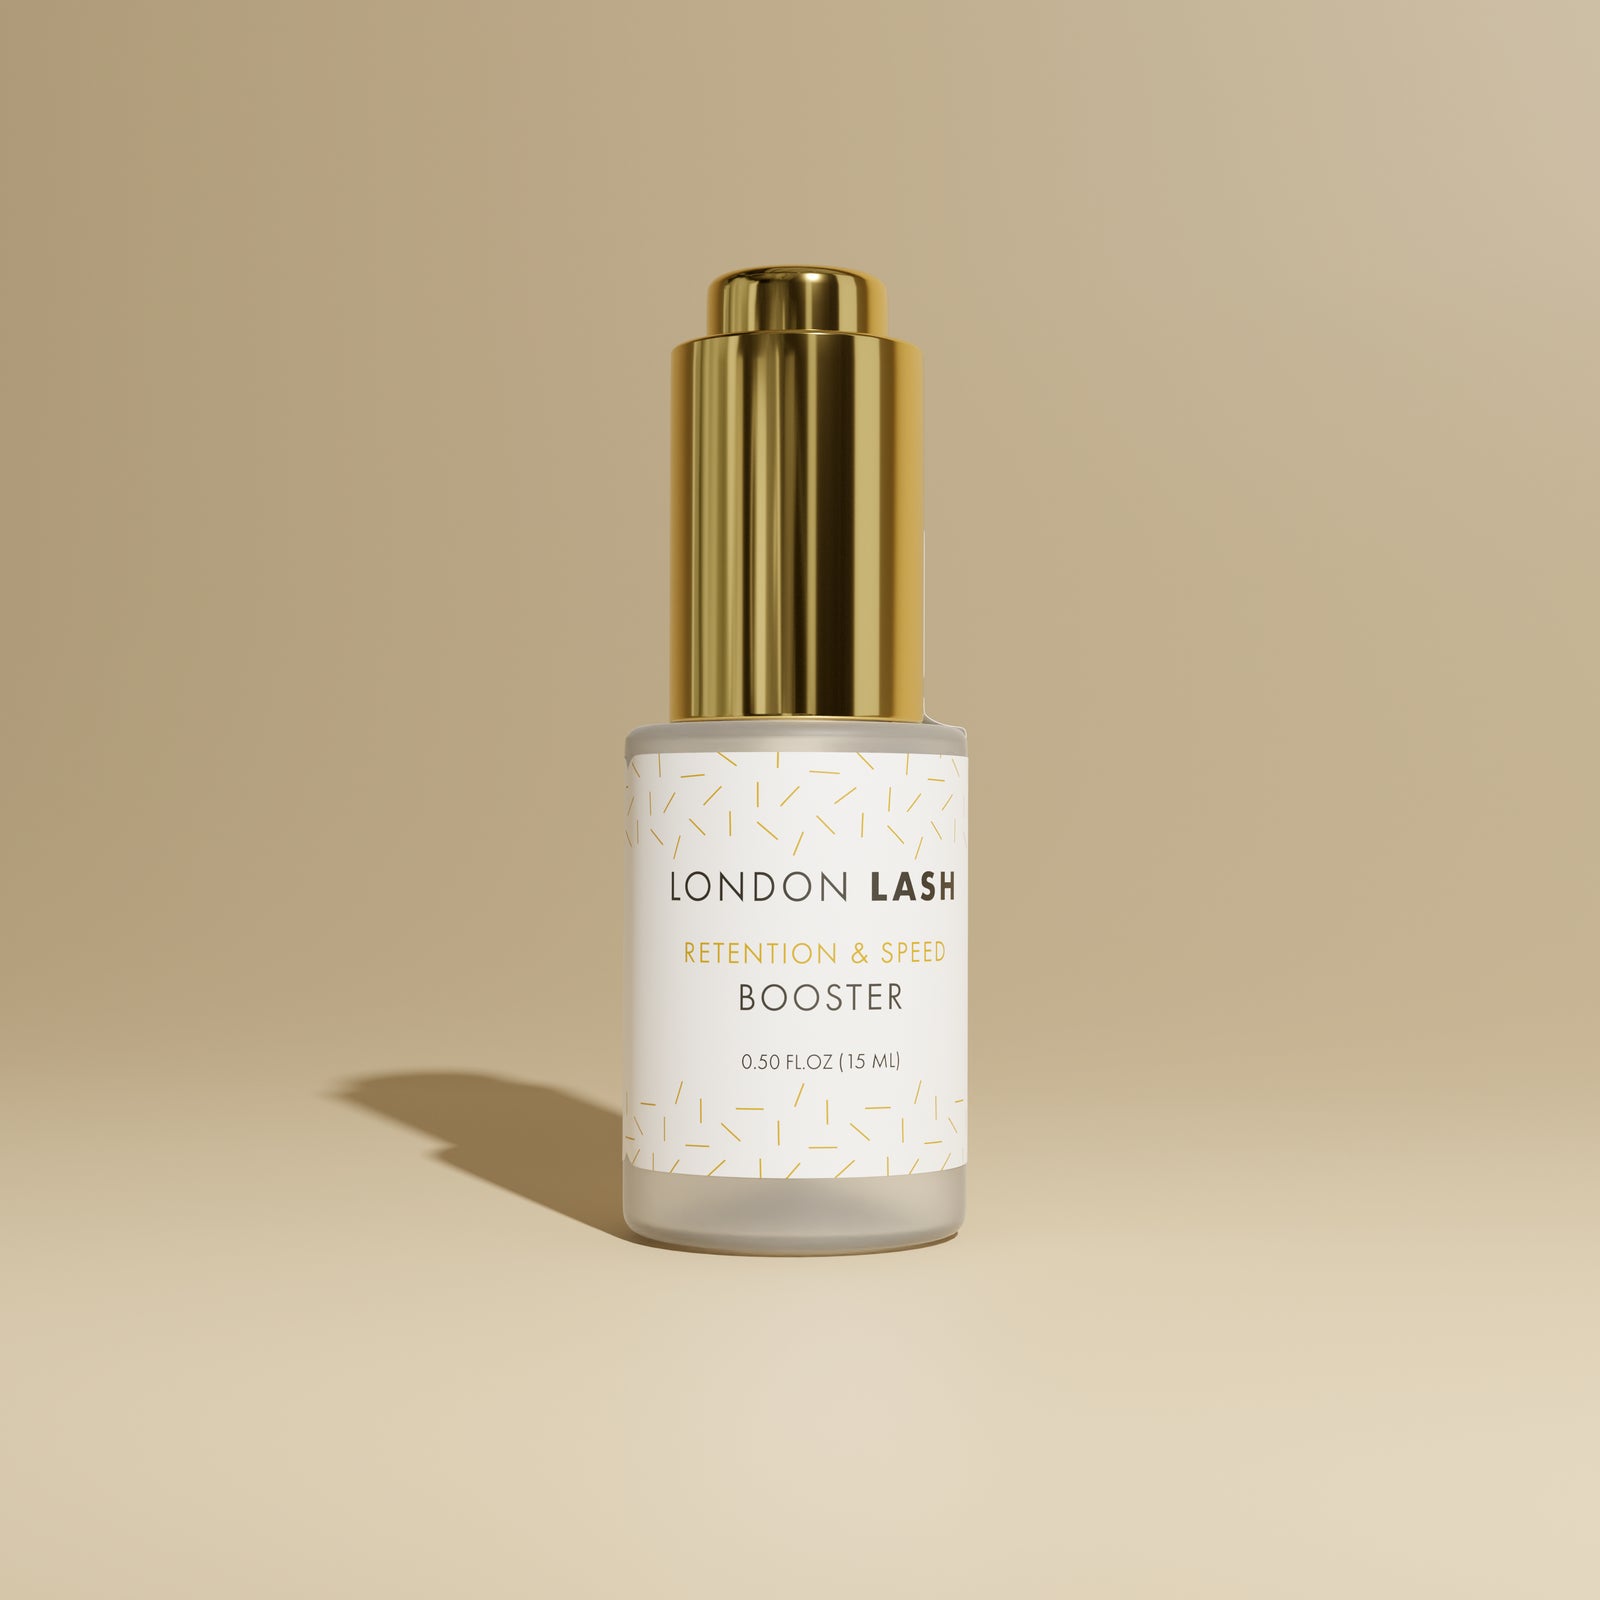
Step 5: Retention & Speed Booster
The final step, you've made it! Our retention & speed booster is truly magic in a bottle. This little alkaline potion opens up the hair cuticle, increases the surface area, and helps the lash glue grip onto and adhere to the natural lash.
If you are a beginner, you may want to skip this step. The booster also speeds up the glues' curing time, which could lead to retention issues if you are taking a longer time to place the lash.

Now it’s time to get lashing! Your client’s lashes have never been so ready to receive eyelash extensions - they are squeaky clean. If you don’t want to do the full 5-step routine, using protein pads, a cleanser, and primer will still work - but be aware that it won’t be as thorough as doing the complete 5 steps.
I hope we have convinced you to introduce a pretreatment routine into your lashing life, you won't regret it. You'll be surprised by how much dirt there is on the lashes, even at the cleansing stage!
Check out our ‘Problems With Retention?’ post for a guide on how to use your new pretreatment products.
Check out these featured products