New In
Glues & Liquids
Lashes
LASH LIFT
Dolla Nails Pro
Online Training
Save up to 57% off
Problems With Retention? A Guide to INCREDIBLE Pre-Treatment
August 09, 2021 3 min read
Improving Lash Retention with Proper Pre-Treatment
Struggling with lash retention? We've got your back! To ensure your clients experience the ULTIMATE lash retention, the pre-treatment process is key!
Gone are the days when a simple Cleanser and Primer were enough for eyelash extension prep. To truly stand out in the lash world and ensure ultimate retention, we suggest you diligently follow the steps below. This will ensure that natural lashes, lash extensions, and lash adhesive all work together in perfect harmony to give your best retention yet!
STEP 1) Lash Shampoo: The Essential First Step
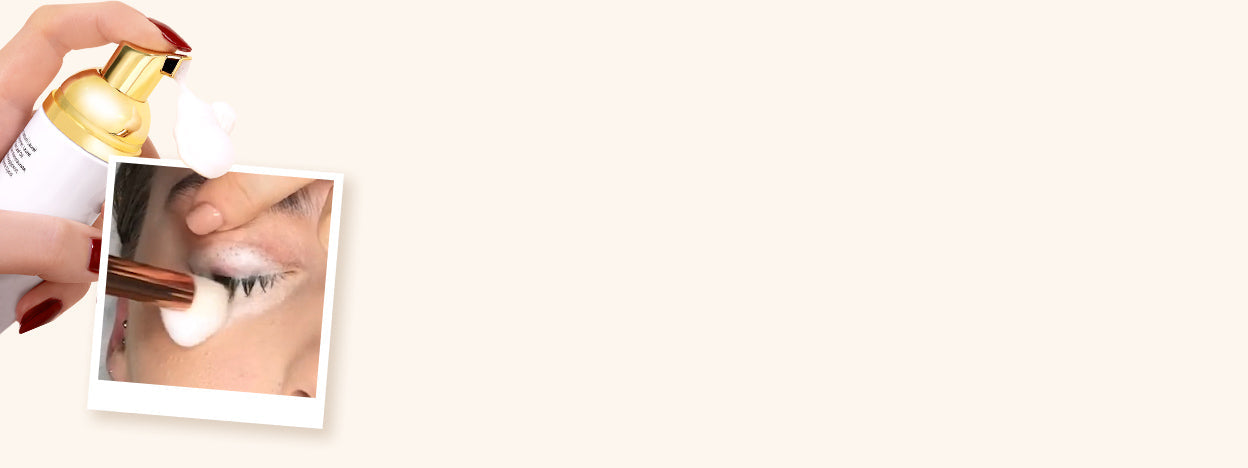
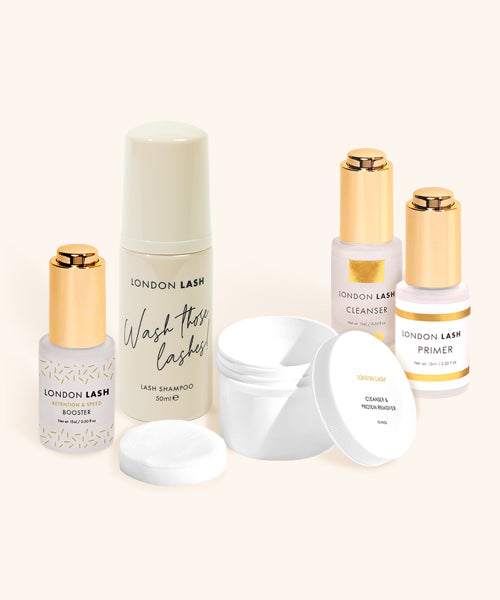
Lash shampoo is a MUST! Always start by washing your client's lashes with lash shampoo before any treatment. Relying solely on a Lash Cleanser and Primer won't always achieve the pristine standard you aim for, and Foam Cleanser is the go-to for swiftly removing eye makeup. So, if your client shows up with mascara and eyeshadow, this will be your lifesaver!

How to Use:
-
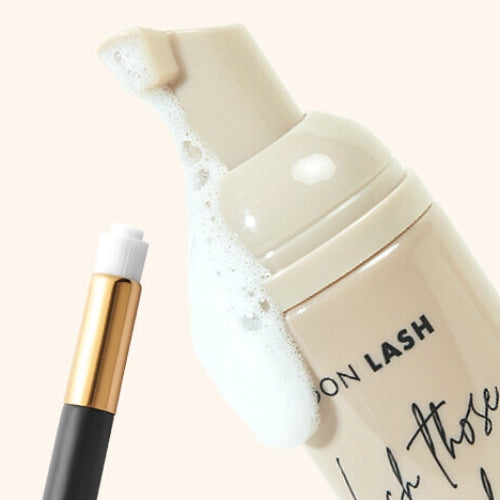
Pump a small amount of Lash Shampoo onto the back of your gloved hand.
-
Use a Cleansing Brush to apply the shampoo gently to the lash line.
-
Rinse thoroughly with saline solution. Ensure all shampoo residue is removed; any remnants can affect retention just like oils or makeup traces.
-
Gently pat dry.
London Lash Pro Tip: Consider offering our lash shampoo in your salon for clients to purchase, helping them maintain their lashes at home.
STEP 2) Protein Remover Pads: The Deep Clean
Not familiar with Protein Remover Pads? Let us enlighten you! These pads are a must-have in the pre-treatment process, ensuring all makeup remnants, natural oils, and proteins are cleared from the lashes and surrounding skin.

How to use:
-
Wrap a Protein Pad around your fingertip.
-
Gently wipe the lashes, eyelids, and under-eye area to remove any remaining makeup and oils.
-
During infills, use these pads to clean the eye area or lash line. Dab the lashes to prevent sticking to the adhesive, and use gentle strokes on the surrounding skin.

STEP 3) Lash Cleansing: The Deep Dive
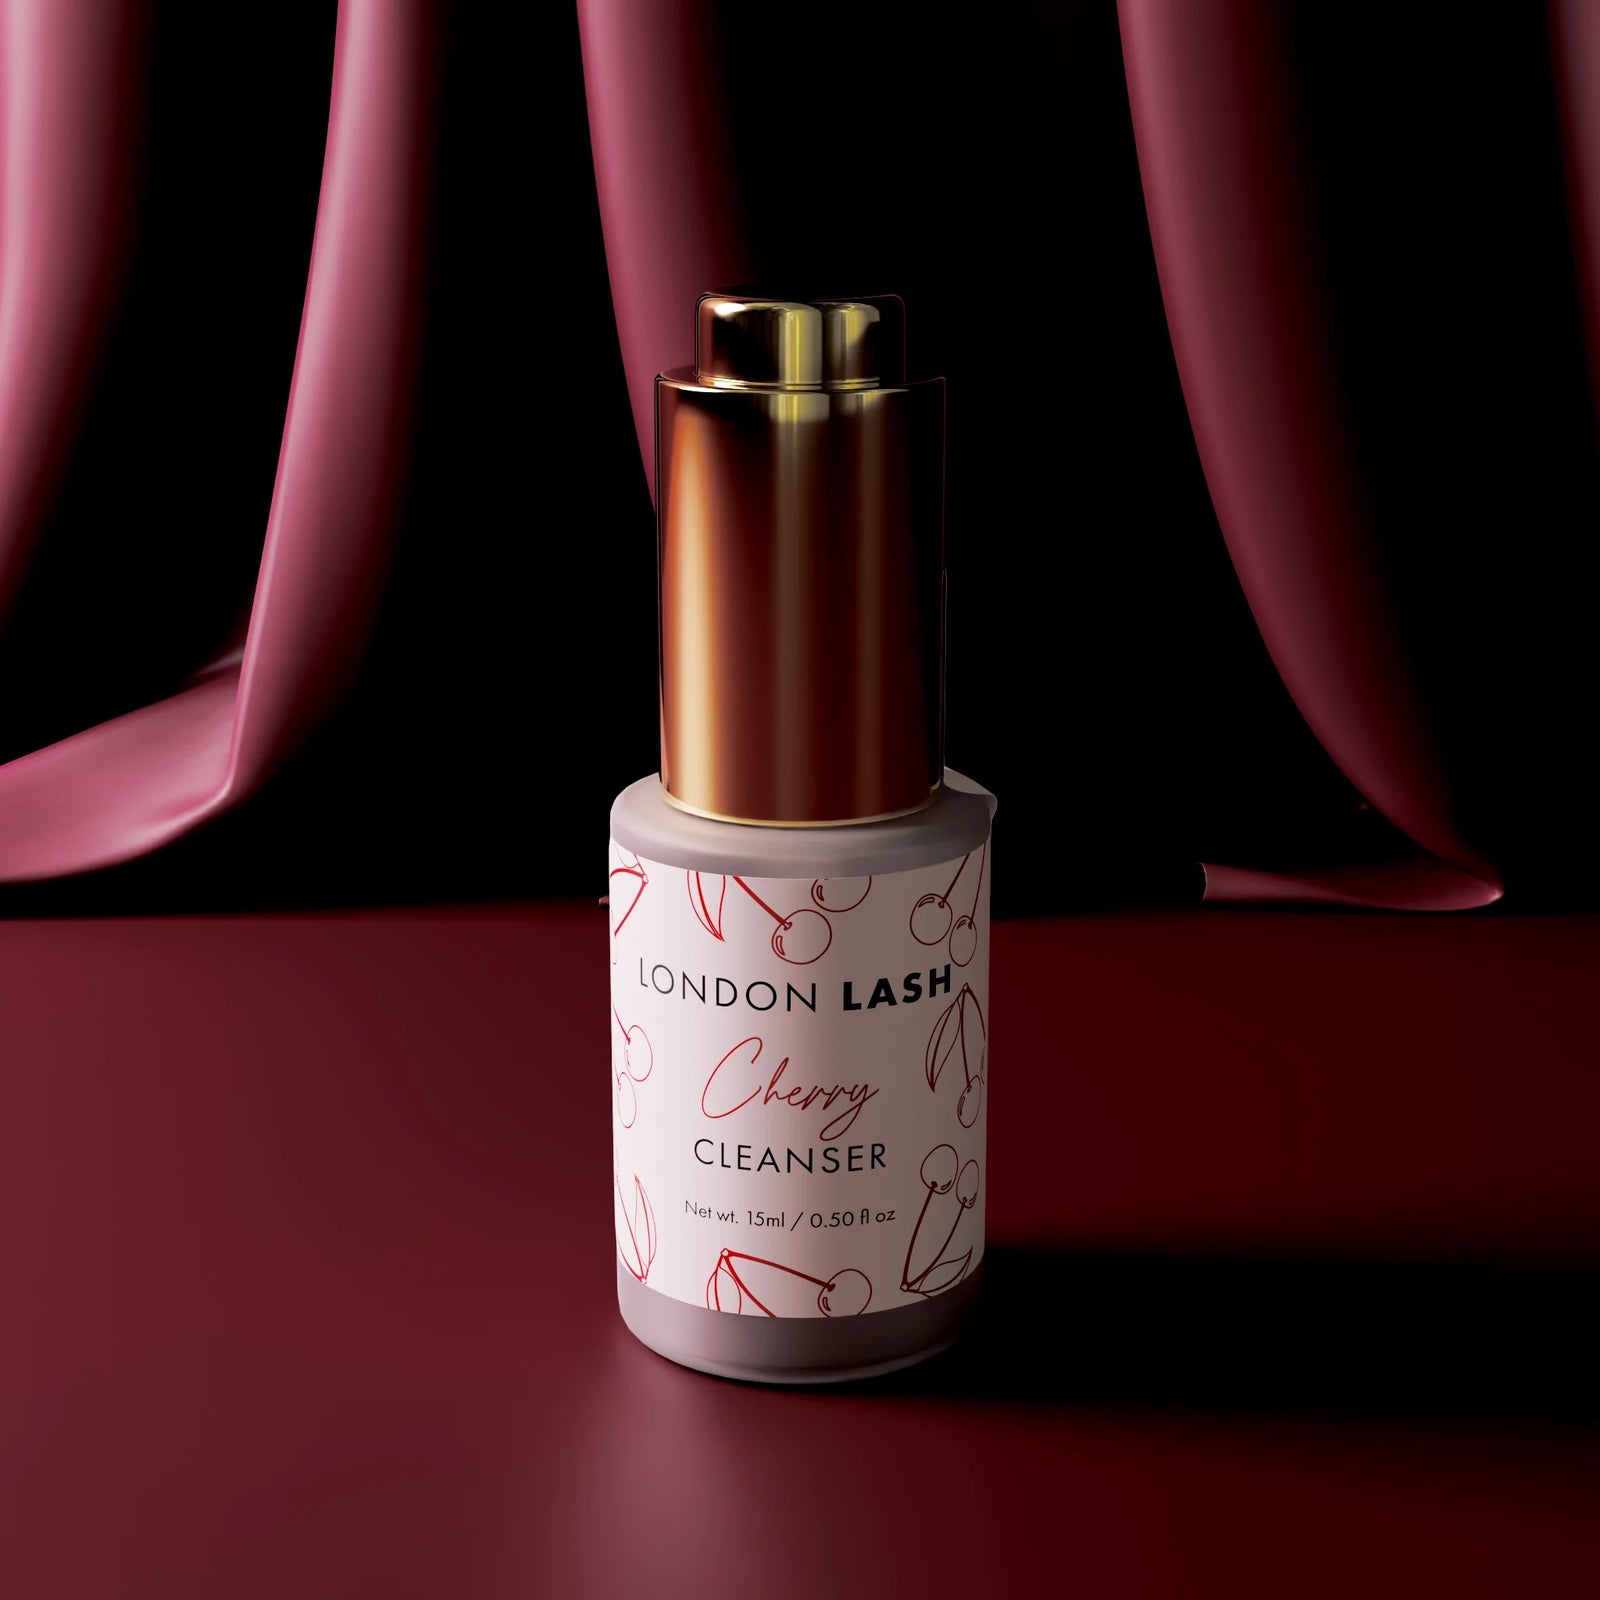
Next up, the Cleanser! Its alcohol-based formula instantly tackles oils, sebum, makeup, and product residue on the lashes.

How to Use:
-
Apply a drop of Cleanser to two micro brushes, dabbing off excess to prevent any from getting into the eyes.
-
"Sandwich" the lashes between the brushes, brushing from base to tip, with emphasis on the roots.
-
Repeat for both eyes.
London Lash Pro Tip: Elevate the experience with our Cherry or Coconut scented Cleanser!
STEP 4) Lash Primer: The Perfect Prep
After the Cleanser, it's Primer time! While the Cleanser is fantastic at breaking down oils, it can be drying. The water-based Primer hydrates the lashes, creating the ideal surface for extensions. Remember, lash glue requires moisture to set!

How to Use:
-
Apply a drop of Primer to two micro brushes, dabbing off excess to prevent any from getting into the eyes.
-
"Sandwich" the lashes between the brushes, brushing from root to tip, with emphasis on the roots.
-
Repeat for both eyes.
London Lash Pro Tip: For a delightful twist, try our luxurious Coconut-scented Primer!

STEP 5) Lash Retention & Speed Booster: The Game Changer
The Retention & Speed Booster is a dual-purpose product that elevates your treatment by enhancing retention and helping speed up your work. Its alkaline pH gently opens hair cuticles, providing more surface area for the adhesive to grip.

BEFORE using Retention & Speed Booster:
Hair is smooth with closed cuticles, offering less surface area for adhesive. Some clients may even have a slippery lash surface due to oily skin or particularly shiny lashes.
AFTER using Retention & Speed Booster:
Hair cuticles are slightly opened, providing increased surface area for optimal adhesion. The rougher texture of the lash now ensures better adhesive grip.

How to use:
For better retention, apply the Booster with a micro brush to natural lashes after cleansing and priming to open hair cuticles.
To speed up the treatment, apply the Booster to the extensions' strip in the box or on the lash palette to prevent lash fans from closing during "fanning."
London Lash Pro Tip: Avoid using on Easy Fanning Lashes! The double layer on these lash strips can cause the Booster to melt the adhesive, leading to stringiness.

Achieving impeccable lash retention isn't just about the application; it begins with a meticulous pre-treatment routine. By investing time and care into each step, from cleansing with a quality lash shampoo to sealing the deal with a retention booster, professionals can ensure their clients leave with long-lasting, stunning results. So, embrace the process, and watch your clients return time and time again for that unmatched lash perfection.
Check out these featured products
Subscribe
Sign up to get the latest on sales, new releases and more …
