New In
Glues & Liquids
Lashes
LASH LIFT
Dolla Nails Pro
Online Training
Save up to 57% off
Bottom Lash Extensions: The Secret to a Balanced and Beautiful Gaze
September 02, 2023 6 min read

The Ultimate Guide to Bottom Lash Extensions - What Are Bottom Lashes and How to Apply Them
If you’re already an avid lover of London Lash, you’ll know that we're always at the forefront of the latest trends and techniques in the lash industry. While most are familiar with eyelash extensions on the top lash line, there's a rising star in the beauty scene that's capturing the attention of lash enthusiasts everywhere: bottom lash extensions. This delicate addition to your clients' treatment can transform their final look, offering a balanced and beautiful finish that’s hard to ignore. If you want to learn everything you need to know about bottom lashes to elevate your lash game to new heights, read on!

What Are Bottom Lash Extensions?
Whilst top eyelash extensions have long been popular, bottom lash extensions are emerging as an essential complement to achieve a full and balanced look. But what exactly are bottom lash extensions?
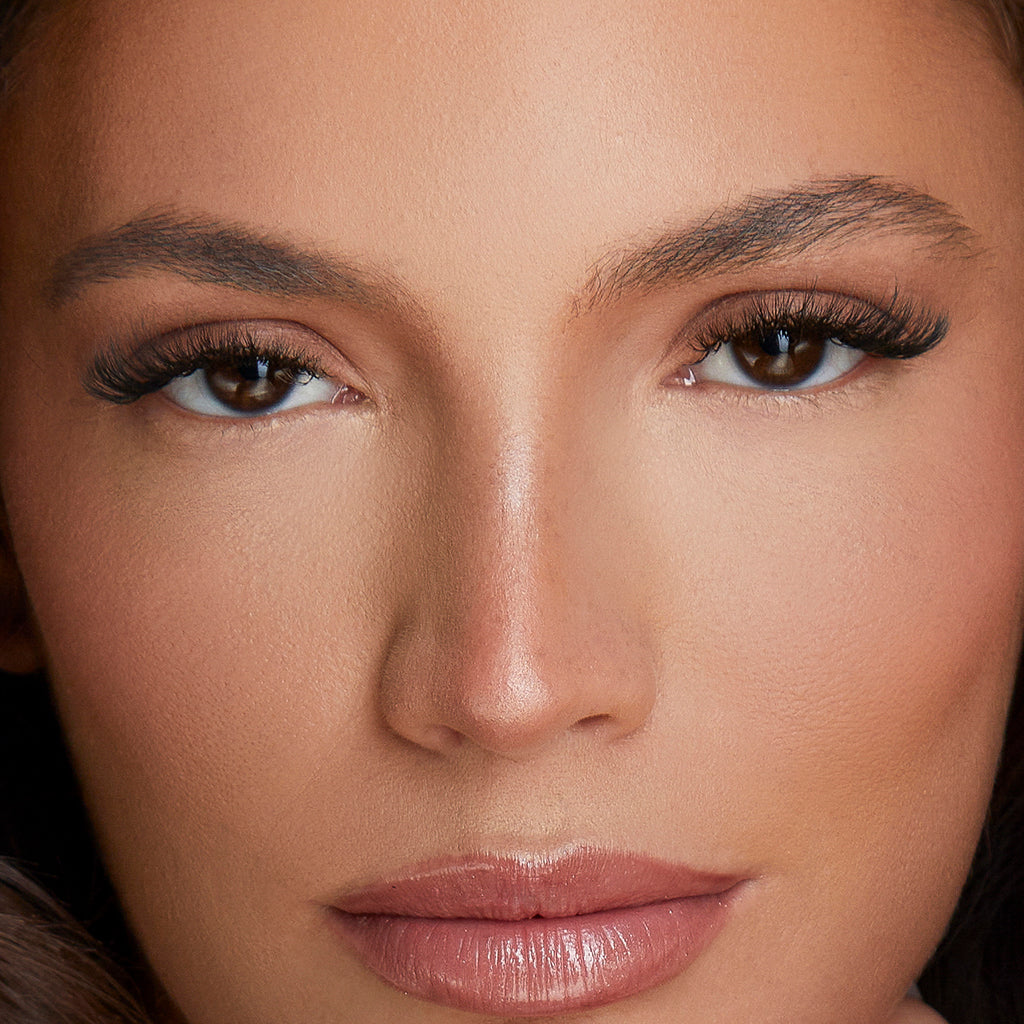
Bottom lash extensions are precisely what they sound like - individual lashes applied to the lashes of the lower eyelids. Just as with the upper lash extensions, these are attached to your natural bottom lashes using the same Classic lash extensions technique. The result? A more defined and dramatic gaze that accentuates the eyes from every angle. When done correctly, they can beautifully frame the eyes, adding depth and dimension without looking overdone. Whether you're aiming for a soft, natural enhancement or a bold, captivating look, bottom lash extensions can be tailored to your client’s preferences.
When to Offer Bottom Lashes
Although eyelash extensions already give the illusion of a widening effect that balances out the eye, lower lashes will take your clients' lash sets to the next level, offering a complementary and symmetrical look. Let’s imagine a Doll Eye or Dolly lash map that involves applying your longest lashes towards the middle portion of the eye, and envision pairing this eye-opening style with bottom lashes! This pairing is a match made in heaven; it is a flawless combo that offers a natural but striking look that enhances the appearance of natural looking lashes. Bottom lashes can be an especially flattering add-on for when your client is getting a more dramatic set of eyelash extensions, such as Kim K lashes, Manga lashes, and Mega Volume lash extensions. Balancing the heavy top half of the eye with bottom lash extensions will really make the eyes pop! All in all, every single lash extension style can be complemented by lower lashes, and they’ll shed just as naturally as the top lashes.
Bottom lashes are a great treatment to offer clients who love the long, bottom lashes effect, are avid wearers of mascara, and perfect for clients who are getting their lashes done for their wedding or other emotional events where there is a chance of shedding a few tears - no one wants to risk smudging their mascara on their big day!
When to NOT Offer Bottom Lashes
Unfortunately, not every client is an ideal candidate for bottom lash extensions. When clients have really short, thin, and sparse lower lashes, it’s best to leave them bare to avoid damaging them further. Not only could applying lash extensions to weaker lashes potentially put more strain on them, but the retention of these lash extensions will most probably be very poor. You should also avoid adding bottom lash extensions to clients with upwards-pointing lower lashes, as by attempting to correct this look, the eyelash extensions won’t look natural and may even cause discomfort and interference. Lastly, if you are lashing more mature clients with skin that has lost elasticity, resulting in a slightly drooping or overhanging eyelid, we wouldn’t suggest bottom lashes as they would negatively enhance this look.

Which Lashes Should You Use for Bottom Lash Extensions?
As you may have guessed, bottom lash extensions require more of a delicate touch, given the short and thin structure of the lower lashes in comparison to the top. Generally speaking, bottom lashes should hold less of a curl than top lashes to mimic the same effect of the natural bottom lashes. Your clients' bottom lashes should ideally be shorter, thinner, and less curly than the upper, and with this in mind, we need to choose the perfect lashes that are the best length, curl, and weight. So, what lashes should you use?
In terms of length for bottom lash extensions, we would recommend using shorter lengths of 4-7 mm as you’ll want to extend the natural lash approximately by 1mm, but not too drastically. In terms of diameter/thickness, anything around 0.10 is ideal, but this is entirely up to you and the look your client desires! Generally speaking, similar rules apply to the bottom lashes as they do to the top, and you need to ensure that the lashes aren’t weighed down by the extensions and cause stress to the natural lash. Regarding the perfect curl, we would advise using a B curl or a J curl, as with a straighter curl, you are likely to achieve a more aesthetically pleasing finish.

How to Apply Bottom Lashes
Bottom lash extensions are actually applied in a very similar way to upper eyelash extensions. However, instead, you’re doing it in reverse! This may seem tricky and fiddly at first, but once you get the hang of it, you’ll set the precedence for the rest of the lower lash set. The main thing you need to consider is that when applying lash extensions on the lower natural lashes, it's important to follow the direction of the lashes. Since they grow downwards towards the skin, the lash extension should also be applied in the same direction, which results in the tip of the lash extension's curl facing downwards. By doing so, you can ensure that the lash extensions look natural and blend seamlessly with your client’s lashes.
Preparation
Like with any eyelash extension set, you should prep the lashes thoroughly so that there is no dirt, sebum, or oils left behind that will affect your lash retention. If you’ve pretreated the upper lashes, there’s no reason not to pretreat the bottom ones too! If you had planned to do bottom eyelash extensions prior to applying the top lashes, you could always do your pretreatment steps then, but on both sets of lashes.

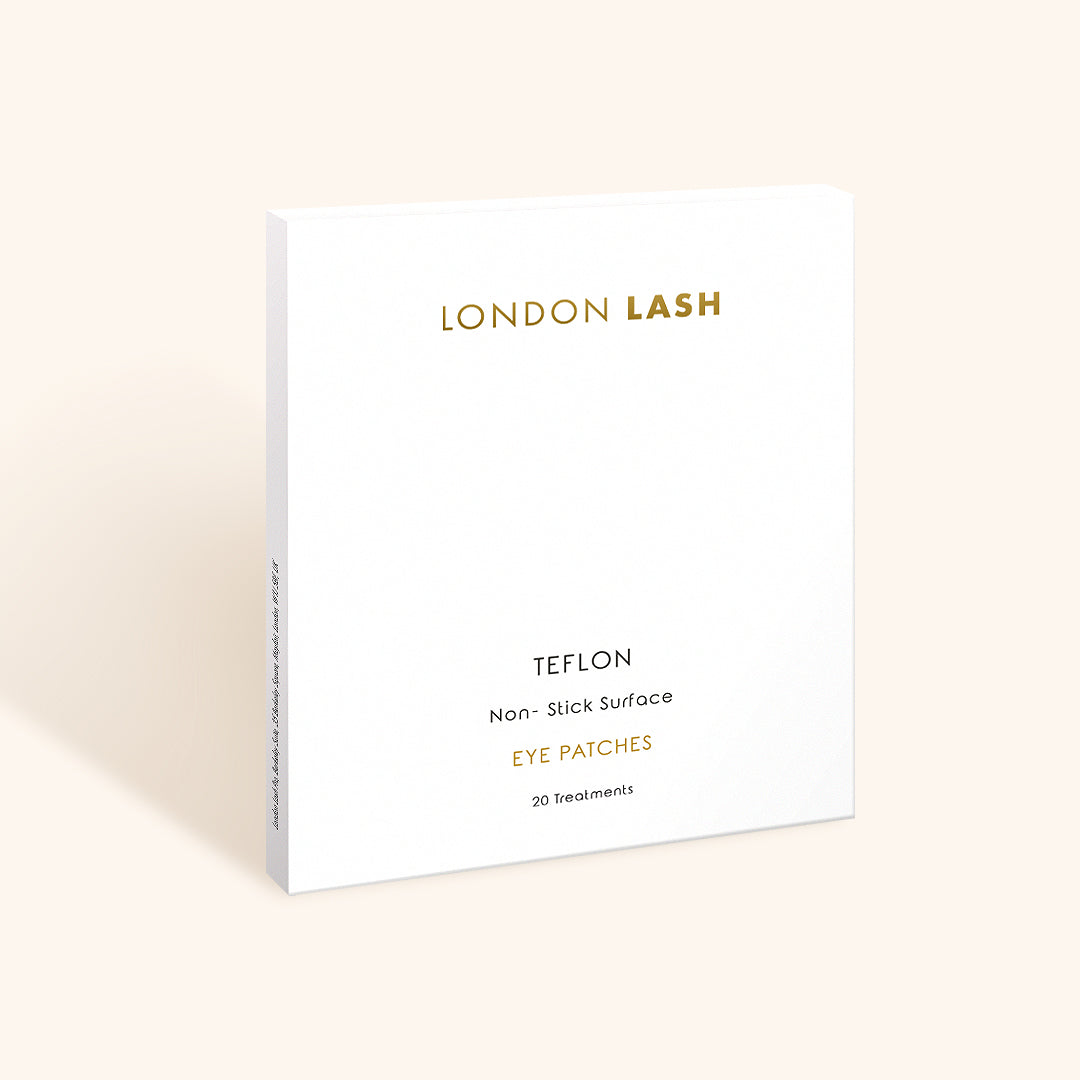
Begin by separating the top lashes, and to do this, you can use eyelid tape or a dry eyepatch to move the top lashes out of the way. Once you have no interfering top lashes, go ahead and apply your under eye patches underneath the bottom lashes, or you can alternatively use lash tape if you wish. You should now be able to clearly see your client's bottom lashes sitting on top of the eye patch.
You may not think that an eye patch needs to be placed under the eye, but trust us, it does! As you begin to isolate and apply the lashes, your tweezers may poke your client’s face as the tool will be facing downward; therefore, it’s always important to place something underneath the client’s lower lashes. Now is the time to go ahead and prime the lashes to allow for a perfect bond and fabulous retention.
Application
Once you have securely and comfortably applied the eyepatches, you can then begin to isolate each natural lash and add your individual lash extensions to each one as you would in a regular lash set. In comparison to your client’s upper lashes, applying bottom lashes will be a significantly shorter process as, typically, your client will harbor fewer bottom lashes than they do top lashes, and there is no need to create Volume lash fans - unless you want to create closed lash fans for an ultra-dramatic look!

We find it hard to believe, but some Lash Technicians will ask clients to open their eyes in order to save time. We strongly advise against this! This is a HUGE no-go as your client will be at risk of irritation or chemical burns as a result of the overexposure to glue fumes, not to mention you don’t want to risk poking their eye with your lash tweezer.
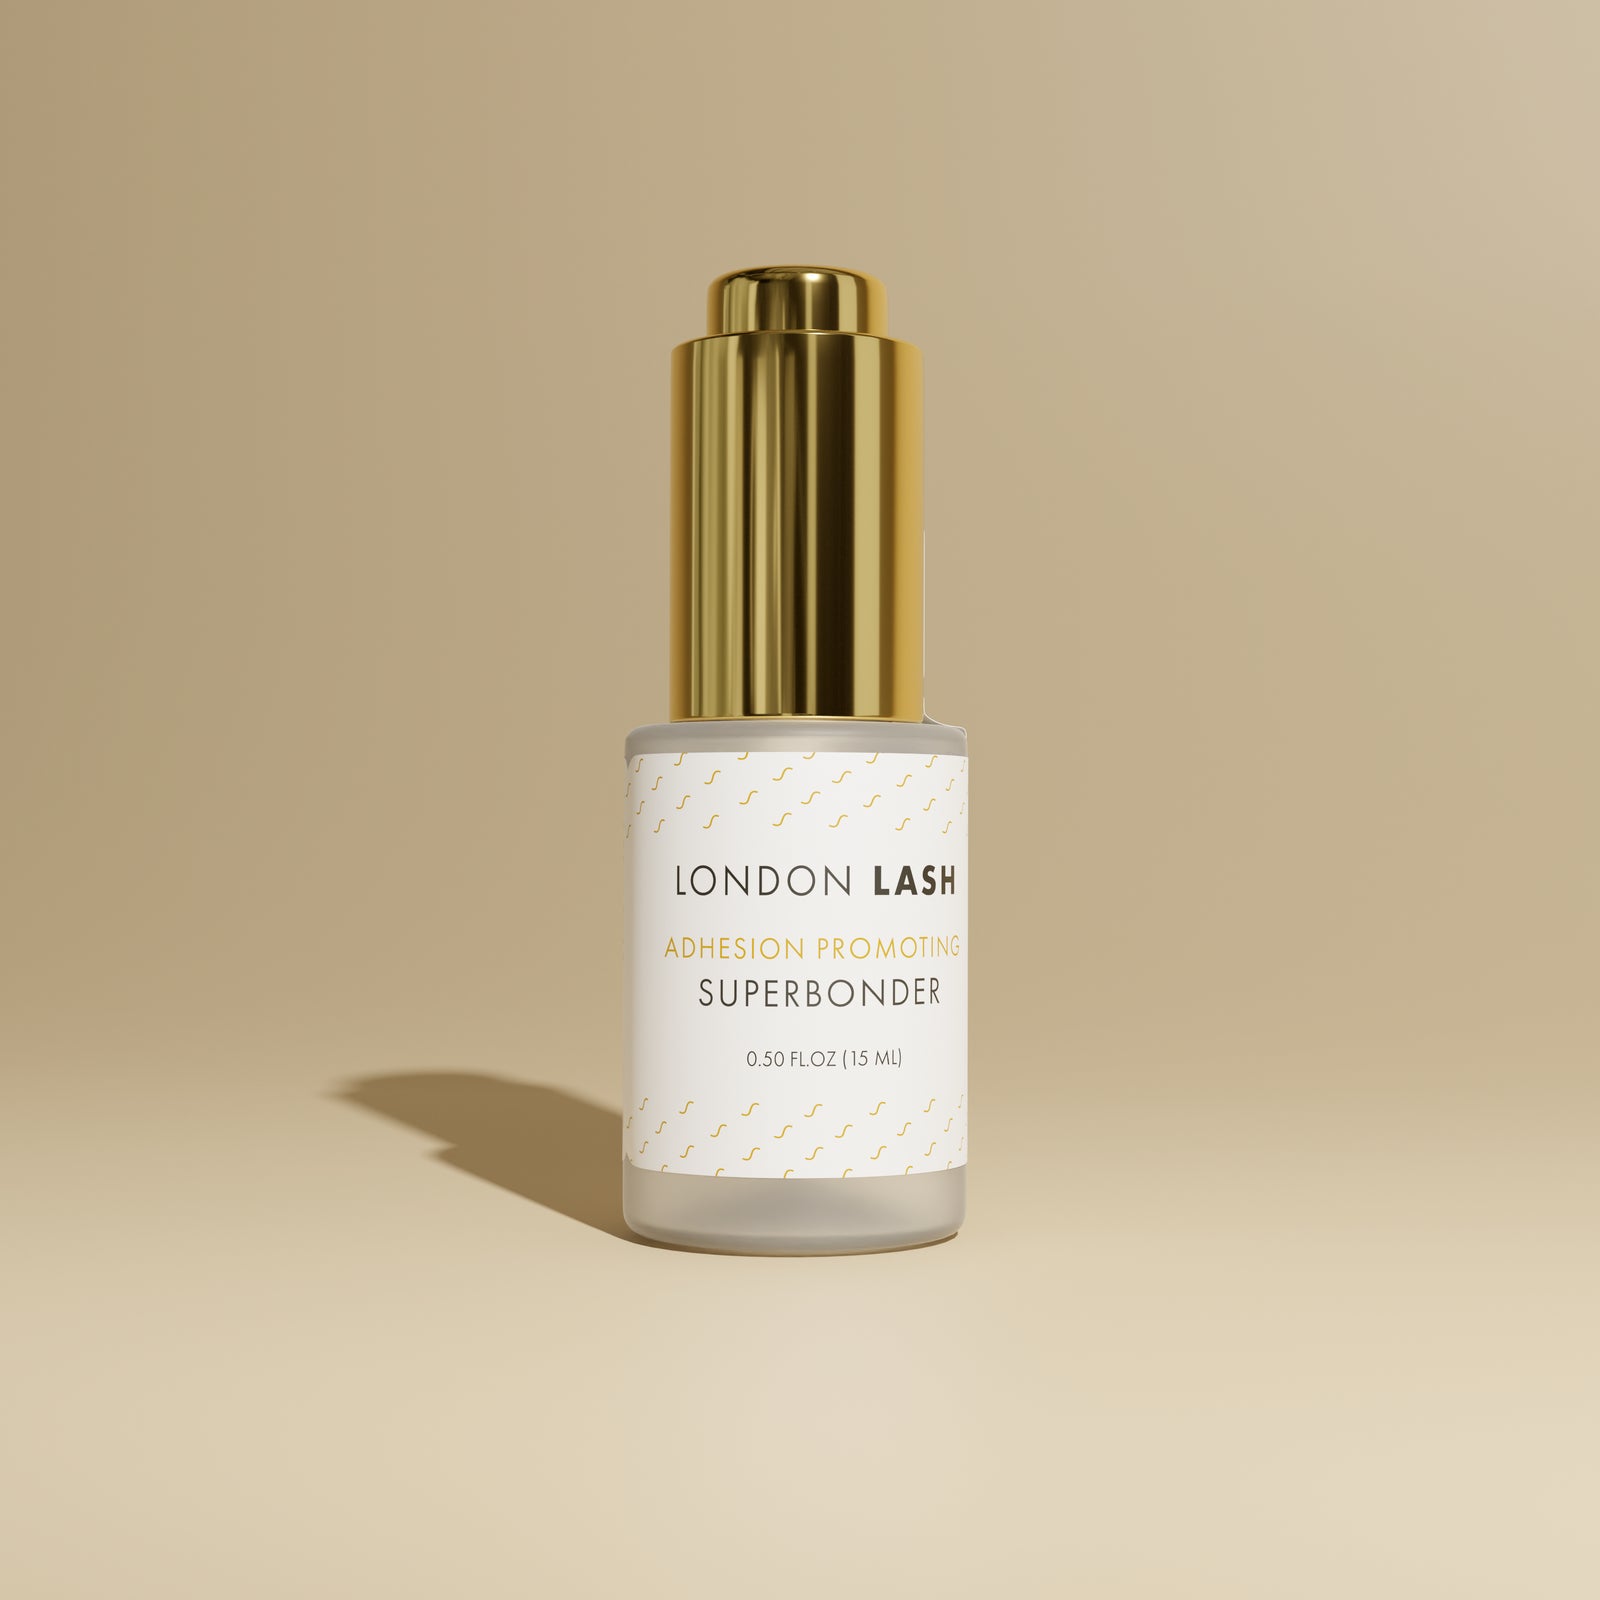
While applying the lash extensions, you want the curl to face downwards towards the skin so that it follows the natural lash. To do this, you must reverse the way you typically apply your eyelash extensions. We find it easier to actually reverse your lash tray so that your lash strips are upside down. This handy trick helps if you just can’t wrap your head around holding the lash upside down - it will feel alien at first, but you’ll soon get the hang of it. Once you’ve picked up your lash, isolate the lash and apply it as you usually would and in conjunction with your lash map. When you’re done, don’t forget to finish with Superbonder to seal those lashes.

Voila, there you have it! You now know everything you need to know about bottom lash extensions and hopefully, you’re feeling brave enough to offer them to your clients. Whether you're a Lash Artist looking to expand your skill set or a beauty enthusiast eager to try this latest trend, bottom lash extensions promise a transformative experience. Let us know how it goes and don’t forget to tag us in your gorgeous lash creations over on Instagram! If you can’t already tell, we love a fresh set of fluffy lashes.
If you’re new to London Lash and are not well-versed in what we do as a brand, welcome, we’re excited to introduce ourselves! If you want to learn more about who we are, feel free to check out some more of our educational blog posts and our socials.
Check out these featured products
Subscribe
Sign up to get the latest on sales, new releases and more …
