New In
Glues & Liquids
Lashes
LASH LIFT
Dolla Nails Pro
Online Training
Save up to 57% off
Disneyfy Your Clients' Lashes This Halloween
October 23, 2023 3 min read

Disney Villain-Inspired Lashes - Includes FREE Lash Maps
Halloween is the perfect time to experiment with new looks and styles. Drawing inspiration from some of Disney's most memorable villains, we've put together a guide for lash extensions that are both fun and unique. Whether you're a fan of Ursula's boldness, Cruella's edginess, or Maleficent's elegance, we've got you covered. Discover how to achieve these iconic looks with our detailed lash maps and step-by-step instructions.

Villain-Inspired Disney Lashes
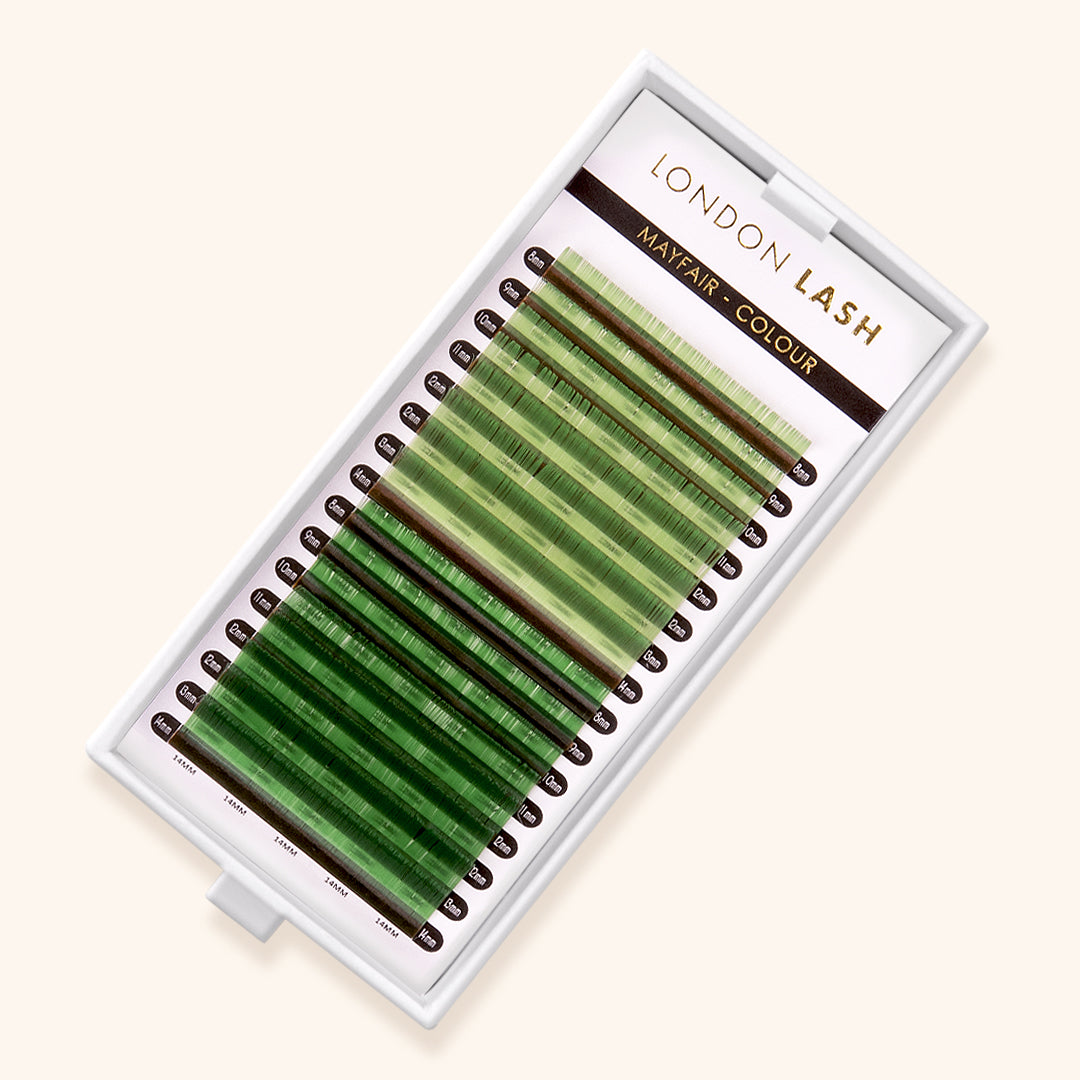
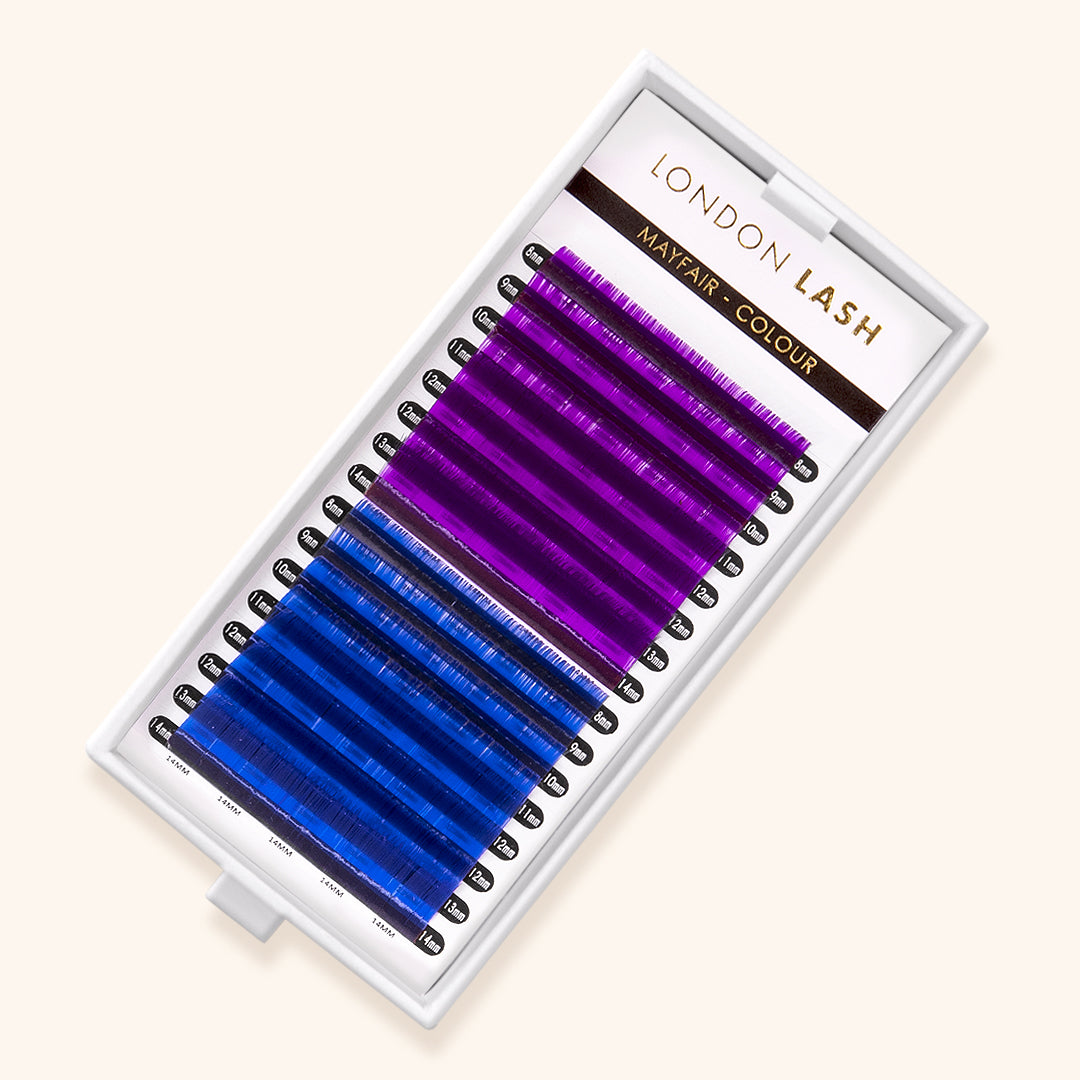
Disney villains are known for their dramatic looks. Use a combination of colored lash extensions, like a gorgeous green for Maleficent or a potent purple for Ursula, to recreate their classic looks. Channel your inner villainess with these iconic Disney-inspired lashes:
Maleficent Lashes
The Mistress of All Evil deserves lashes that are equally as captivating. For a Maleficent-inspired look, focus on elongated, dramatic black lashes that fan outwards, mimicking the shape of her iconic horns. Intersperse with purple and green-colored lash extensions to capture the essence of her enchanting look. Our lash map uses a Cat Eye style with added deep purple and green hues; however, if your client’s face shape may not suit a Cat Eye, a Squirrel lash map will be a perfect choice!
To map these spellbinding lashes, start with drawing a line at the center of each eye - this ensures symmetry and will also help later on when you map out your sections. To create a sharp and elongated Cat Eye, it’s best to use broad sections towards the inner corner of the eyes, with the broadest section harboring the longest lashes in the outer third of the lash line. You can then divide the outer portion of the eyes into three more narrow sections, and don’t forget the colored lashes!

Cruella Lashes
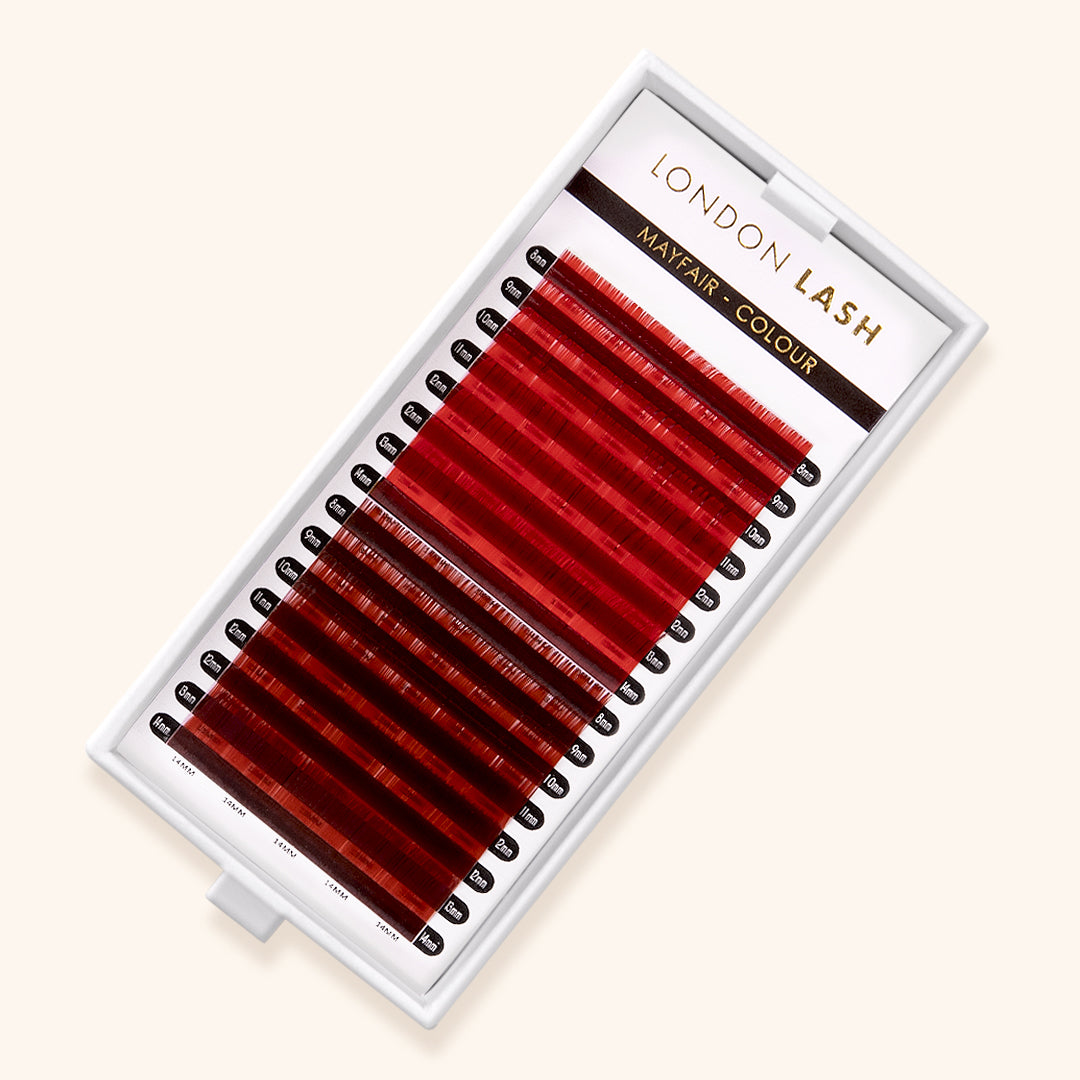
Cruella's bold black and white aesthetic is instantly recognizable. To achieve her dramatic look, alternate between jet black and snowy white eyelash extensions. The stark contrast will give your client’s eyes a striking, avant-garde appearance, perfect for channeling this fashion-forward villainess. For an added touch of drama, a few red lashes can be incorporated throughout the lash line to match her fiery personality.
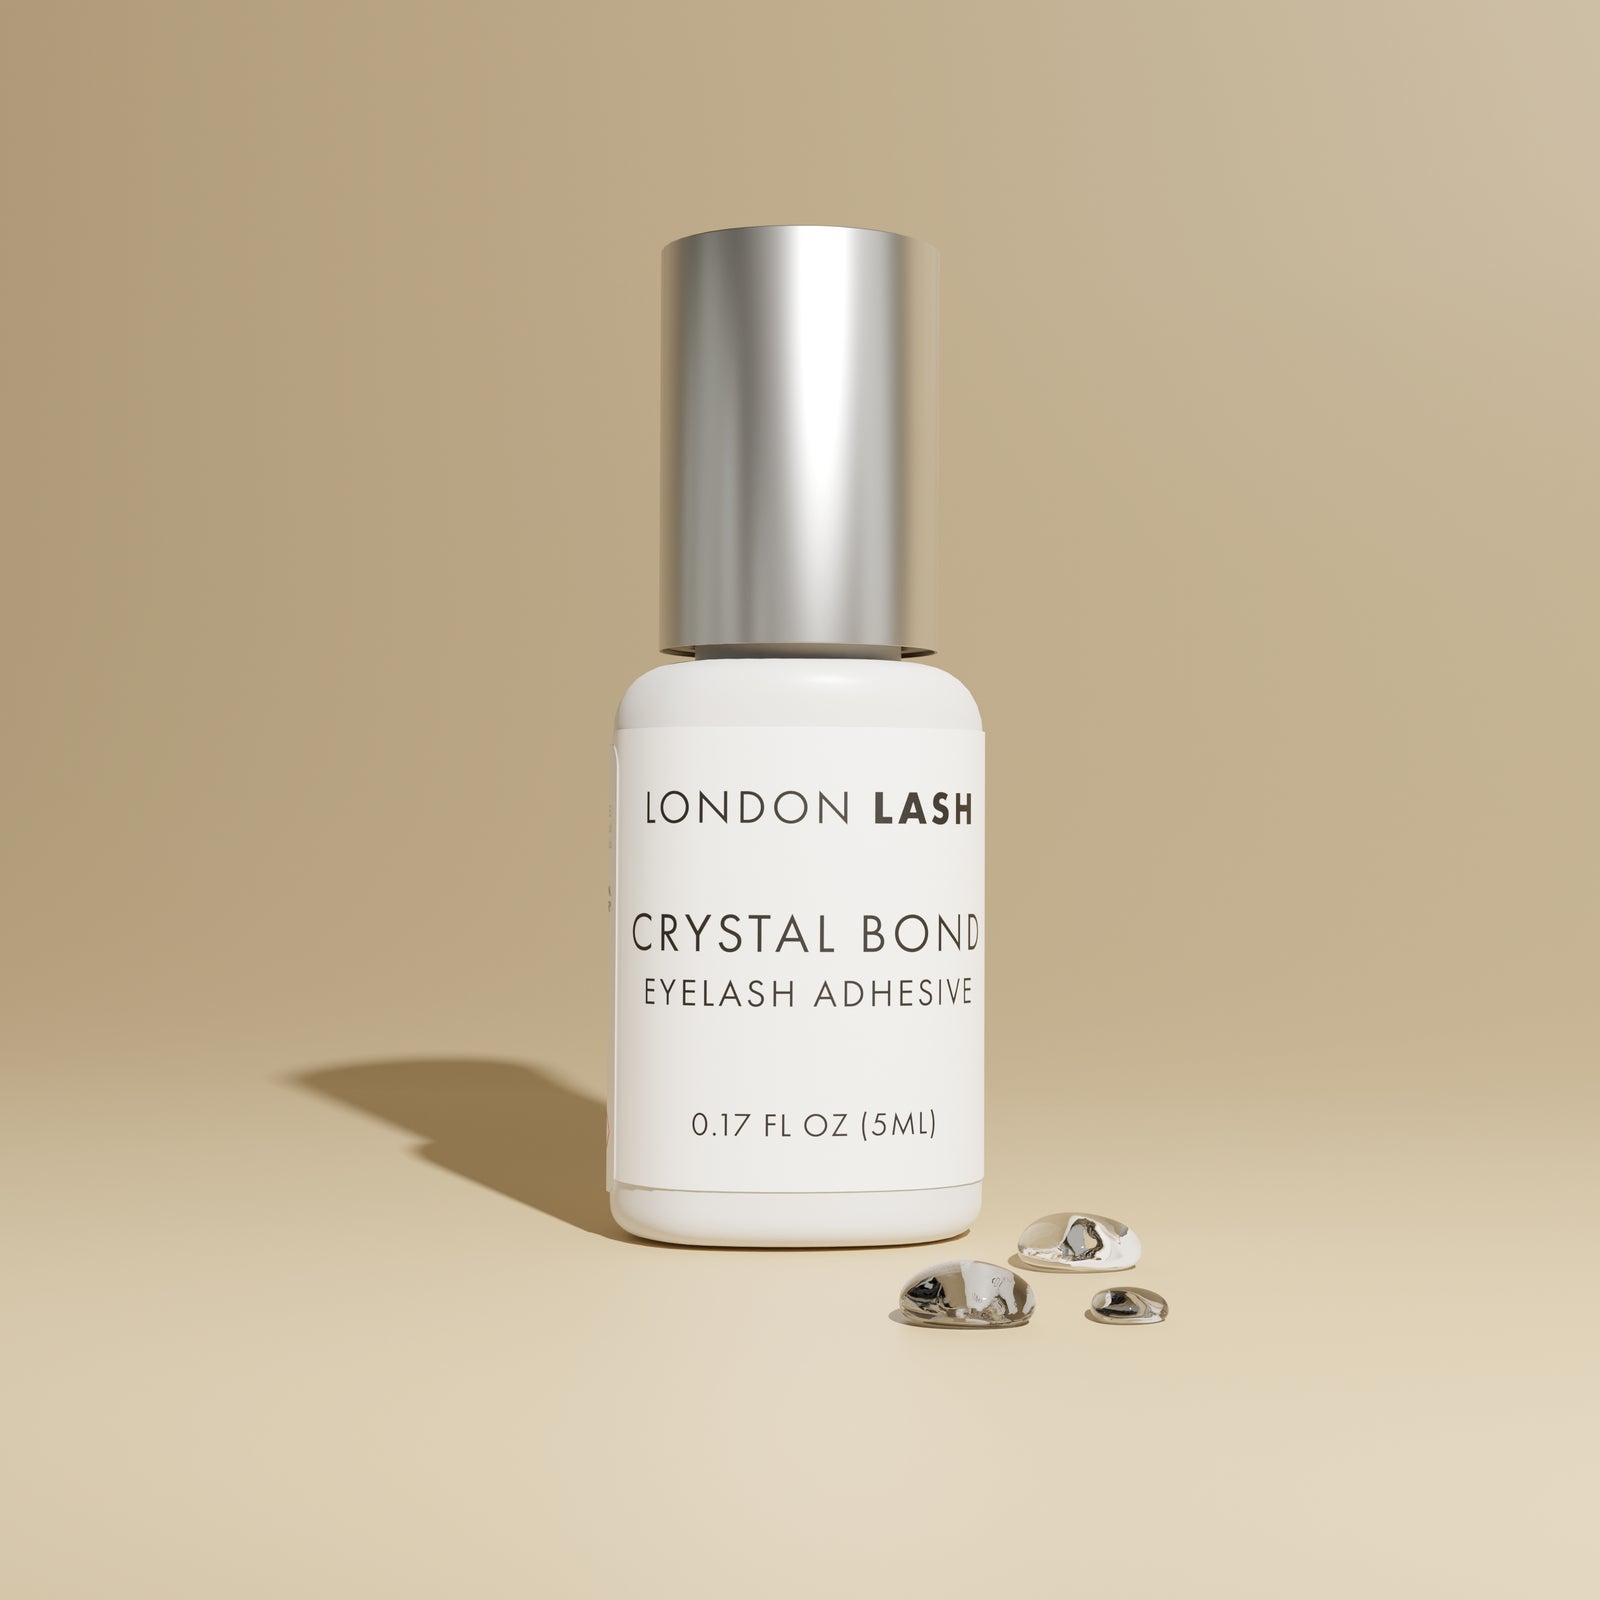
This Cruella lash map is reminiscent of Squirrel style lashes, which is flattering for a majority of clients. To create this striking set, you’ll need red, white, and black lash extensions to hand - and, of course, a Crystal Bond clear adhesive to achieve a flawless fusion between the colored lashes and the adhesive. As you can see here, we have split our lash map into mostly narrow sections, which is done to ensure a seamless blend between lash lengths.

Ursula Lashes
The sea witch's dramatic purple and black color scheme can be beautifully translated to lashes. Use a combination of deep purple and black colored lash extensions to recreate her iconic look. Why not take that extra step and add a sprinkle of silver lashes for a shimmering underwater effect reminiscent of her oceanic lair? Similiar to Manga lashes, to create this stunning set we suggest using 0.05 lashes, alongside purple lashes to create your bold spikes.
Let’s break this down into lash layers:
Bottom Layer: For the base of this lash look, use 0.04 or 0.05 lashes to create short Volume fans ranging from 6mm to 10mm. This layer will provide a fluffy, and wispy look that is perfect to build on.
Middle Layer: Your middle layer will consist of closed fans of 0.05, ranging from 8mm to 12mm across the lash line. This layer will help support your colored spikes as the shorter lengths will add to the multidimensional look and allow the colored spikes to really shine!
Top Layer: This is where you add your bold, colored spikes! As you would map Manga lashes, you’ll need to add your longest spikes of 14mm towards the outer center, and then gradually decrease the length as you reach the inner and outer corners. Incorporate these spikes at regular intervals along the lash line so that you give them a chance to stand out between the other lashes. To create an Ursula look, use purple lashes for your spikes, starting at 10mm and increasing to 14mm, then back down to 10mm as you reach the outer corners of the eyes. If you want to flip this around and add colored lashes to the bottom layer for an even more vibrant look, go ahead!

Halloween offers a chance to step out of the ordinary and try something new, so let your clients’ Disney Villian fantasies come to life! With our Disney Villain-Inspired Lash Extensions guide, embodying the essence of Ursula, Cruella, and Maleficent has never been easier. Whether your clients are attending a party or just want to add a touch of whimsy to their style, these lash designs are a fun way to do so.
Looking for more Halloween inspiration? Check out our Halloween-inspired Lash Art and Lash Looks blogs!
Check out these featured products
Subscribe
Sign up to get the latest on sales, new releases and more …
