New In
Glues & Liquids
Lashes
LASH LIFT
Dolla Nails Pro
Online Training
Save up to 57% off
How to Master Your Lash Extensions Pre-Treatment Routine!
December 23, 2020 2 min read

Top Tips to Nail Your Eyelash Pre-Treatment Routine
Let's be honest, navigating pre-treatment can be tricky as there’s so many products to choose from. From cleansers to primers, boosters to bonders - it can be overwhelming. But does it really make a difference? The short answer: absolutely. Your pretreatment routine can actually impact lash retention just as much as the glue you use. In fact, it can mean the difference between two weeks of lash retention and five weeks. So, it's crucial to get it right—because better lash retention means happier clients!

Lash Extension Pretreatment Steps
We've all experienced this: you remind your clients not to wear mascara between sets and to come to their appointments with clean, makeup-free eyes. Yet, they show up late with eyeshadow remnants from the weekend. It's frustrating, I know. This is when you hand them a bottle of foaming cleanser and direct them to the bathroom! Having your client wash their own lashes first has multiple benefits. First, it gives you a few extra minutes to prepare your workstation. Second, they can clean their lashes thoroughly without worrying about discomfort. Third, it subtly reminds them that clean lashes are their responsibility! (And I admit, I've been guilty of being that mascara-wearing client in the past who hangs their head in shame).
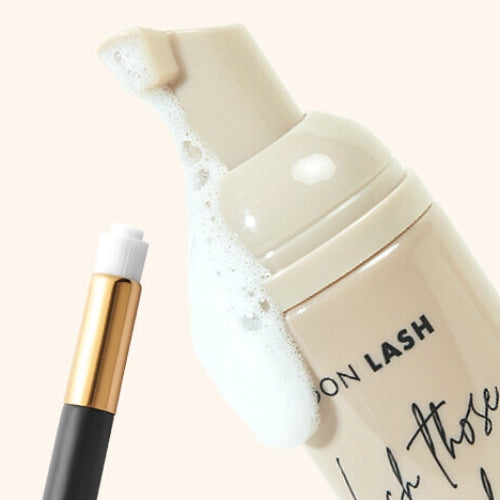
Next, let's talk about the London Lash four-step pre-treatment routine (this is excluding the lash shampoo, which should definitely be used prior, either by you or your client).
Step one: Protein Remover Pads. These small but mighty pads are super efficient! If there are any remnants of mascara, makeup, or oils around the eye area, these soft pads will clean it up. Just be careful to avoid the glue bonds during infills, as the fibers can get caught!
Pro Tip! Protein remover pads are saturated with product—use a microfiber brush to press down on the top pad and soak up the excess product. This way, you avoid glue bond damage while reaping all the benefits of the pads.
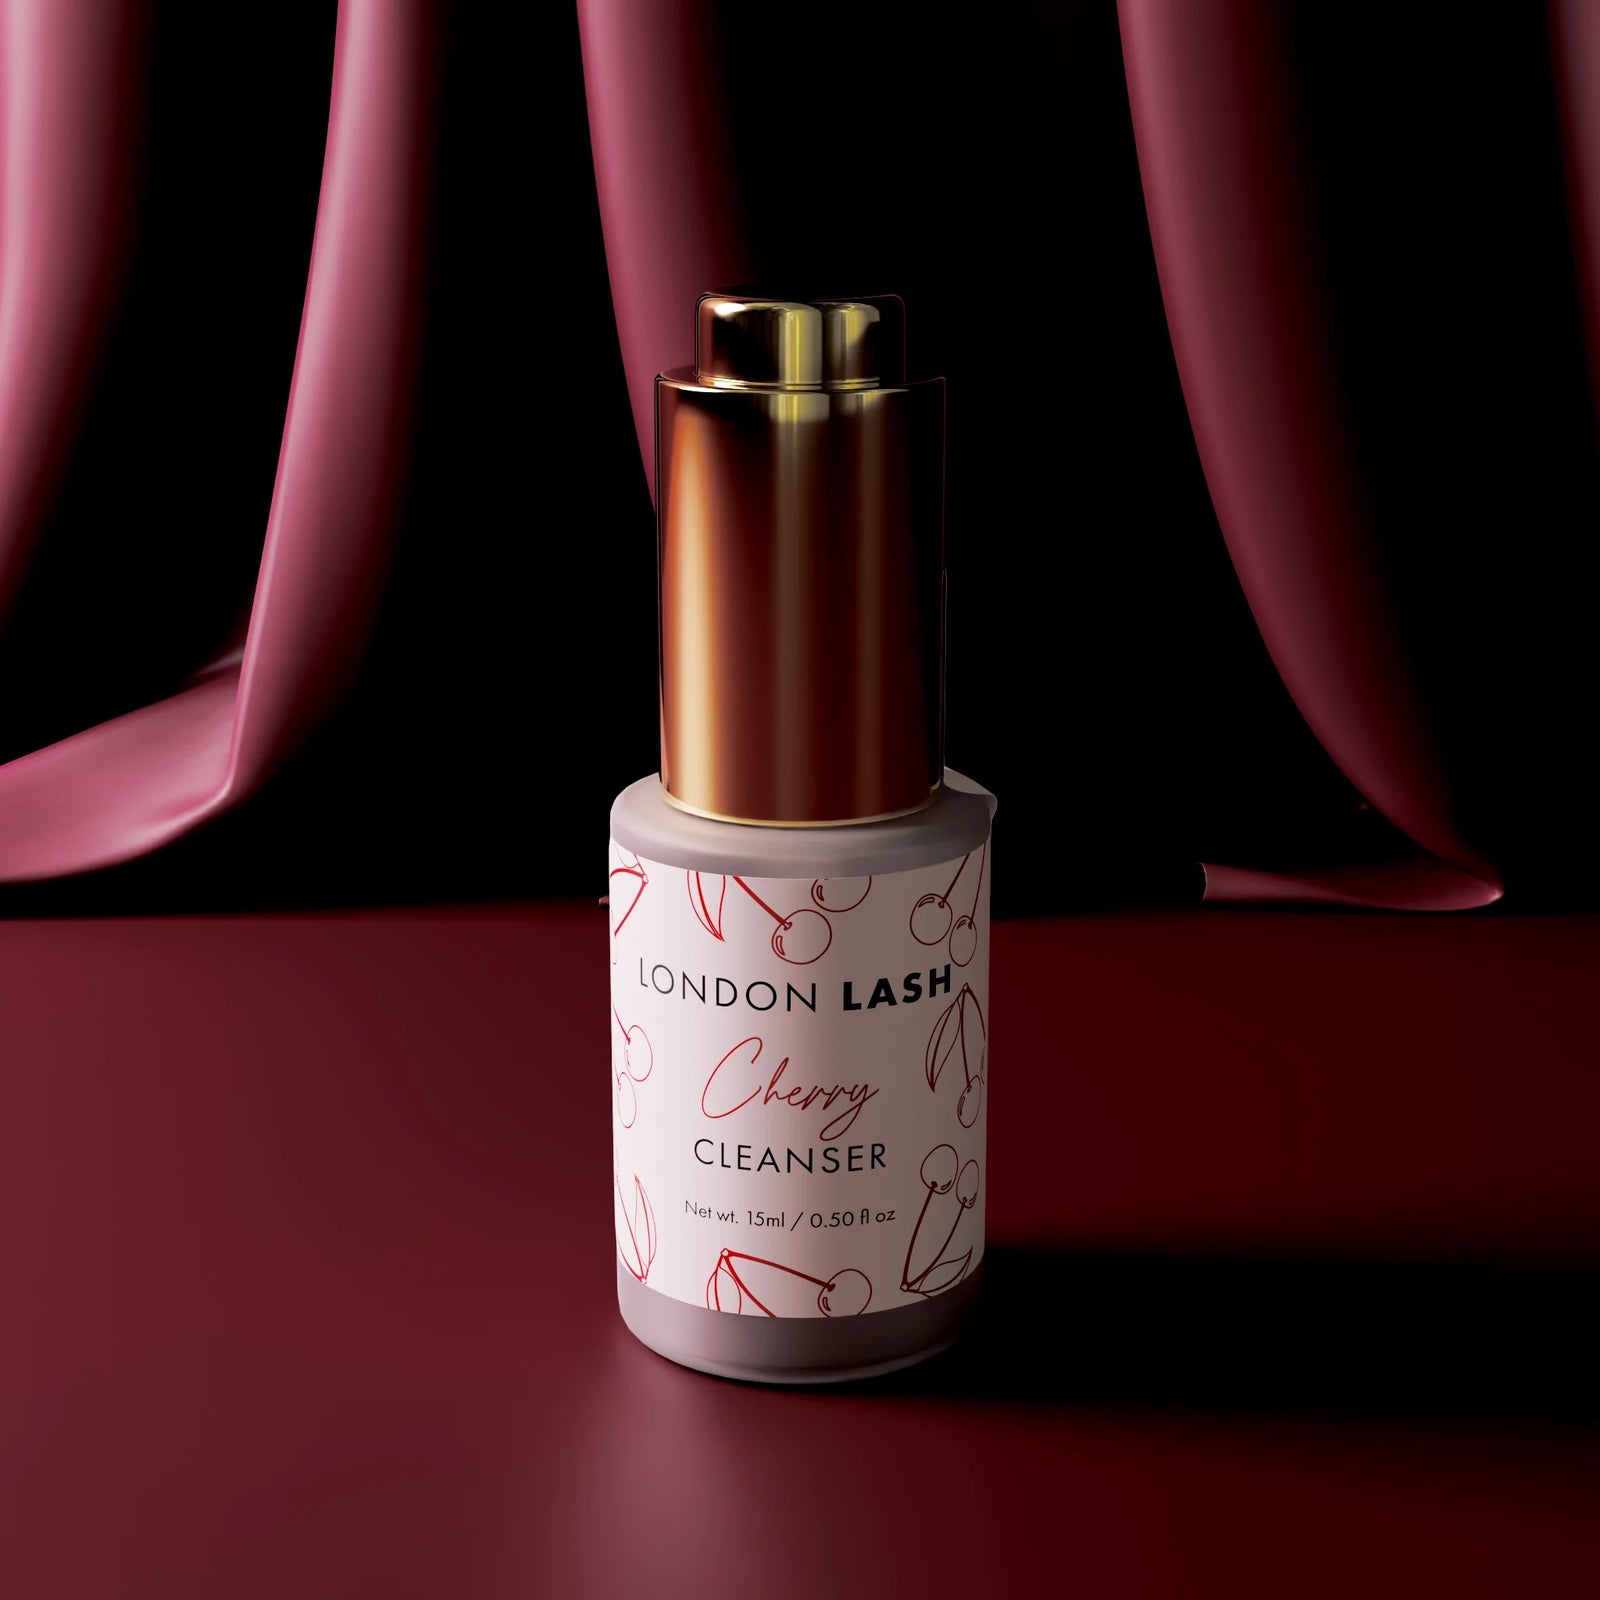
Step two: Cleanser. You might think the lashes are already clean, but Cleanser, with its high alcohol content, removes any remaining oils, foam cleanser residue, and tiny makeup traces.
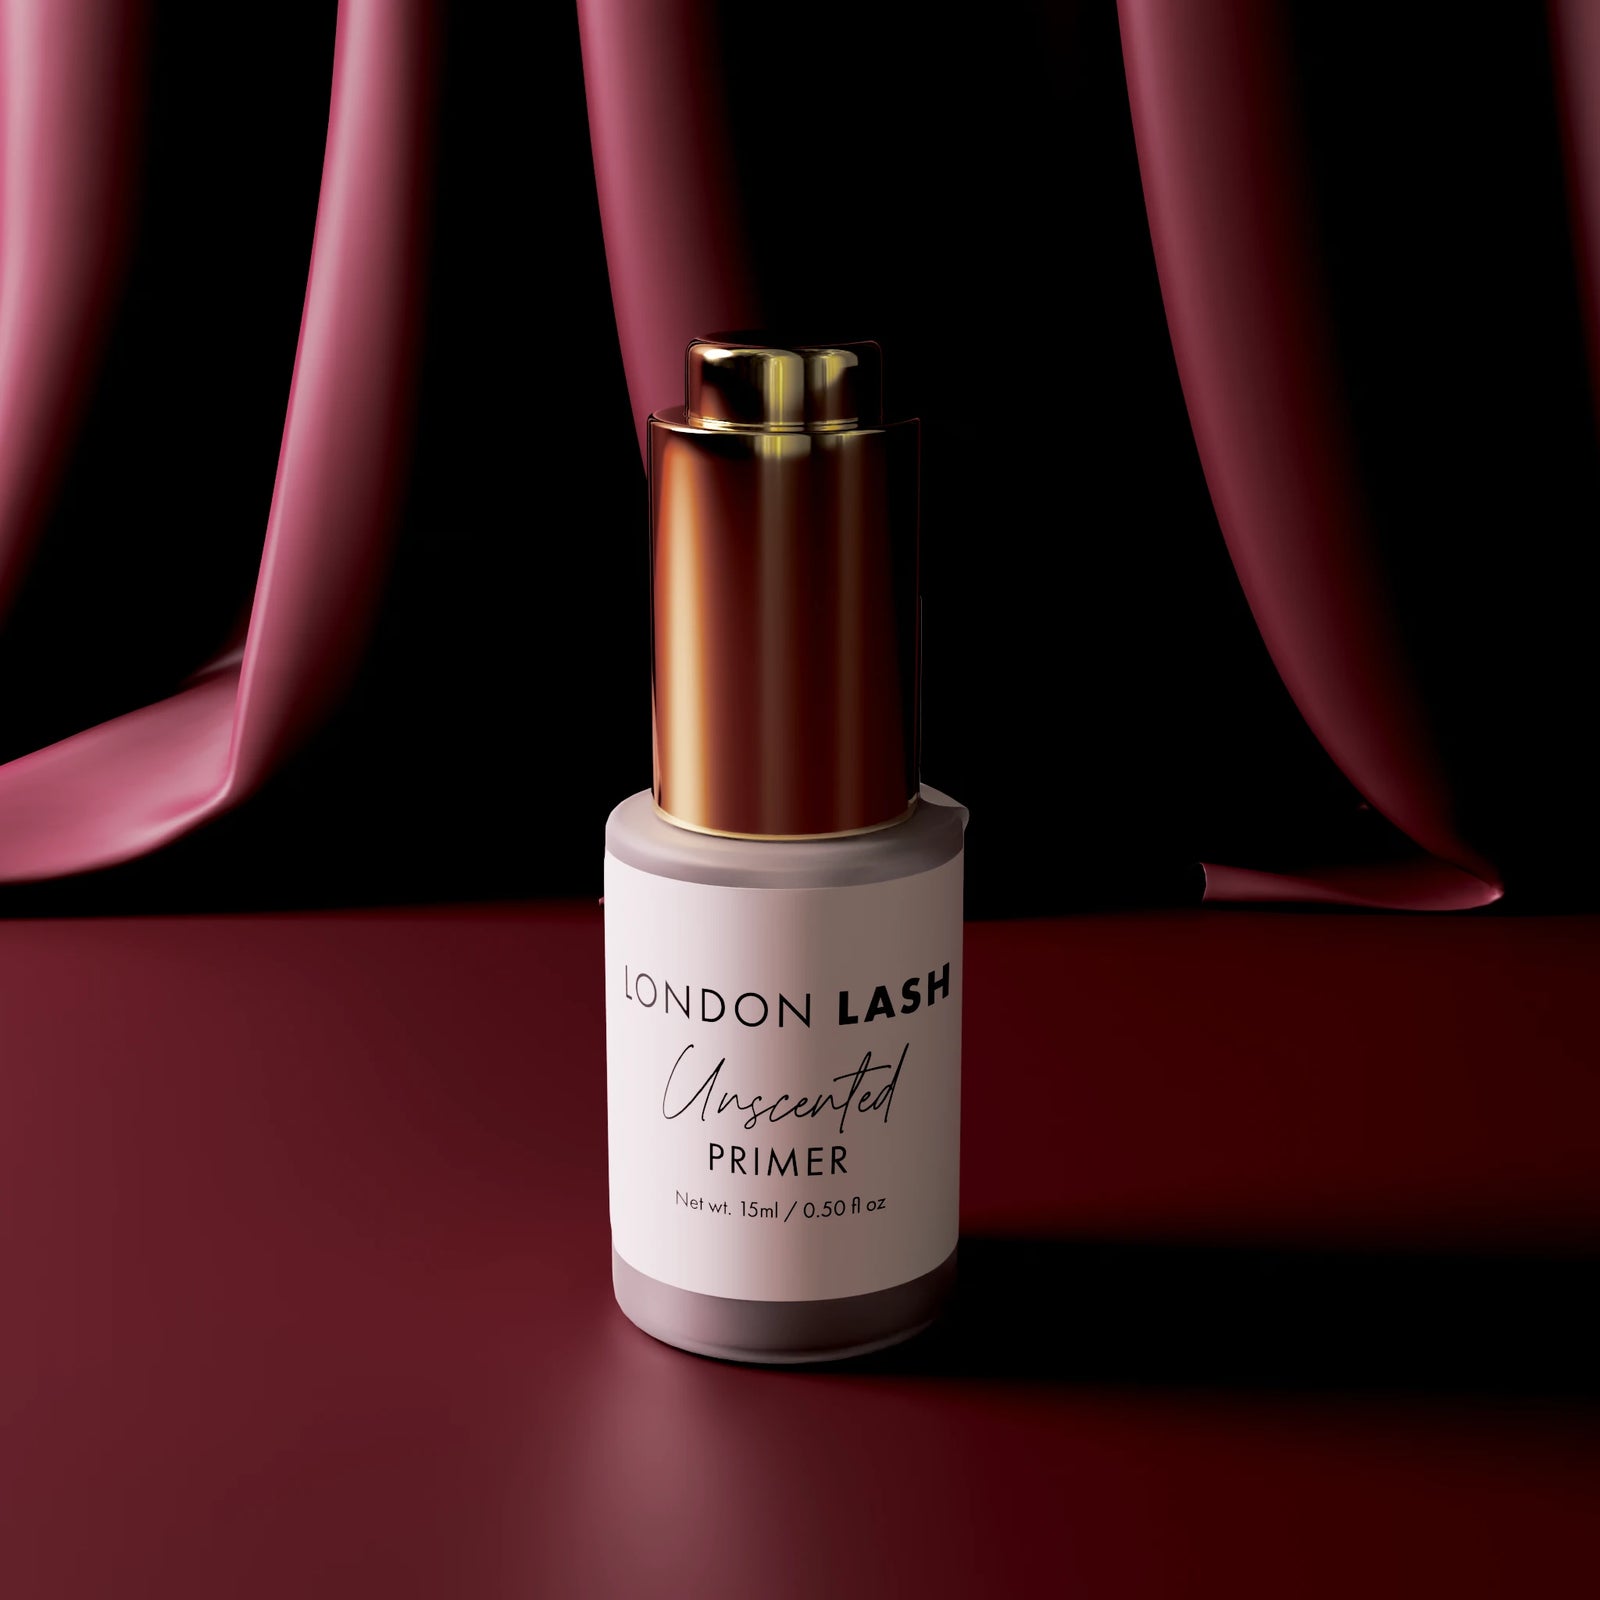
Step three: Primer. It's essential after using Cleanser because it rehydrates the lashes. Primer preps the lashes perfectly for extensions. For an extra luxurious touch, try our scented cleansers and primers. A hint of Cherry or Coconut can elevate your client's experience from an 8 to a solid 10!
Next up is Booster. Booster has high alkalinity, which opens up the hair structure and gives the glue more surface area to adhere to. If your client has oily skin and struggles with lash retention (as someone with oily skin, I sympathize!), Booster will be a game-changer! It makes a noticeable difference, especially for clients with oily skin.
Now you're all set! Draw that lash map and start slaying those lashes! Still want more information about lash extension pretreatment? Check our this blog post!
Check out these featured products
Subscribe
Sign up to get the latest on sales, new releases and more …
