New In
Glues & Liquids
Lashes
LASH LIFT
Dolla Nails Pro
Online Training
Save up to 57% off
The Ultimate Guide to Kylie Lashes
February 18, 2025 3 min read

Kylie Lashes: A Lash Mapping Style that Blends the Spiky Kim K Look with the Fluttery Softness of Angel Lashes
If you’ve got a few clients who are always torn between keeping it light and natural or going for something bolder, let us introduce you to Kylie Lashes—the perfect middle ground!
Let’s dive into how you can nail the Kylie Lash look and which lashes and supplies are going to make your sets pop!

What Are Kylie Lashes?
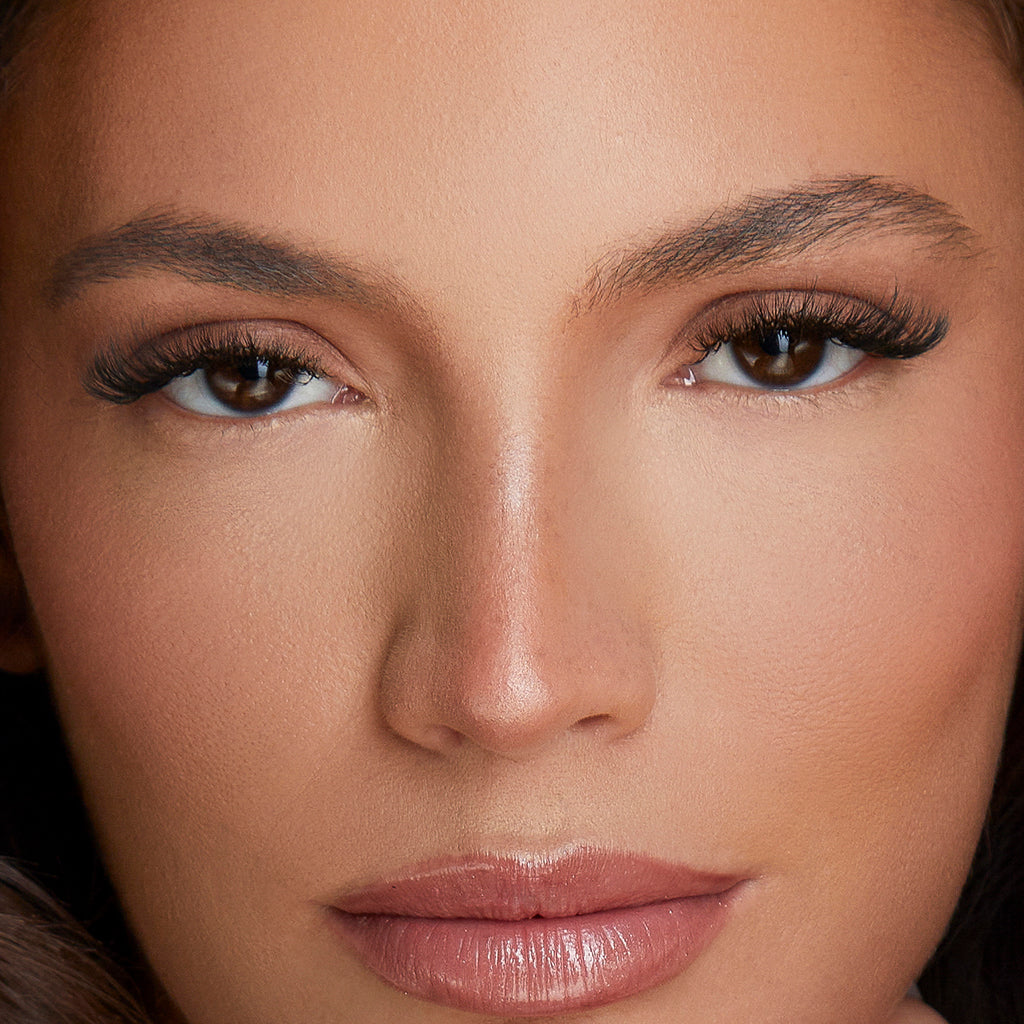
Think of Kylie Lashes as the best of both worlds—they combine the light, wispy vibe of a style like Angel Lashes with the full, fluffy drama of Kim K lashes, all while keeping those signature spikes. The result? A stunning look that’s noticeable but not too heavy. It’s the ideal style for clients who want to transition from a more natural lash extension style to something a bit more dramatic (or the other way around, of course).
How Do You Map Kylie Lashes?
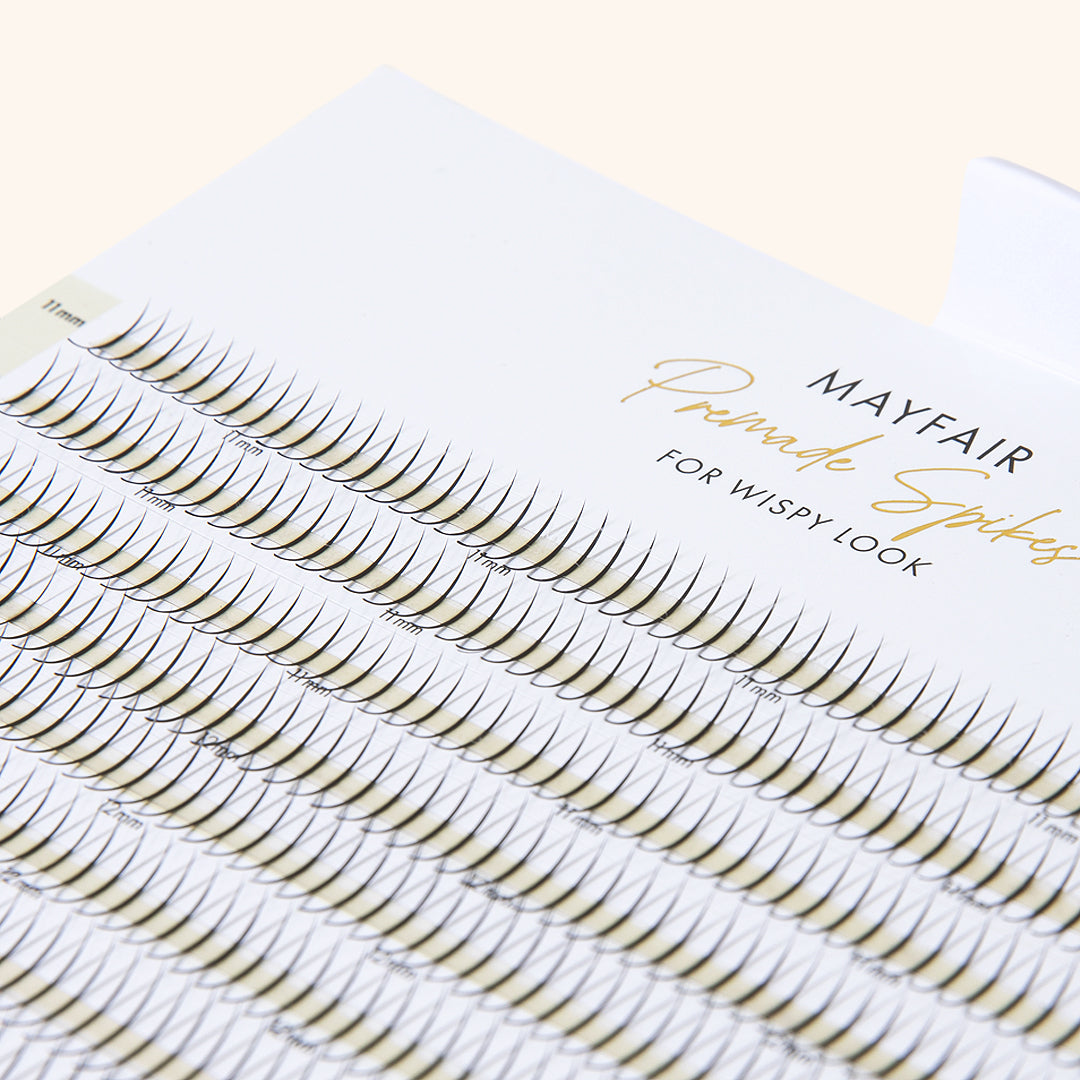
First up, start with those spikes! While premade spikes are an option, especially if your client wants longer lashes, Kylie Lashes usually keep things on the lighter side. You can create your spikes using faux mink lashes to create closed fans, or flat lash extensions. For that wispy effect, we’d recommend going with 0.07 lashes in 3D for your closed fans, but if you’re aiming for an even lighter touch, feel free to use finer lashes.
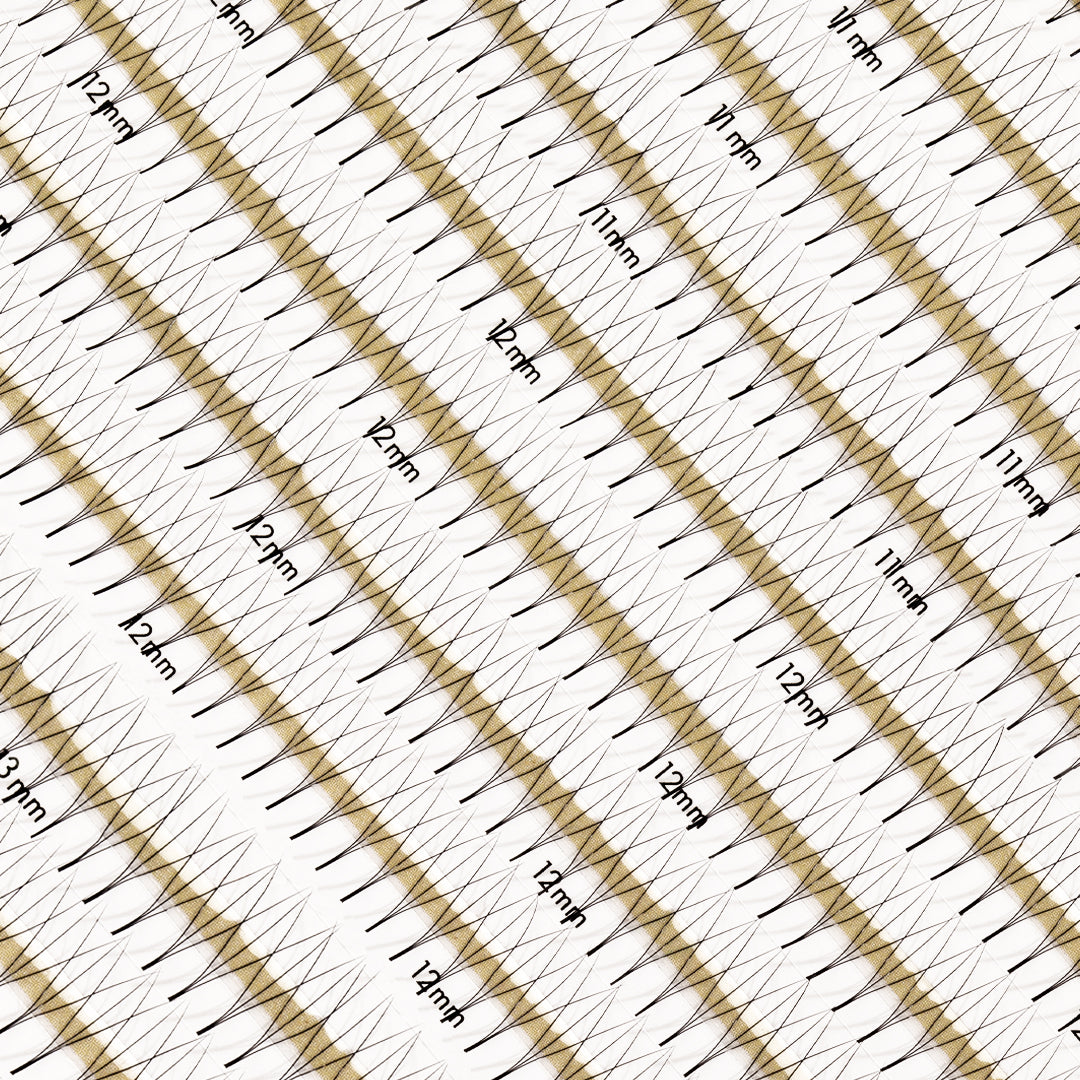
Here’s the game plan: place your spikes on the top and middle layers of the lashes, then fill in the bottom layer with regular fans. The lash thickness is totally up to you and depends on what your client is after, but if you’re aiming for a fluffier vibe, we’d suggest 3D or 4D in 0.07 with slightly wider fans. Short on time? No worries—our Premade Lash Fans will save the day!
One thing to remember is that Kylie Lashes can be applied with any of the 4 main lash maps, depending on your client’s desired look. Just because a style is trending doesn’t mean it should look the same on everyone!
Which Lashes Should You Use for Kylie Lashes?
For that soft, textured finish, go for thinner, more lightweight spikes, maxing out at 3D. If you’re after an even fluffier look, don’t wet the tips when creating your spikes like you would with Wet Set Lashes—leaving the tips slightly open adds to that fluffy effect.
Since Kylie Lashes are all about combining spikes with a dense, fluffy base, you can create these fans using regular volume lash extensions or Premade Lash Fans, like we mentioned earlier. If you want to amp up the fluffiness and add even more density along the lash line, Easy Fan Lashes are a fantastic option!
Lash Supplies You’ll Need
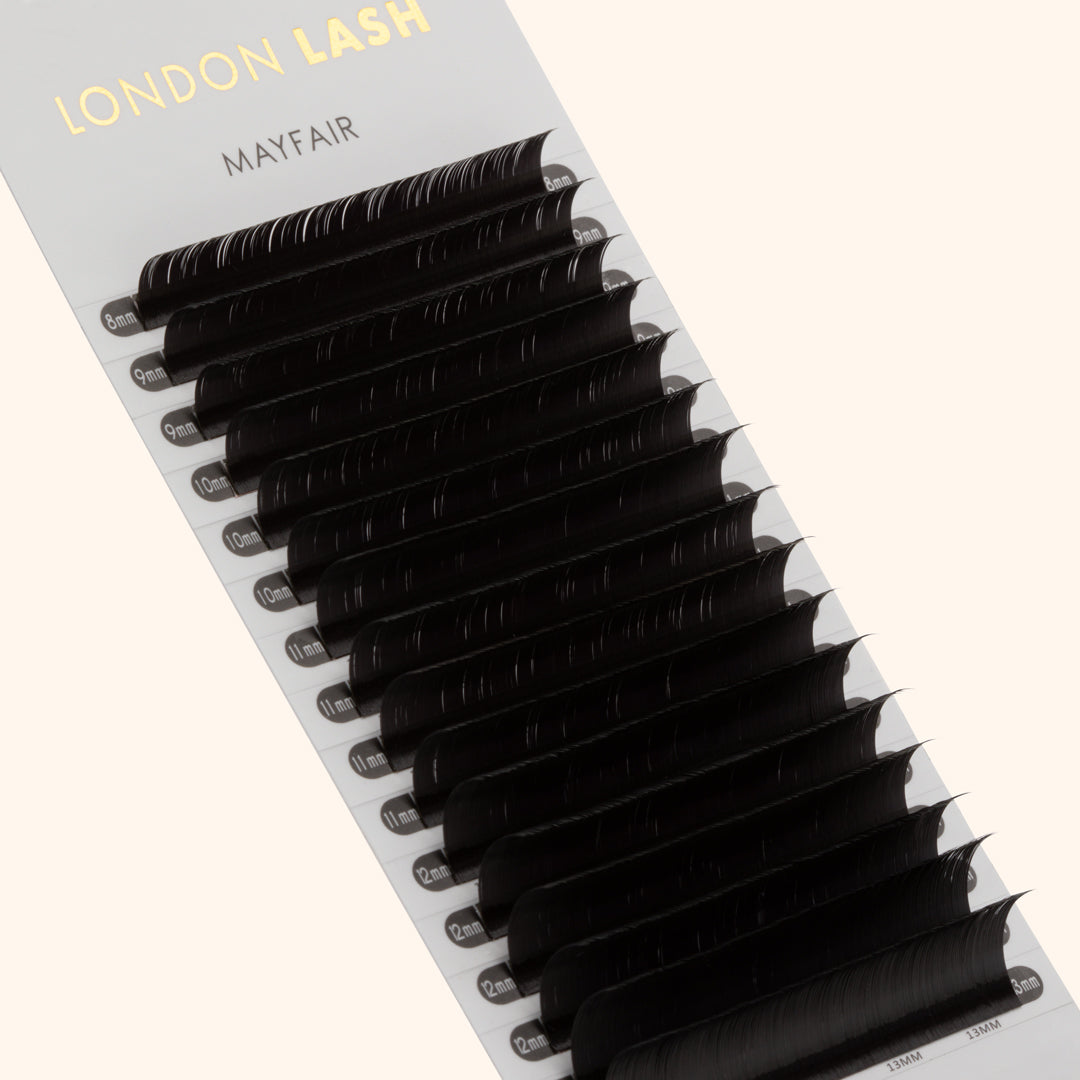
To create the perfect Kylie Lash look, make sure your lash kit is stocked with all the essentials: classic eyelash extensions, volume eyelashes, and mega volume lash extensions for those who want extra drama. You’ll also need quality lash glue and eyelash tweezers to make application smooth and precise.
If you're new to this style or want to explore more eyelash extension styles, an eyelash extension kit with all the basics can be a game changer. A good lash extension kit usually comes with everything you need, from classic lashes to tools like eyelash glue and tweezers.
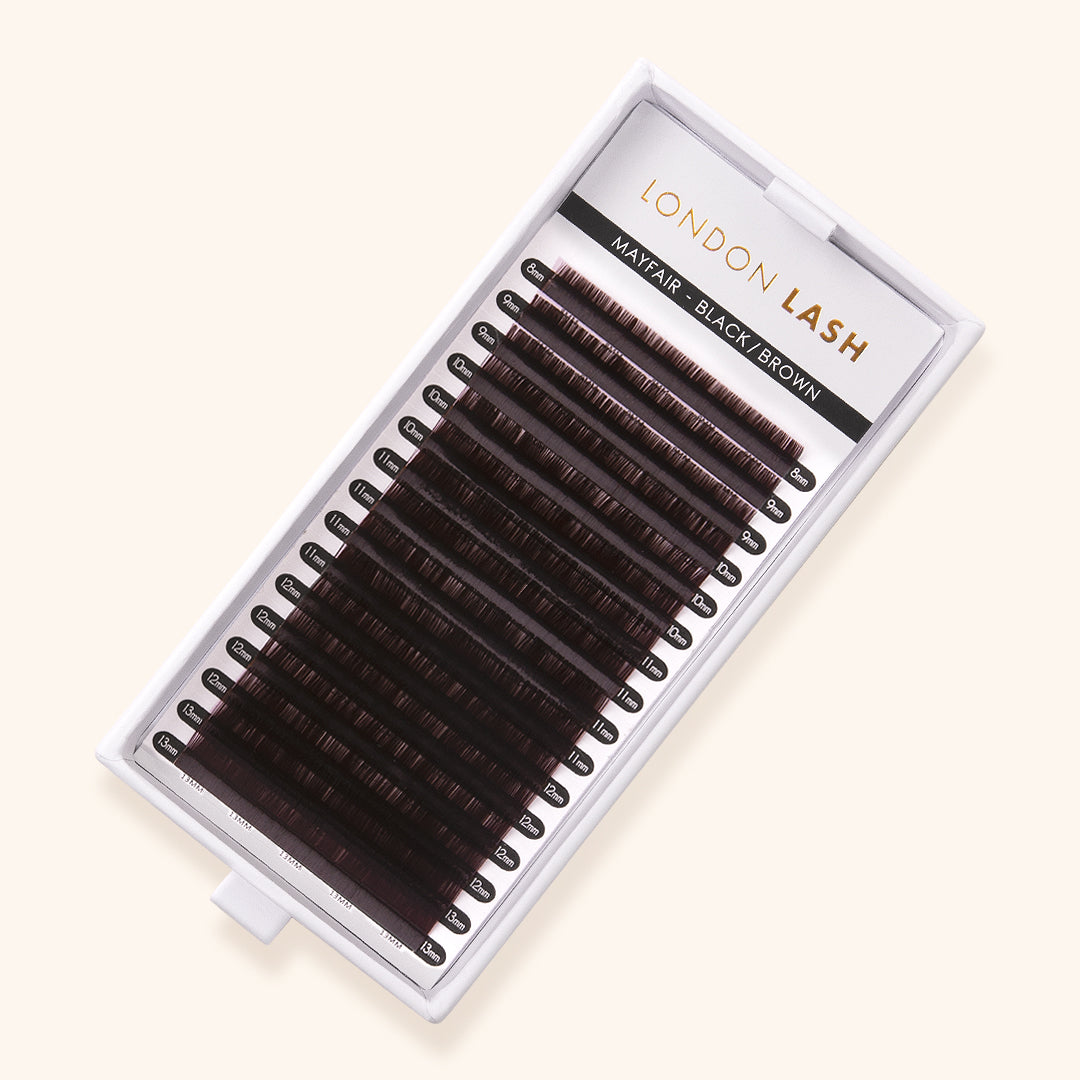
And that’s a wrap! As with any lash extension style, feel free to play around with different types of lashes, and even throw in some color to create looks ranging from subtle and natural to full-on glam. For a softer look, try using Black Brown Lashes, or if your client’s feeling bold, why not mix in some colored spikes for a fun, eye-catching twist?
Check out these featured products
+4 More
M L B Extreme-L+2 More
L MSubscribe
Sign up to get the latest on sales, new releases and more …
