Lash Glue 101: Your Problems Solved!

Table of Contents
Solving the Most Common Lash Adhesive Problems So You Don’t Have To
Let’s state the obvious here: although amazing, eyelash adhesive can be the bane of your life! There is nothing more frustrating than unscrewing the lid and disappointment strikes—your glue has dried up.
There are so many ways in which your lash adhesive can drive you insane. So here’s our chance to help you avoid those frustrating moments by answering your burning questions.
Lash glue dried up in the bottle? First, check whether the nozzle is blocked or the adhesive itself has thickened or hardened. A blocked nozzle may be replaceable, but cured professional lash adhesive cannot be made liquid again by adding water, solvents, or other products. If the adhesive has deteriorated or passed its recommended lifespan, it’s time for a replacement.
This guide covers professional eyelash extension adhesive. Strip lash glues and DIY lash bonds can have different formulas and instructions, so always check which type of product you’re using.
Lash Glue Troubleshooting at a Glance
| Problem | What to Check | What to Do Next |
|---|---|---|
| Glue will not come out | A blocked nozzle, a stuck cap, or thickened adhesive inside the bottle. | Follow the manufacturer's nozzle-care instructions. Replace deteriorated adhesive rather than forcing it out. |
| Glue is thick or stringy | Storage conditions, temperature, opening date, and exposure to moisture. | Allow the sealed bottle to reach its recommended working temperature naturally. If the texture remains abnormal after correct mixing, stop using it and contact your supplier. |
| Glue dries too quickly | Room temperature, humidity, drop freshness, and placement speed. | Work within the adhesive's specified conditions and choose a drying speed that matches your application. |
| Glue is not drying | Low temperature or humidity, excessive adhesive, or a deteriorated product. | Check the product's working range, application instructions, and condition before continuing. |
| Glue is not sticking | Lash preparation, attachment, adhesive quantity, and whether curing starts before placement. | Review the complete application process rather than assuming a faster or “stronger” glue is the answer. |
Why Is My Lash Glue Drying Up?
Moisture exposure is a key reason professional lash adhesive starts curing inside the bottle. Each time you open it, humid air can enter. Sadly, an opened bottle won’t stay fresh forever, but careful handling and storage can help slow deterioration.
Keep the bottle open only as long as necessary, dispense your drop, clean the nozzle using a suitable glue nozzle wipe, and close the cap securely. Follow the handling instructions supplied with your adhesive, including any guidance on clearing the nozzle after dispensing.
Remember: dried adhesive around the nozzle does not automatically mean the whole bottle has dried up. Check the nozzle and the condition of the contents separately before deciding what needs replacing.
Why Is My Lash Glue Not Coming Out?
Clogged Glue Nozzle
To help prevent your glue nozzle from becoming blocked, wipe away adhesive residue with glue nozzle wipes after dispensing and before replacing the cap. A dirty nozzle can prevent the bottle from closing properly, leaving your adhesive more exposed to moisture.
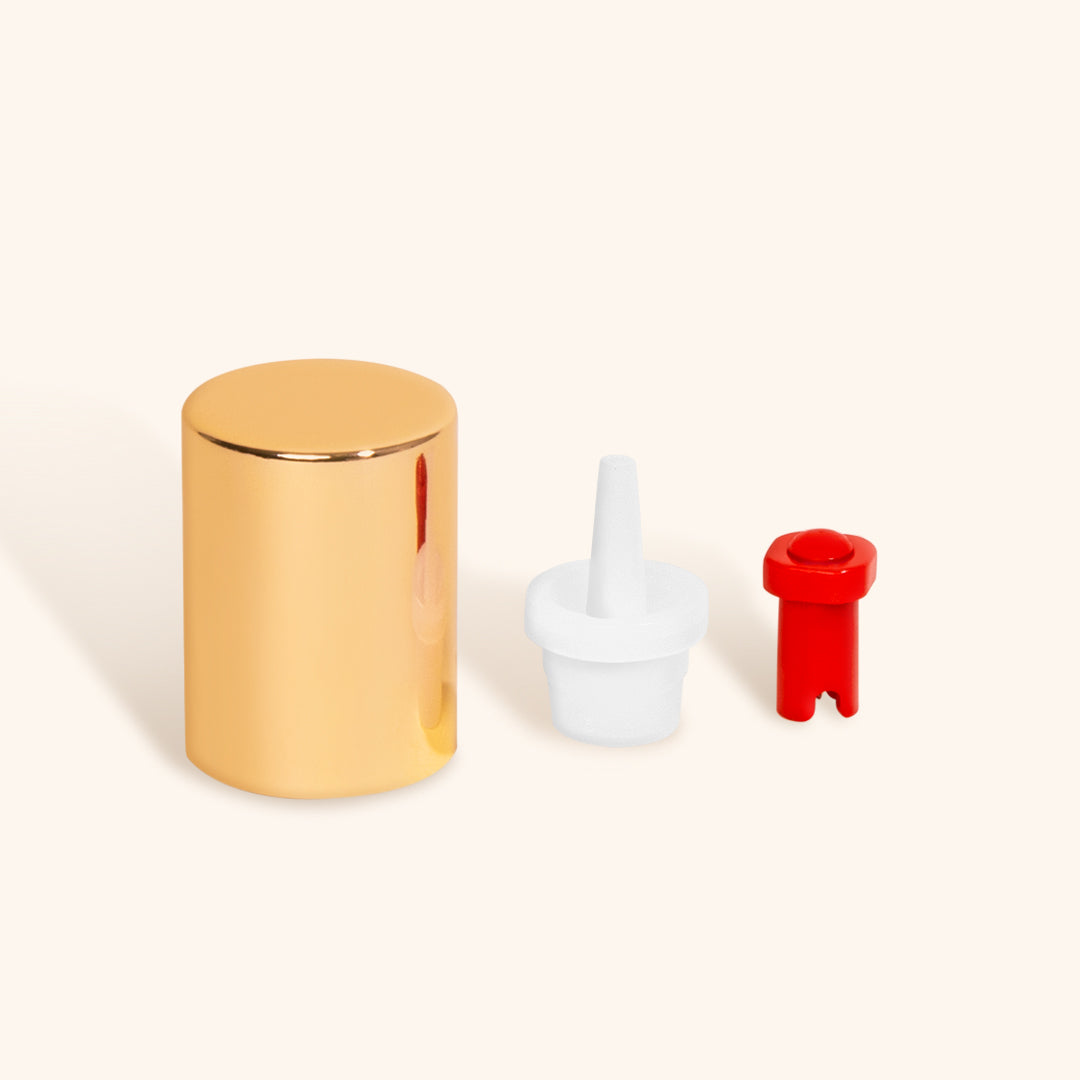
For those days when your nozzle is blocked beyond saving, or has gotten stuck in the cap, our Lash Adhesive Rescue Kit and Spare Nozzles can be a lifesaver. Use them according to the product instructions and check that the adhesive inside is still in suitable condition.
Don’t squeeze harder and harder to force glue through a blocked nozzle. Avoid adding liquids or putting improvised tools into the bottle, which can introduce contamination.
A replacement nozzle can solve a nozzle problem—it cannot restore adhesive that has already cured inside the bottle.

Can I Make Dried Lash Glue Liquid Again?
If your professional lash adhesive has hardened or started curing inside the bottle, there is no reliable way to turn it back into fresh, usable adhesive. We know that’s frustrating, especially when you’re about to start a treatment, but replacing it is the right next step.
Do not add water, acetone, remover, oil, or another adhesive to try to thin it. Shaking will not reverse curing either: it mixes the ingredients, but it cannot bring a deteriorated formula back to life.
If the adhesive has simply become thicker after being stored somewhere cold, allow the sealed bottle to return naturally to its recommended working temperature, then mix it according to the instructions. Don’t use a microwave, radiator, or hot-water bath. If its consistency remains different from normal, stop using it and ask your supplier for advice.
Am I Storing My Glue Correctly?
It’s really important to keep your adhesive away from direct sunlight, moisture, and heat. Store the bottle upright, with a clean nozzle and a securely closed cap, following the temperature guidance for that particular product.
An airtight storage container with a suitable desiccant can help protect the bottle from moisture. Check the production date and storage instructions supplied with your lash glue, rather than assuming every adhesive has the same requirements.
It is also important to monitor the temperature and humidity of your salon. Low humidity and low temperature can slow curing, while higher temperature and humidity can speed it up. Using a hygrometer and thermometer to measure conditions near your workstation is a game changer!
Top tip: your phone’s weather app tells you about conditions outside, not beside your lash bed. Compare your actual workspace readings with the working range specified for your adhesive.
Why Is My Lash Glue Drying So Fast?
If your glue seems to cure before you’ve properly attached the extension, your room may be warmer or more humid than the adhesive is designed for. Alternatively, its drying speed may simply be too fast for your placement technique.
Start by checking your room conditions and the age of your glue drop. Adhesive sitting on your palette is exposed to the environment, so refresh it according to the product instructions and sooner if it starts changing consistency.
If the adhesive still cures before attachment, consider a slower-drying formula that suits your room conditions. Faster isn’t automatically better! Your glue needs to give you enough time to create a secure attachment without leaving lashes moving around for too long.
For more help comparing options, take a look at our lash glue comparison chart.
Why Is My Lash Glue Not Drying?
On the flip side, an adhesive that takes too long to cure can make application a real struggle. Extensions may shift, fans may close, and you may find yourself spending extra time checking for lashes sticking together.
Check whether your room temperature or humidity is below the adhesive’s recommended working range. Also review how much glue you’re using, whether you’ve prepared the lashes appropriately, and whether the bottle is still within its usable lifespan.
Adjust your working conditions within the recommended range rather than trying to compensate by applying extra glue. Don’t add water to the adhesive or wet the glue bonds to force them to cure.
Can I Stock Up on Adhesive?
We know it’s tempting to stock up, especially when London Lash has got the most irresistible sale running. But adhesive has a limited shelf life, so buying more than you can use can quickly turn a bargain into wasted product.
There are two dates to keep in mind: the unopened shelf life, usually measured from production, and the usable period after opening. Follow the current instructions for your specific adhesive, as these periods can vary between products.
Buy according to how much adhesive you actually use, the size of your bottles, and how quickly you can replenish your stock. Use older suitable stock first, and keep a note of when each bottle needs replacing.
If your manufacturer permits refrigerated storage for unopened bottles, follow its instructions carefully and let the bottle reach room temperature while still sealed before opening. Do not refrigerate opened London Lash adhesive; keep it in the recommended cool, dry storage conditions instead.

Has My Lash Glue Expired?
Your lash glue doesn’t have an unlimited shelf life—sad, we know. The BEST thing to do as soon as you open a new bottle is write down the opening date and keep it with the bottle. Check this alongside the production date and the manufacturer’s recommended lifespan.
An adhesive can also deteriorate before its stated replacement date if it has been exposed to unsuitable conditions. Warning signs include persistent thickening, stringiness, lumps, or a change from its normal consistency that does not resolve after correct temperature adjustment and mixing.
Different glues have different consistencies, so a runny formula is not automatically expired. What matters is whether it behaves as expected for that particular product.
Can you use expired lash glue? Don’t use adhesive beyond its stated expiry or recommended period after opening. Its performance may be unreliable, and adding fresh glue to an old bottle will not reset its lifespan.
Why Is My Lash Adhesive Stringy?
Stringy glue can have more than one cause. Temperature changes can affect viscosity, but moisture exposure, age, and partial curing can also change the adhesive’s texture.
First, check the bottle’s age and storage history. If it has been stored somewhere cold, allow the sealed bottle to reach its recommended working temperature naturally, then mix it as directed.
If the glue remains stringy, unusually thick, or different from its normal consistency, don’t assume another shake will fix it. Stop using that bottle and contact your supplier or replace it.
Why Is My Lash Glue Not Sticking?
When an extension won’t attach properly, it’s easy to blame the bottle. Sometimes the adhesive is the problem, but there are several other things to check before you reach for a replacement.
- Lash preparation: makeup, oils, and product residue can interfere with attachment. Follow an appropriate preparation routine and the instructions for the products you use.
- Placement speed: if the adhesive starts curing before the extension reaches the natural lash, the attachment may be unreliable.
- Room conditions: check temperature and humidity against the adhesive’s specified working range.
- Glue quantity: use the amount appropriate for your adhesive, extension type, and technique.
- Attachment: check that the extension has suitable contact with the isolated natural lash.
- Product condition: review the opening date, storage history, glue drop, and bottle consistency.
If you’re searching for how to make lash glue “sticky again,” work through these checks first. The answer may be a fresh drop, an adjustment to your conditions, or a replacement bottle—not an ingredient added to the glue.
Why Do My Clients Have Poor Retention?
Retention depends on the whole treatment, not just the adhesive. Alongside the checks above, review your preparation, isolation, attachment, styling choices, and the aftercare guidance your client follows.
And yes, mixing matters too! Shake your adhesive according to its instructions so that the ingredients are properly distributed. The recommended mixing time can vary depending on the product and whether you’re shaking by hand or using a device.
We recommend using a glue shaker if you’d like a convenient way to mix compatible adhesives. Follow the instructions for both the shaker and your glue, and remember that mixing cannot restore expired or partially cured adhesive.

Aftercare: remind your clients to follow the aftercare instructions appropriate to their treatment. Daily gentle cleansing, avoiding picking or pulling, and taking care around excessive heat all deserve a mention—no one wants a sparse set!
It also helps to ask what they’re noticing. Extensions falling off without the natural lash attached can point to a different issue from natural lashes shedding with their extensions still attached. Look at the pattern before deciding what to change.
How to Keep Lash Glue from Drying Out
- Store the bottle upright in the conditions recommended by the manufacturer.
- Keep the nozzle clean with suitable adhesive nozzle wipes.
- Close the cap securely after dispensing each drop.
- Protect the bottle from moisture, direct sunlight, and temperature extremes.
- Record the opening date and follow the stated expiry guidance.
- Choose a bottle size and ordering schedule that suit your treatment volume.
- Never add other liquids to thin or revive the adhesive.
Getting to know your lash glue takes a little practice, but these checks can save you plenty of frustration. Start with the bottle’s condition, check your room, then review your application process. And if something still doesn’t seem right, contact your supplier with the product name, opening date, storage details, and room readings. A few useful details can make finding the problem so much easier!
Check out these featured products