


3 Things You Might Not Be Doing With Your Lash Glue That You Should Be!
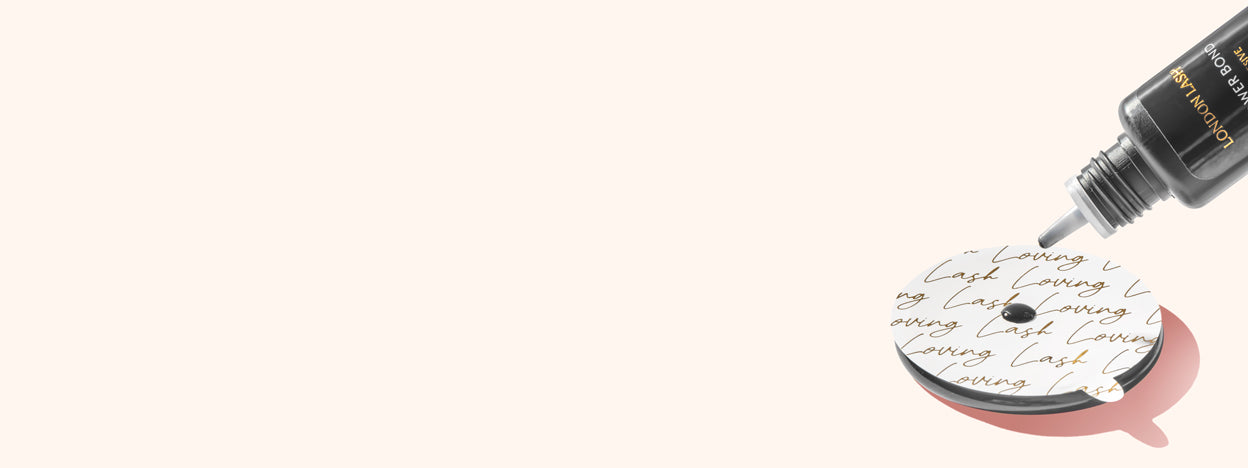

Table of Contents
3 Things You Should Be Doing With Your Lash Glue!
You might think you know everything there is to know about lash extensions glue, but there are three things you might not be doing that you probably should be!
Do You Cover Your Nozzle?
When you shake your glue by hand, it’s highly likely that you’re just grabbing the bottle and giving it a good shake up and down. It’s hard to shake side to side but that is really what we should be doing to prevent glue from getting into the nozzle and lid. When glue gets into the nozzle, it often likes to make its way out quite dramatically, at best making sure the nozzle is a beautiful mess, at worst taking your clothing and manicure out with it (actually, at worst taking your client’s hair out with it. But that’s too scary to think about…)

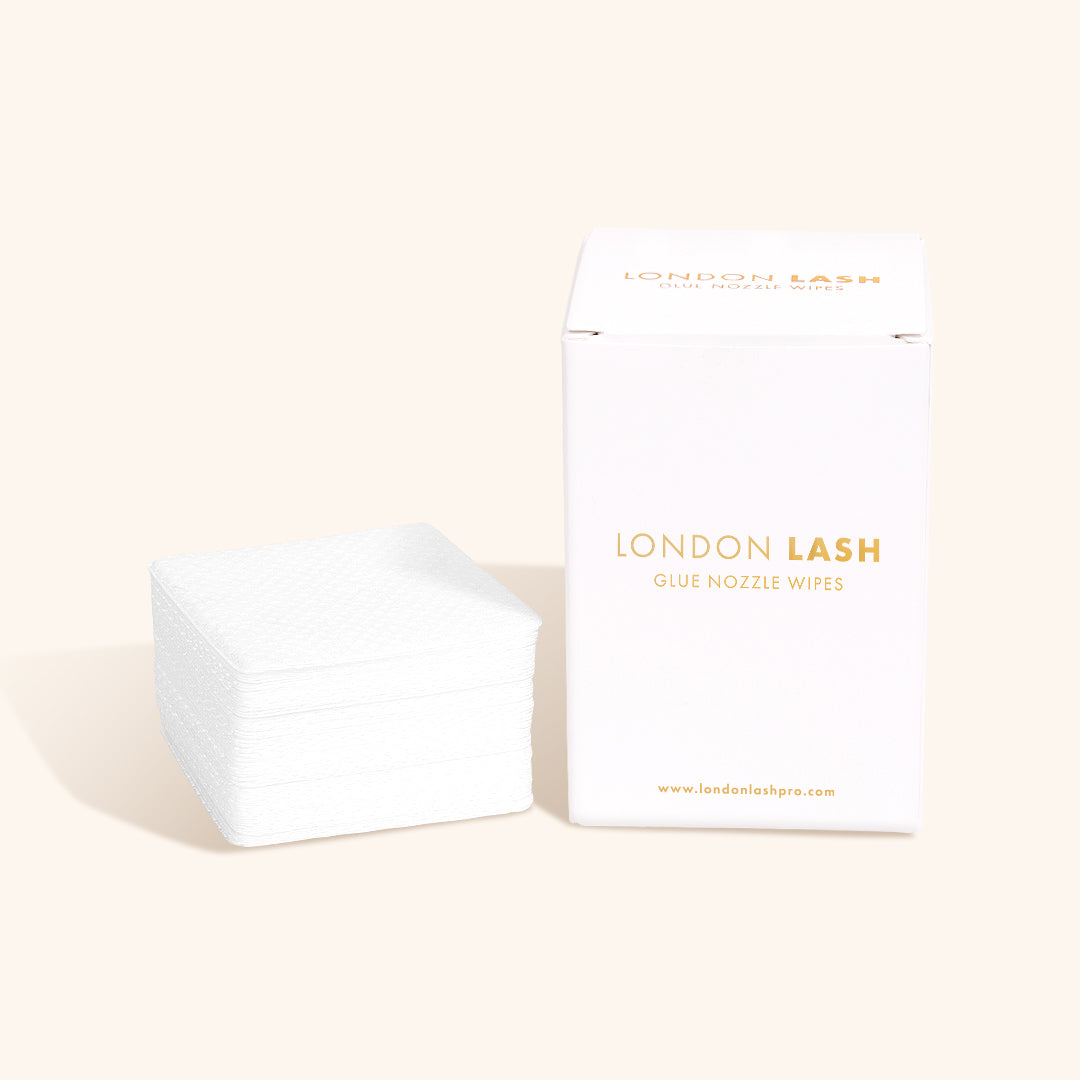
While we strongly recommend that you invest in a glue shaker to save you time, wrist strain and nozzle mishaps, we know that sometimes accessories just don’t make the cut where budgeting for lash products is concerned. One thing you absolutely do need though, are glue nozzle wipes. These will save your life in so many ways and work out super cheap at only 6¢ per wipe (you can get more use out of each wipe simply by folding it too, so that’s easily 2¢ per use) so they’re well within your budget.
When you go to shake your glue, remove the glue lid and take one glue nozzle wipe and fold it in half, then cover the tip of the nozzle as you shake. This way, you have a wipe close to hand if the bottle decides it wants to rid itself of glue, and it’s much easier to clean up. Back to shakers, though - if this isn’t something you’ve considered before then do think about it - a glue shaker will save you time on shaking but it will be hugely beneficial when it comes to needing to clean your nozzle as a shaker uses centrifugal force to mix the ingredients of your glue, rather than that up-and-down motion we’re all familiar with.

Are You Burping The Bottle?
If this sounds really weird to you, stick with us for a sec - burping your glue can be the difference between never ever having an issue with your lid getting stuck to your glue’s nozzle, and having huge issues with your glue lid and nozzle never wanting to part ways.
We’ve spoken about how glue likes to escape from the nozzle after shaking, but the same is true after your glue is dispensed.
When you dispense glue, air is taken back into the nozzle. This happens more obviously if you squeeze your glue out rather than letting gravity do the work, but it can happen however you dispense your glue drop, so you need to be burping the bottle. 
The best way to burp the bottle is to simply give it a little tap tap tap on your lash trolley to force the air back out. 8 times out of 10, the air will come out without issue, but those other two times it will take some stray glue with it. Had you not burped it, this would still have happened but it would have done so inside the glue lid which, as we all know, leads to issues.
Once you’ve burped your bottle, give the nozzle a little wipe with a nozzle wipe and replace the lid nice and tight to keep it airtight and avoid any nasty surprises later down the line.
Are You Curing Your Glue?
We’re not talking about the glue on the eyelash extensions this time (though we do recommend a little dab of Superbonder along the glue bonds, if you’re having issues with retention on those clients who swim/shower/cry soon after treatment, or for those who are a little more sensitive to the fumes) but rather the glue on your Jade Stone (or glue ring, depending on your preference).
During your eyelash extensions sets, you’ll need to be replacing your glue drop every 10-20 minutes depending on your room conditions and which glue you’re using, and at the end of the treatment you’ll have at least 6 drops of glue just hanging out on your glue stone. Before you remove the sticker/tape that you’re dispensing the glue on (or throw away the glue ring) did you know you should be curing the glue? 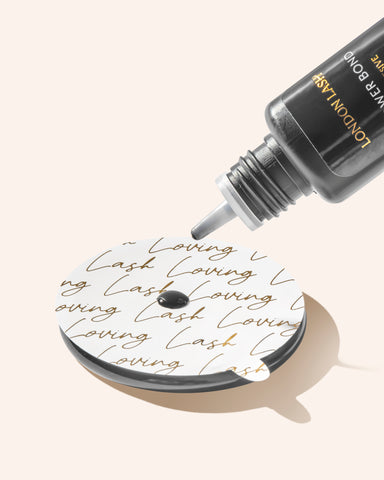
You don’t have to use Eyelash Primer or Superbonder to do this - why should you use up your precious products on just curing glue? Just take a little dropper of water and cure all the glue drops. You’ll know they’re cured because they’ll take on a white appearance as they shock polymerize.
Why do you need to cure your glue before you dispose of it? Well, the cyanoacrylate in glue reacts with particles in materials like cotton and produces an exothermic reaction - this is a reaction which gives out heat. If you’ve ever dispensed glue onto a jade stone sticker and it felt warm to the touch on the underside of the sticker when you removed it, this is exactly what was happening.
When you cure the glue drops, you’re locking in the fumes and preventing yourself some discomfort in your airways, and you’re also minimizing the risk of something worrying happening with any fibers in the bin - while it’s rare for glue to actually product such a big reaction that fires or small explosions are likely, it has happened, so you can never be too careful!
All in all, while you may have good habits when it comes to your lash glue, there’s always more to learn and more than likely more you can do to get the best out of your products at all times, whilst keeping yourself and your clients safe and happy!
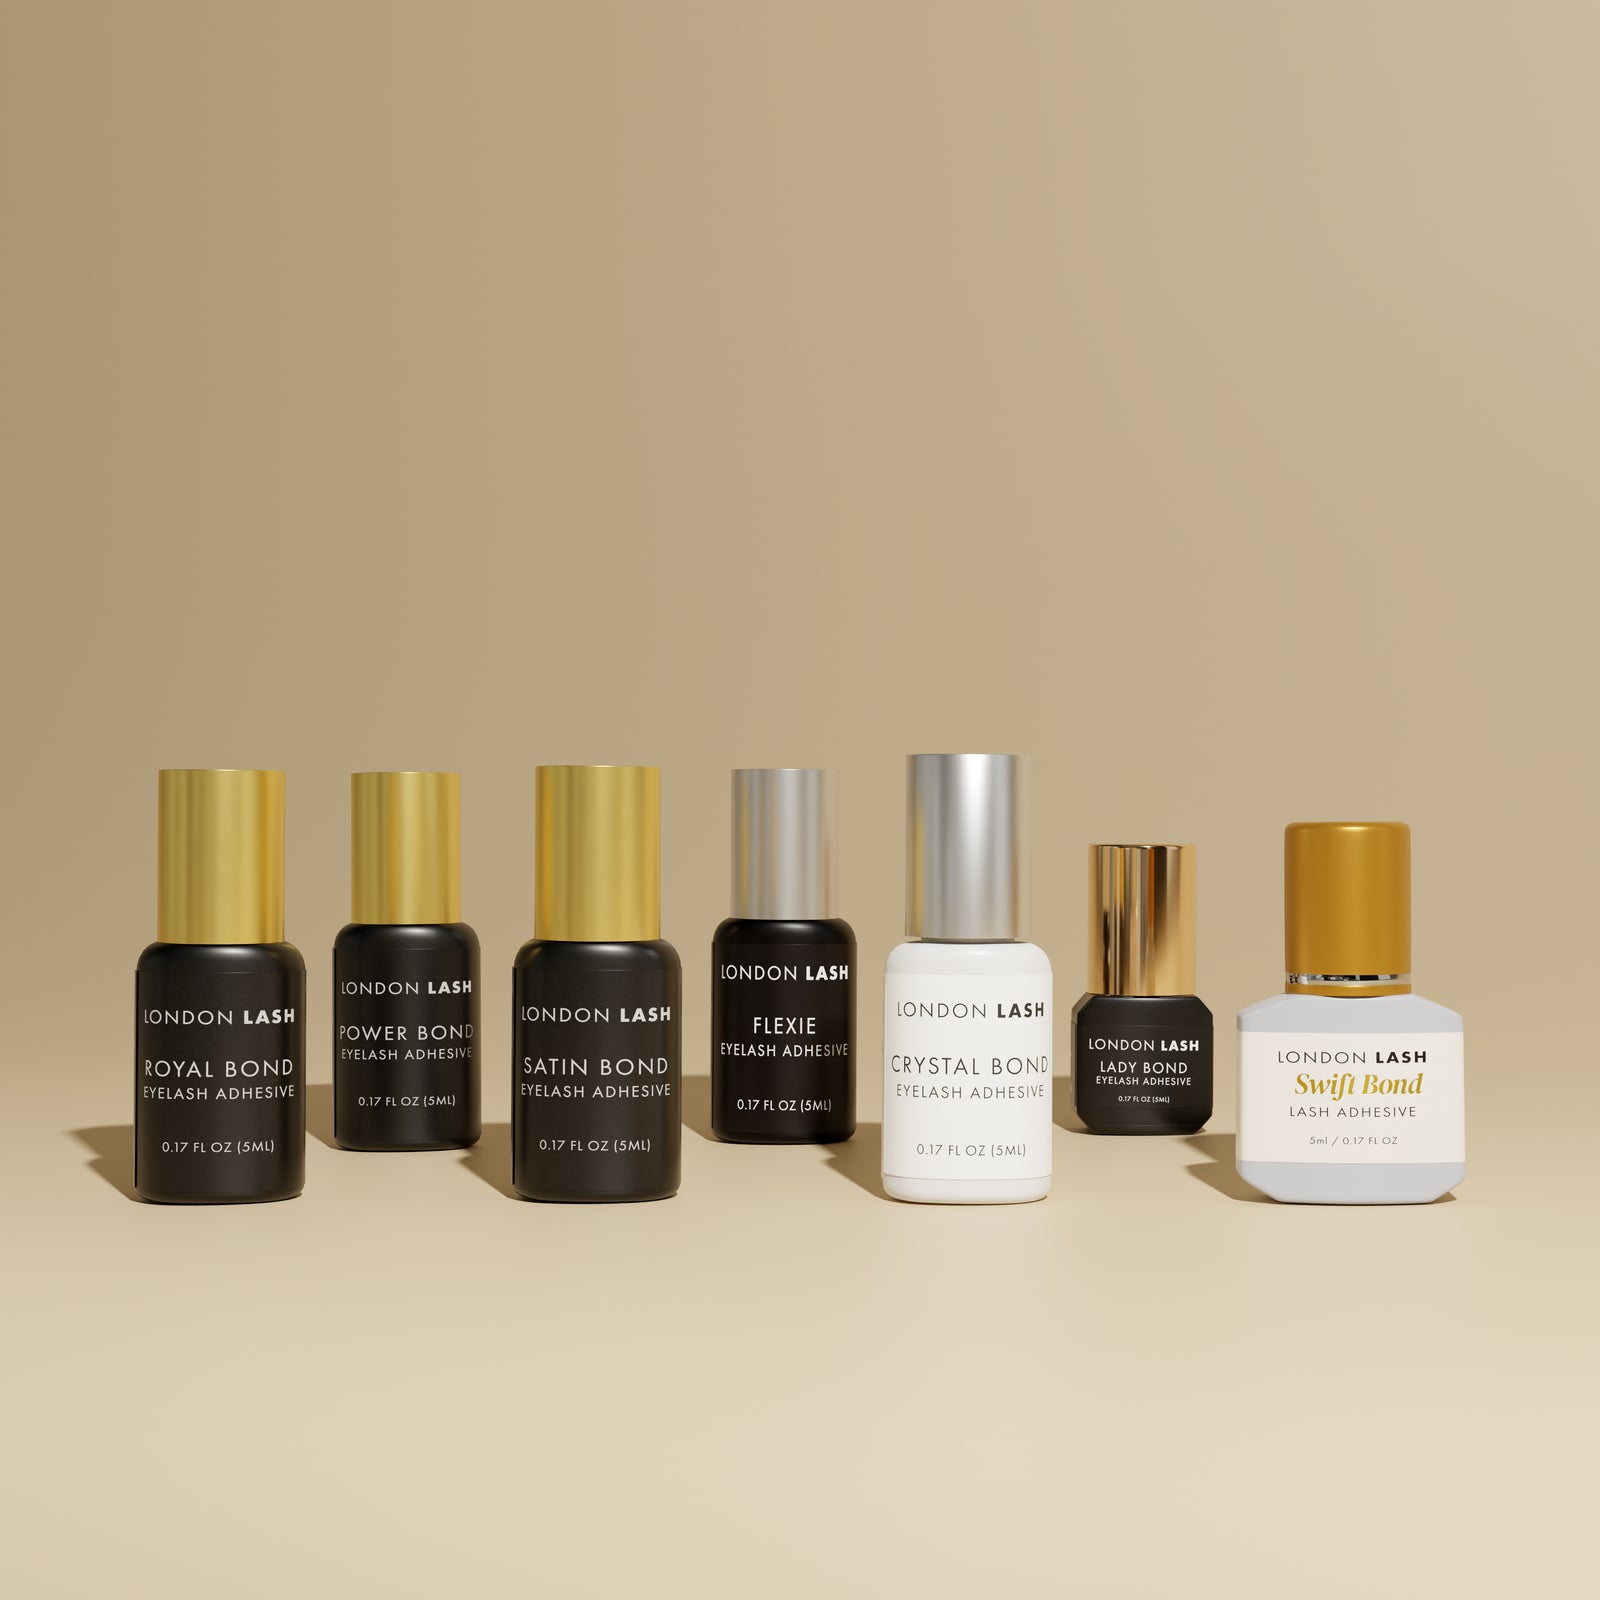
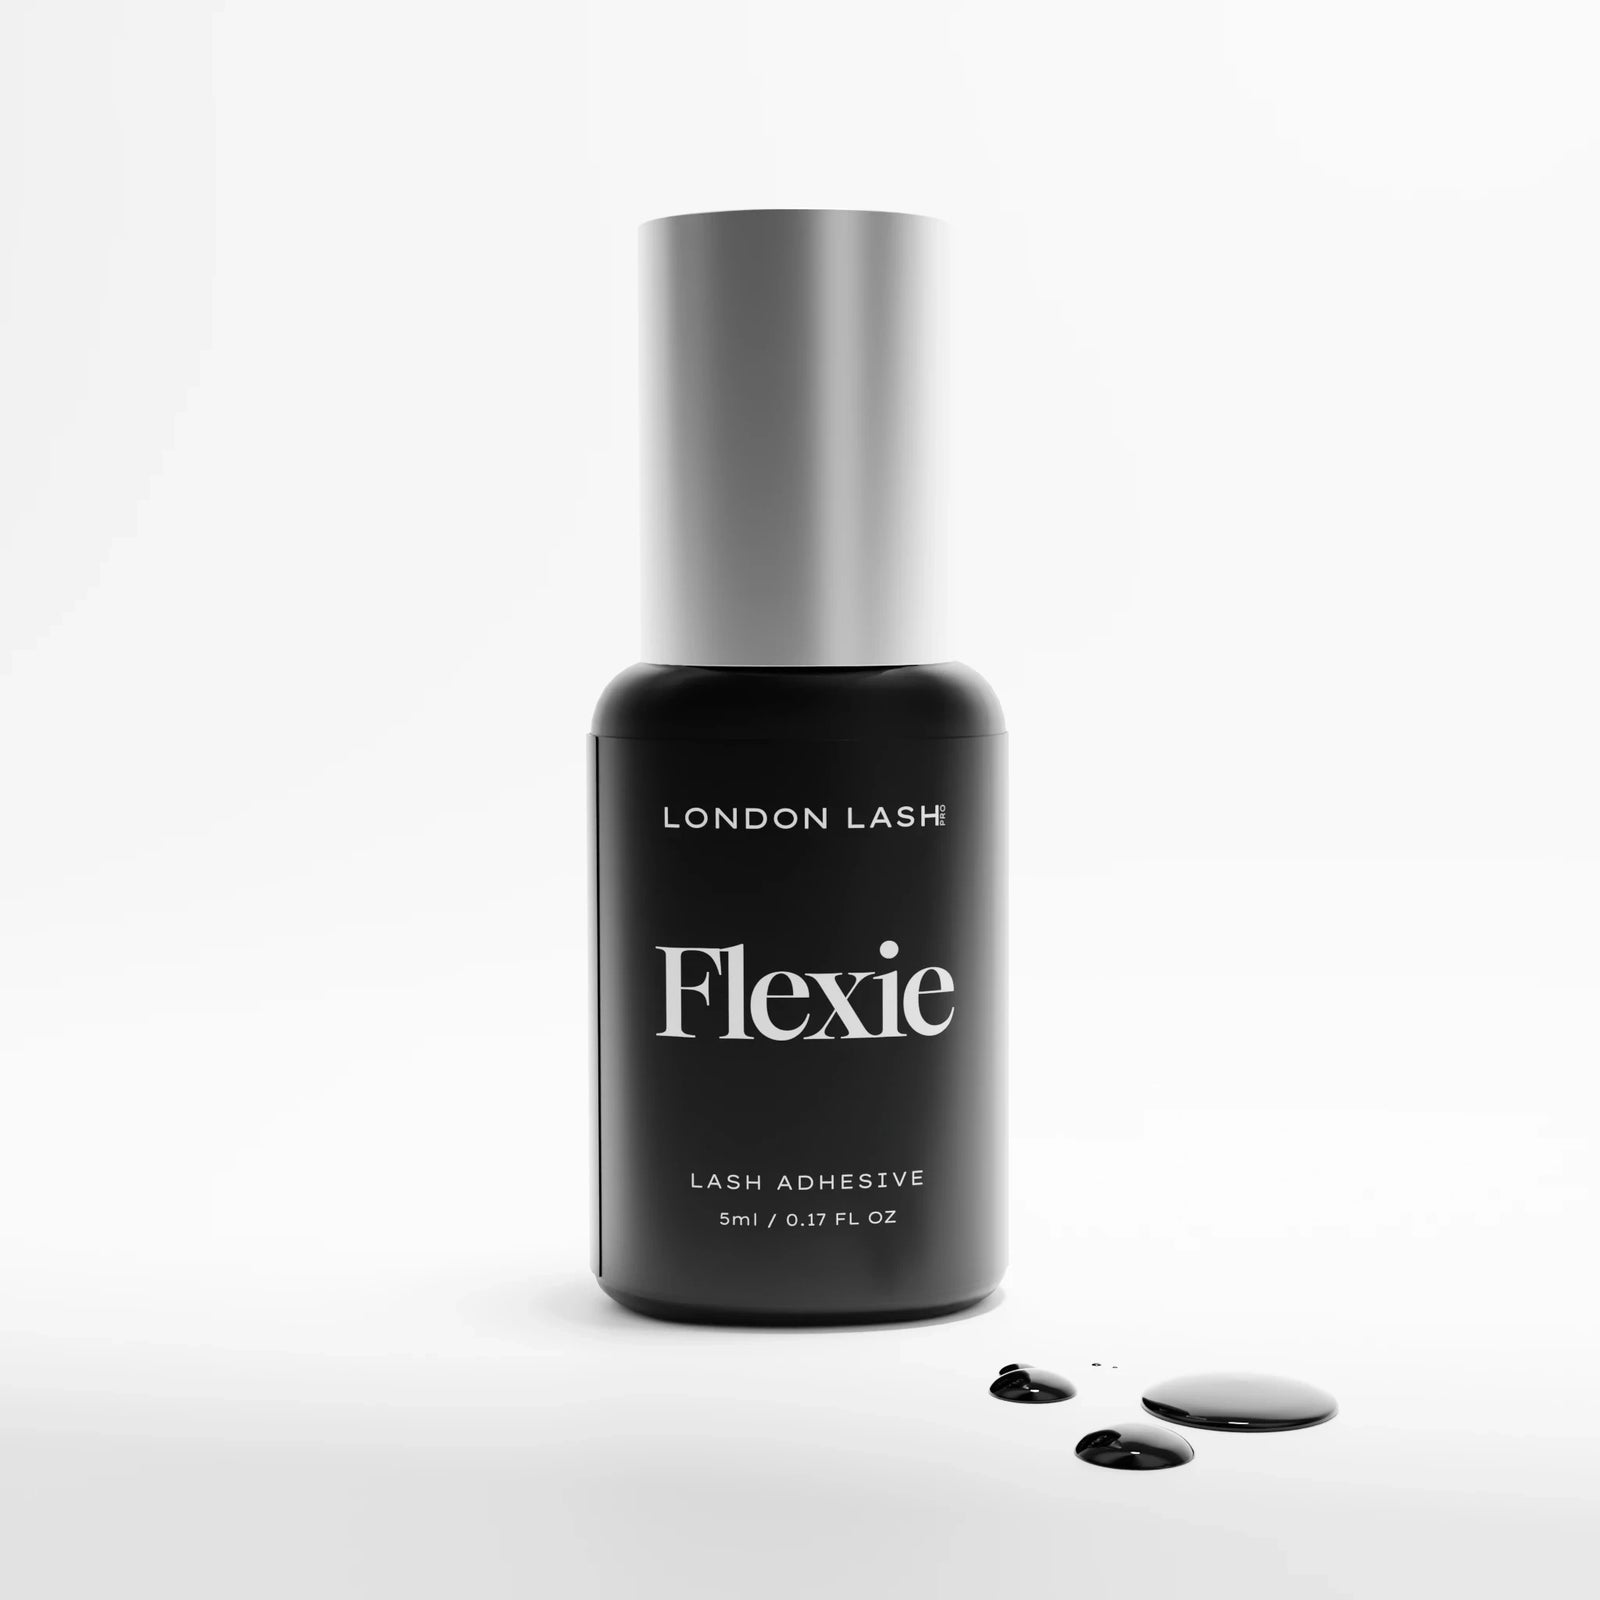
Check out these featured products