


Lash Glue Nozzle Care 101

Table of Contents
How to Take Care of Your Glue Nozzle | Avoiding Lash Glue Disasters
Lash glue is probably the most temperamental product that you’ll have in your kit, because even though you might have the best lash glue that money could buy, if you don’t treat it right, it’ll only misbehave. Whether you're just starting out as a Lash Technician or you've been enhancing your clients' eyes with stunning lashes for some time, you've likely encountered a few challenges with your lash extension adhesive. Even if you've discovered the ideal adhesive for your needs and created the perfect environment for it, there's still a pitfall that can catch us all off guard – not being vigilant about maintaining our adhesive's nozzle during and after each use. So here are our essential tips for lash glue nozzle maintenance to help you prevent any sticky situations!

Always Replace the Cap Correctly
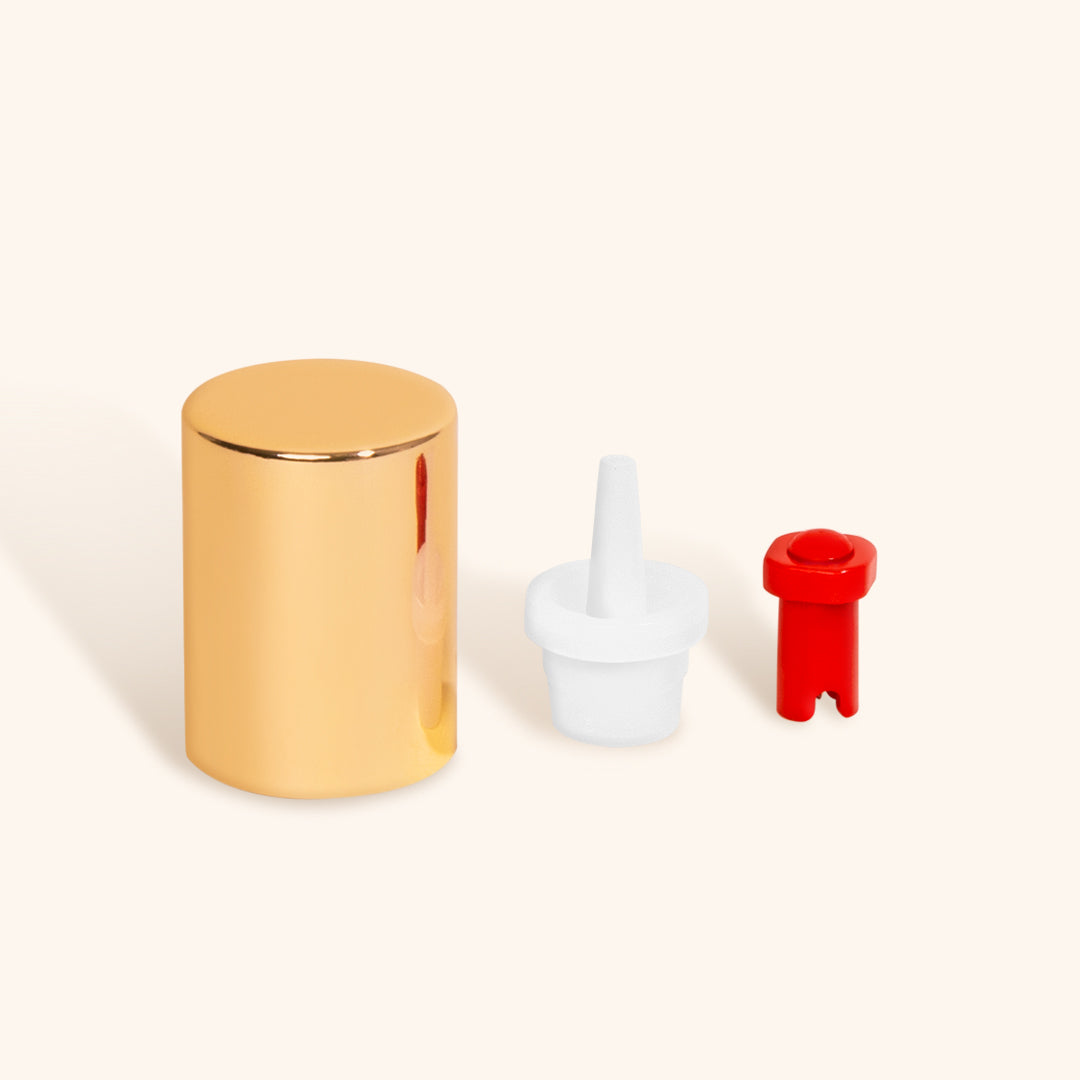
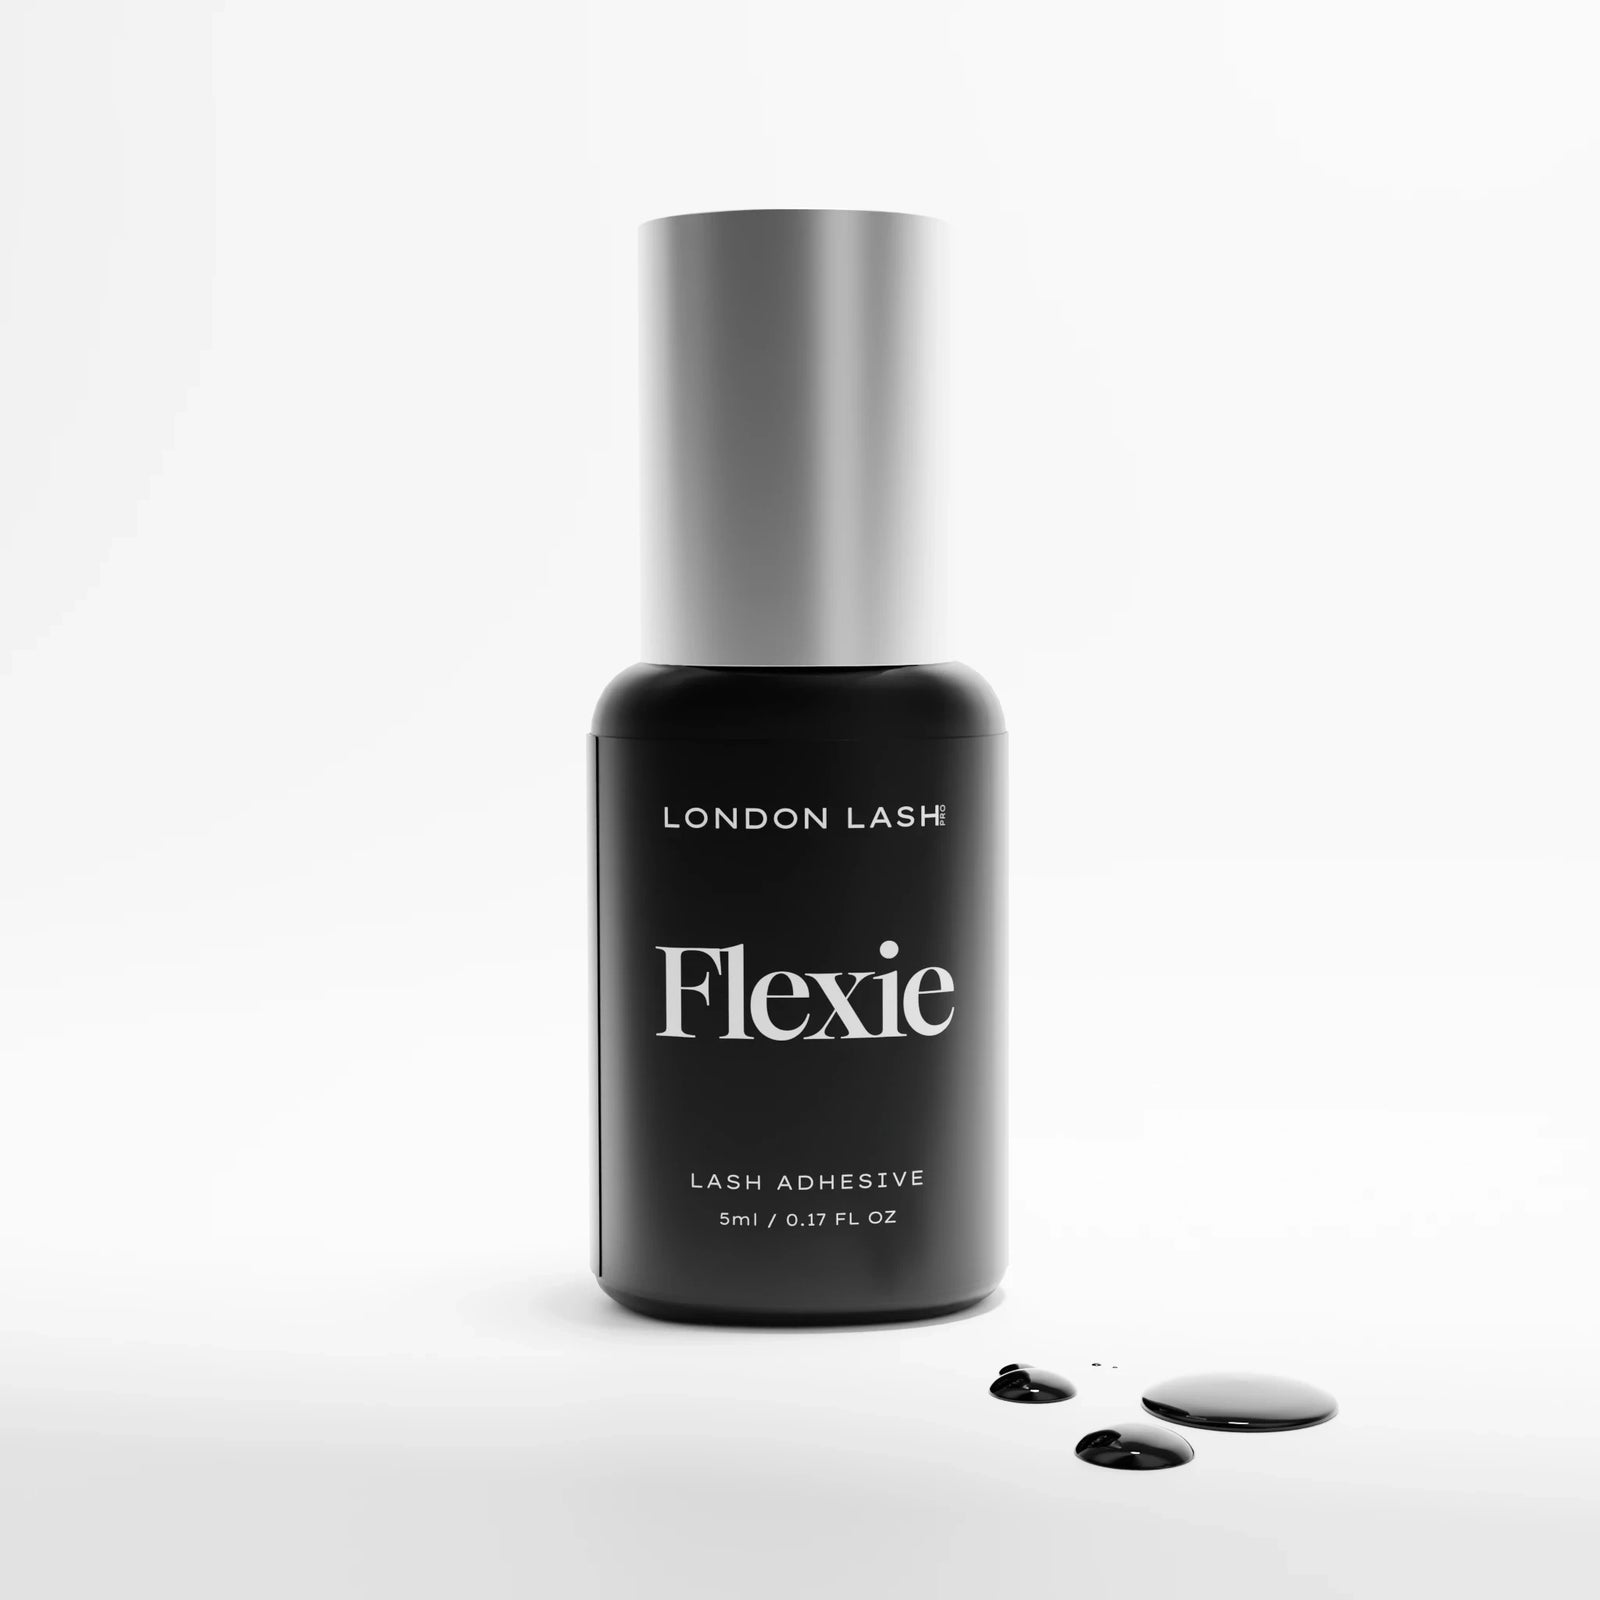
It might seem like a no-brainer to ensure the cap is securely put back on after each use, and if you're already doing this, then give yourself a pat on the back! You're on the right path to fewer adhesive disasters. However, it is still worth explaining why putting the lid on properly is so important. For those of you who have used products like our London Lash glues, you'll be aware that they come in a sealed aluminum pouch with a silica gel packet to keep any moisture at bay, along with a red pin. It's a common misconception for beginner Lash Techs to think this red pin is for sealing their adhesive between uses – it's not. The pin is only meant for emergency use if your nozzle gets blocked, not for regular storage!
The nozzle isn't sealed, so there's no need to pierce it. Inside the cap, you'll find a small nib that perfectly fits into the nozzle's opening to keep the bottle airtight between uses. This is why it's crucial to also keep your nozzle clean, but we’ll get to that.

Keep the Nozzle Clean!
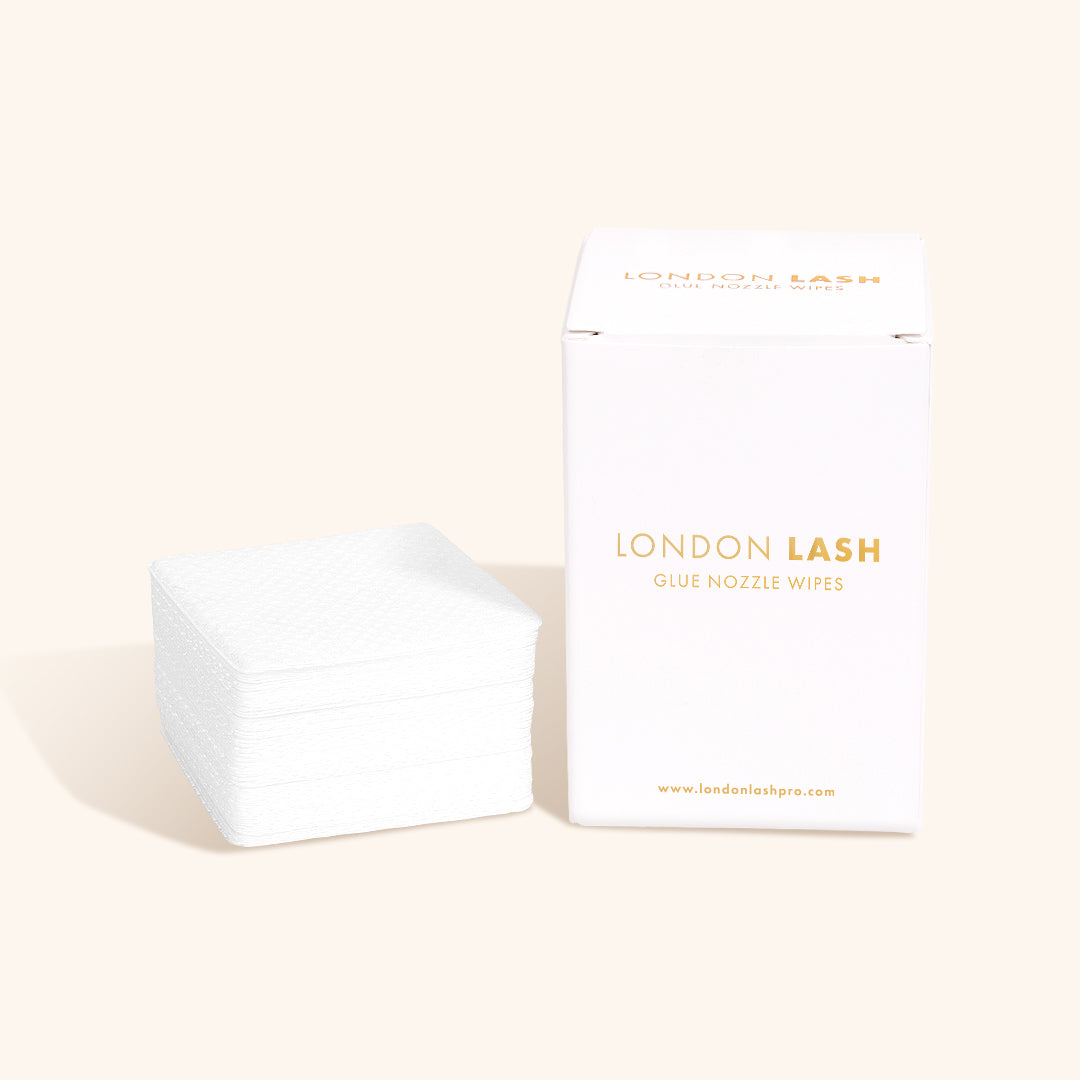
This advice might sound straightforward, and if it does, you're doing great! Keeping your adhesive's nozzle clean is vital because any leftover residue can prevent the cap from closing tightly or cause adhesive to stick to the nozzle, which is a frustrating way to start your day. To clean the nozzle, you need to use a material that won't stick to it or leave fibers behind. We recommend using Lint-Free Nozzle Wipes for the best results, but a small piece of foil can also do the trick if you're in a pinch.
However, it's just as important to know what NOT to use for cleaning your nozzle:
- Tissues are a no-go! They can leave behind fibers that interfere with the airtight seal and attract more residue.
- Say no to cotton pads! They react with cyanoacrylate (the main ingredient in lash glue), which can create heat and potentially hazardous fumes!
- Stay away from your clothing and Bed Cover! As tempting as it may be to use your lash tunic or to wipe it on your lash bed’s cover, you should never clean your glue nozzle with a fabric like these. They should be avoided because of the risk of causing permanent stains on your uniform and covers, as well as the aforementioned potential of a heat reaction. Use a glue nozzle wipe to avoid ruining your salon decor!

- Wet Wipes or any moist materials are a big no-no, as moisture can also ruin your adhesive.
- Using your fingers might seem convenient, but there are many problems with this. Firstly, as you probably already know, you should never apply lash glue directly to your skin, even in small amounts, as it can cause irritation and damage. Secondly, the heat reaction that occurs when using lash glue will still occur on your skin, and will also cause discomfort and damage your skin! Also, Lastly, it’s important to keep in mind that wiping the nozzle with your fingers can introduce moisture, oils, and bacteria that will affect the quality of your eyelash glue.
Simply put, wipe the nozzle after every use with specially designed Lint-Free Glue Nozzle Wipes to prevent buildup, and NOTHING else.

Burp the Bottle
The concept of "burping" your adhesive bottle might sound odd, but it's an effective analogy. Just as burping a baby helps them feel more comfortable by releasing air ingested during feeding, "burping" your adhesive bottle after dispensing glue helps release trapped air, preventing it from causing issues later. This practice, along with careful dispensing techniques, helps maintain the quality of your adhesive.
Something important to remember when dispensing your eyelash glue is to rely on gravity to do most of the work. This is because squeezing the bottle too hard may allow air to get sucked into the bottle. Even if you are careful to dispense your glue slowly, some air can still get into the bottle. This trapped air will eventually want to leave the bottle, releasing some glue at the same time. To prevent this from happening, gently tap the glue bottle on your trolley or squeeze it to help the air escape. Afterward, wipe the nozzle with a nozzle wipe and pop the lid back on securely. If you don't wipe the nozzle, some glue buildup may occur. Also, if you replace the lid before the bottle has burped, there is a likely chance that the lid will get stuck to the nozzle!

How to Replace a Stuck Nozzle:
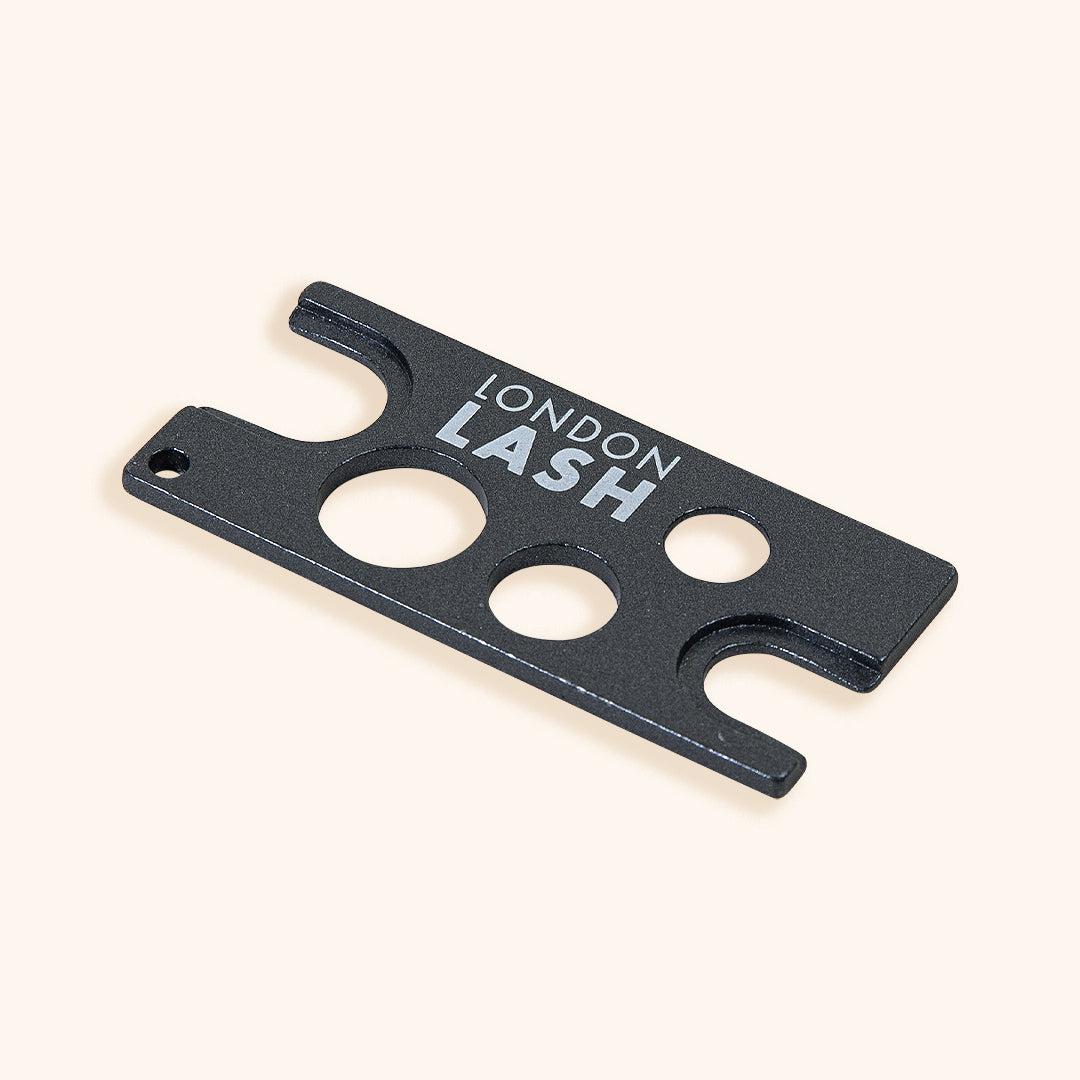
Despite your best efforts, nozzles can still become clogged. In such cases, replacing the nozzle (and sometimes the cap) is necessary. This is why we offer spare nozzle packs and glue rescue kits for these sticky situations! Removing a stuck nozzle requires care to avoid exposing the adhesive to moisture for an extended period, so using tools like a glue nozzle opener can make this process smoother and safer. Having a glue nozzle opener in your lash kit might not seem necessary at first, but when you need to replace a nozzle, it will become an essential!
To remove the nozzle, insert the appropriately sized opening of the nozzle opener under it and use a gentle levering motion. It's recommended to do this over a dry sink while wearing gloves, in case any glue spills out. Once the old nozzle is off, carefully insert the new one, making sure it clicks into place. Finally, tightly screw on the new lid, and voila!

Proper care and maintenance of your lash extension glue is crucial for delivering consistent, high-quality results. By proactively addressing and preventing any nozzle issues, you'll ensure that your adhesive remains in top condition from its first use, up until its last! Taking these steps seriously will not only save you time and frustration, but will also elevate the quality of your lash services, keeping your clients coming back for those flawless, fluffy lashes!