


A Complete Guide to Gel Nail Removal
A Complete Guide to Gel Nail Removal: The Do’s and Don'ts
As a skilled Nail Technician, you understand the importance of providing top-notch services to your clients, and part of that includes safe and effective gel nail removal. Gel nails have become increasingly popular due to their long-lasting and durable nature, but improper removal can lead to damage and weakened natural nails. It is also important to educate your clients on why home DIY gel nail removals are unsafe. Not only will you gain client retention by offering these services, but you will educate your clients and offer professional advice. In this blog, we will delve into the do's and don'ts of gel nail removal, equipping you with the knowledge to perform this process with care. Let's get started!
Understand the Gel Nail Structure
Before diving into the removal process, it's crucial to understand the structure of gel nails. Gel nail polish is a formula that needs to be cured under a UV or LED lamp for proper hardening. The same goes for thick rubber base coats or builder gel, however, this usually needs curing for longer as it requires more UV to penetrate the formula. Improper DIY home removal may be extremely difficult, needless to say damaging to your client’s nails as they may not know the ins-and-outs of the gel nail structure.

The Right Tools for Gel Nail Removal
To carry out a successful and professional gel nail removal, you should assemble the following tools:
Acetone: High-quality, pure acetone is essential for removing both soft and hard gel nails effectively.
Nail Files and Buffers: Use a gentle nail file and buffer to remove the shiny top layer of the gel.
Aluminum Foil: Cut the aluminum foil into small squares to wrap around the nails during the soaking process.
Cotton Balls or Pads: Saturate cotton balls or pads with acetone to apply on the nails.
Cuticle Oil: After the removal process, apply cuticle oil to nourish the nails and surrounding skin.
Step-by-Step Gel Nail Removal Process
- Prepare the Nails: Gently file the top layer of the gel to break the seal and allow acetone to penetrate effectively. Be cautious not to file too much, as it can damage the natural nail.
- Soak the Cotton Balls/Pads: Soak cotton balls or pads in acetone and place them on the nail surface.
- Wrap with Aluminum Foil: Secure the acetone-soaked cotton balls or pads on each nail by wrapping aluminum foil around them. This wrapping technique ensures the acetone stays in contact with the gel and aids in the removal process.
- Wait Patiently: Allow the wrapped nails to sit for about 15-20 minutes to let the acetone dissolve the gel.
- Gently Remove Gel: After the soaking time, gently remove the softened gel using a cuticle pusher or an orangewood stick. Avoid using metal tools, as they can scrape the natural nails.
- Buff the Residue: If there's any remaining gel residue, use a buffer to lightly remove it. Again, be gentle to avoid damaging the natural nails.
- Clean and Hydrate: Thoroughly cleanse the nails and apply cuticle oil to rehydrate and nourish the nail bed.

Don'ts of Gel Nail Removal
Don'ts:
Don’t force it! One thing you should NEVER do when removing gel nails is pry or force gel off the nail. This can cause significant damage and weaken the natural nail as well as being extremely painful for your client! If it doesn’t budge, then simply soak it for a few minutes longer until it comes off with ease.
Don't rush! Gel nail removal requires patience. Rushing the process may lead to incomplete removal and potential nail damage. Even when it feels like it’s taking a long time, keep going, as it will break down eventually.
Don't over-file! Over-filing can lead to the thinning of the natural nails, making them more prone to breakage. It can also make your client’s nails extremely sensitive which will lead to discomfort throughout the treatment. If you know this feeling, you know how awful it is! Whilst extremely rare, it’s essential to know that it is possible to go through the natural nail onto the nail bed if you file too much - so always be careful!
Do’s
Do use pure acetone! It’s crucial to stick to high-quality acetone-based removers as non-acetone nail polish removers are not effective for gel removal and can create the need for more buffing and filing which as we know can cause damage! Pure acetone will break the gel polish down quickly and easily without risking nail damage.
Do use aftercare: Always advise your clients on proper aftercare, such as applying cuticle oil regularly and keeping the nails moisturized. If your client is just having a removal, then you can apply hand cream and cuticle oil before they leave. However, if they have booked a new set of gel nails after the removal, make sure to leave the aftercare until the end of the treatment, otherwise, you may affect the adhesion and retention of the product.
Understanding the proper gel nail removal techniques is crucial for maintaining the health and integrity of your client's nails. Following the do’s’ and don'ts outlined in this guide will help you provide exceptional service while maintaining the integrity of the natural nails which will turn your clients into life-long regulars! Remember, patience, precision, and quality products are the keys to successful gel nail removal. If you need any more help with your gel removals, just pop us a message on @Miss_Dolla_Nails.
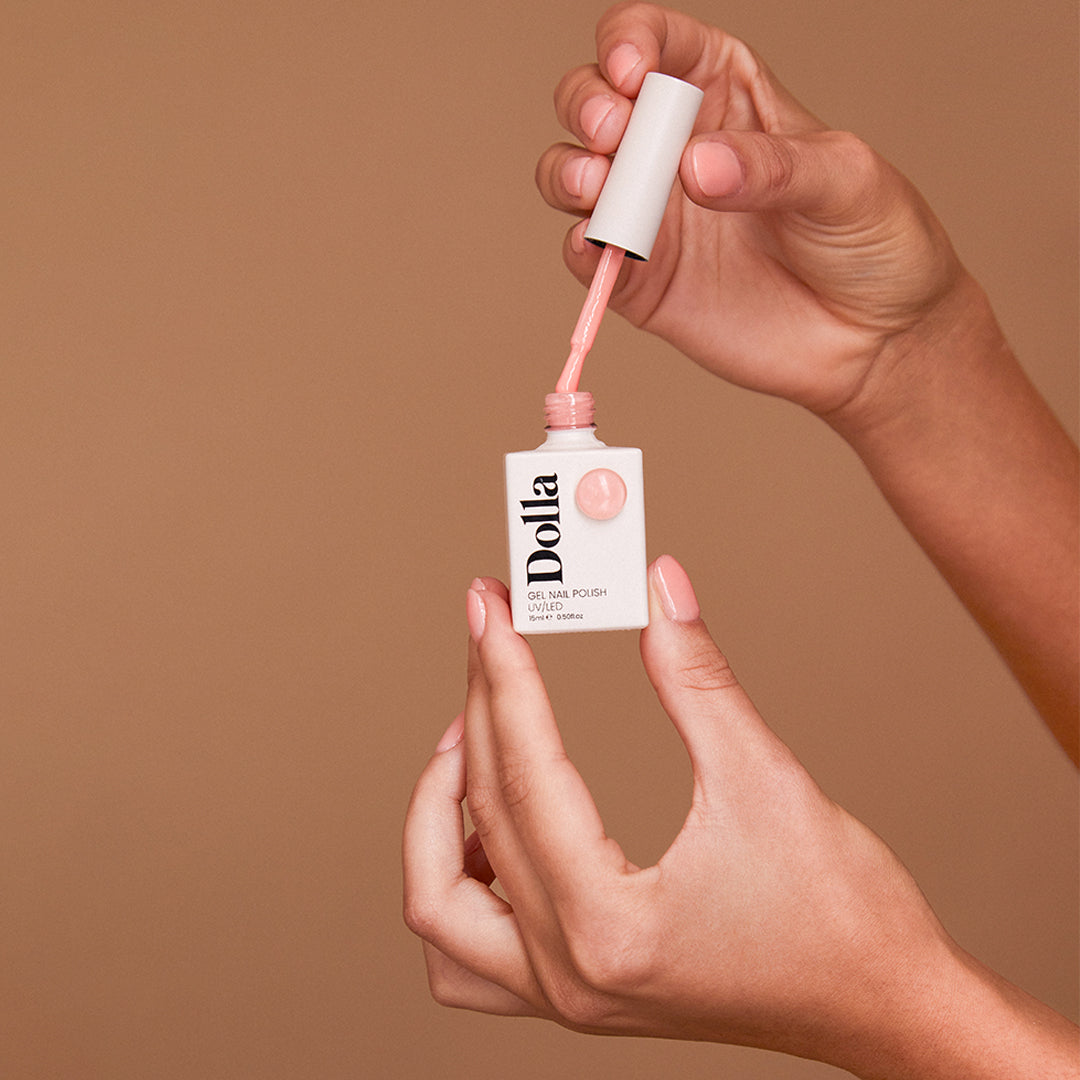
Check out these featured products


