New In
Glues & Liquids
Lashes
LASH LIFT
Dolla Nails Pro
Online Training
Save up to 57% off
Tips and Tricks for Getting the Absolute BEST Out Of Your Lash Glue!
November 04, 2022 5 min read

Tips and Tricks for Getting the Absolute BEST Out Of Your Lash Glue!
Eyelash extensions glue is fundamental to how well your lash sets turn out - the right glue can see your clients coming back to you for their fill appointment with just a few grown out lashes needing to be replaced, while the wrong glue will have your inbox full of upset clients with no lashes left after just a few days. Finding the right glue for you is only part of the battle - how you treat your glue in the salon can see any good glue go bad! Here are our top tips for making sure your glue can always be the best version of itself, so that your lash sets can truly be the best in the biz!
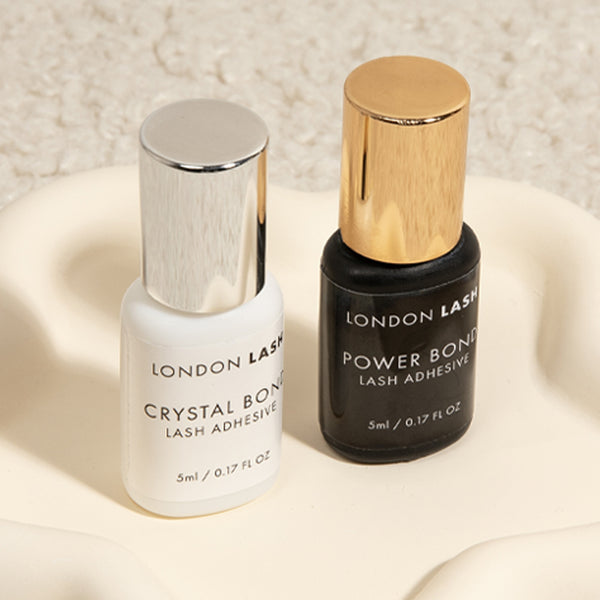
Store it Properly
Lash Extensions Glue is probably the most temperamental thing in any of our lash kits - it needs a specific temperature range, only likes humidity on its own terms, and god forbid you don’t shake it for quite long enough! With all that aside, how you store your glue has a big impact on how well it performs.
Glue should always be stored away from direct sunlight and sources of heat. You should also note though, that in keeping it away from heat, you should always keep it out of the refrigerator after opening - keeping your glue in the fridge will cause a build-up of condensation on the inside of the bottle which, as we know, will cause the glue to polymerize in the bottle - definitely not ideal!
While you don’t necessarily need to keep your glue in such specific conditions as you would use it in (ie. 40-60% humidity and a temperature between 64.4 and 71.6, generally speaking), you do still need to ensure that you are keeping it somewhere dry, and not too hot or cool. The best place you can keep glue is in an airtight container on your lash trolley or in a cupboard away from windows and air conditioning units.
Pro Tip: Add some uncooked rice to your airtight container to absorb any moisture that does get into the container - this will keep your glue super fresh for even longer! London Lash glue also comes with a little silica gel pouch to absorb any moisture that might try to get to the glue before it gets to you - throw this into your airtight container too for good measure!

Look After Your Nozzle
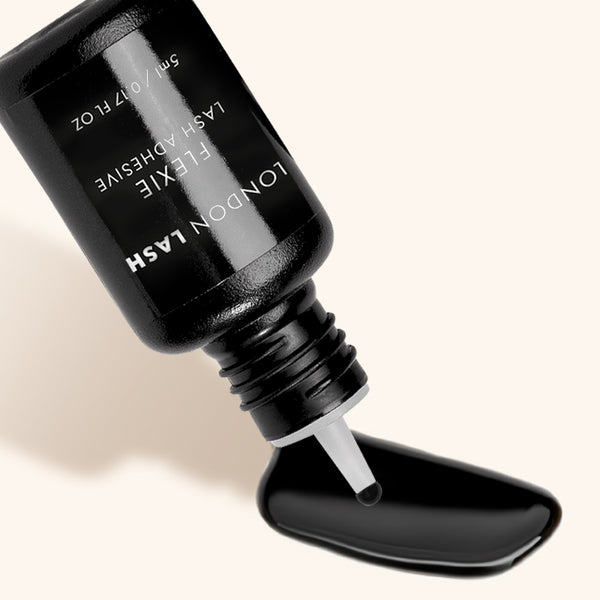
Your glue is only as good as the nozzle it comes out of. If that makes no sense, hear me out! Glue bottles are airtight by design - the nozzle fits perfectly into the lid and if you look closely, you’ll see a little nib on the inside of the glue lid which sits snugly inside the nozzle’s opening, keeping moisture out. If you let glue build up on the nozzle you’re basically stopping the bottle from closing properly which allows moisture to get in, ruining your glue between uses.
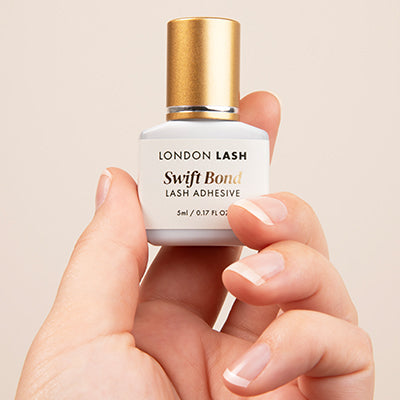
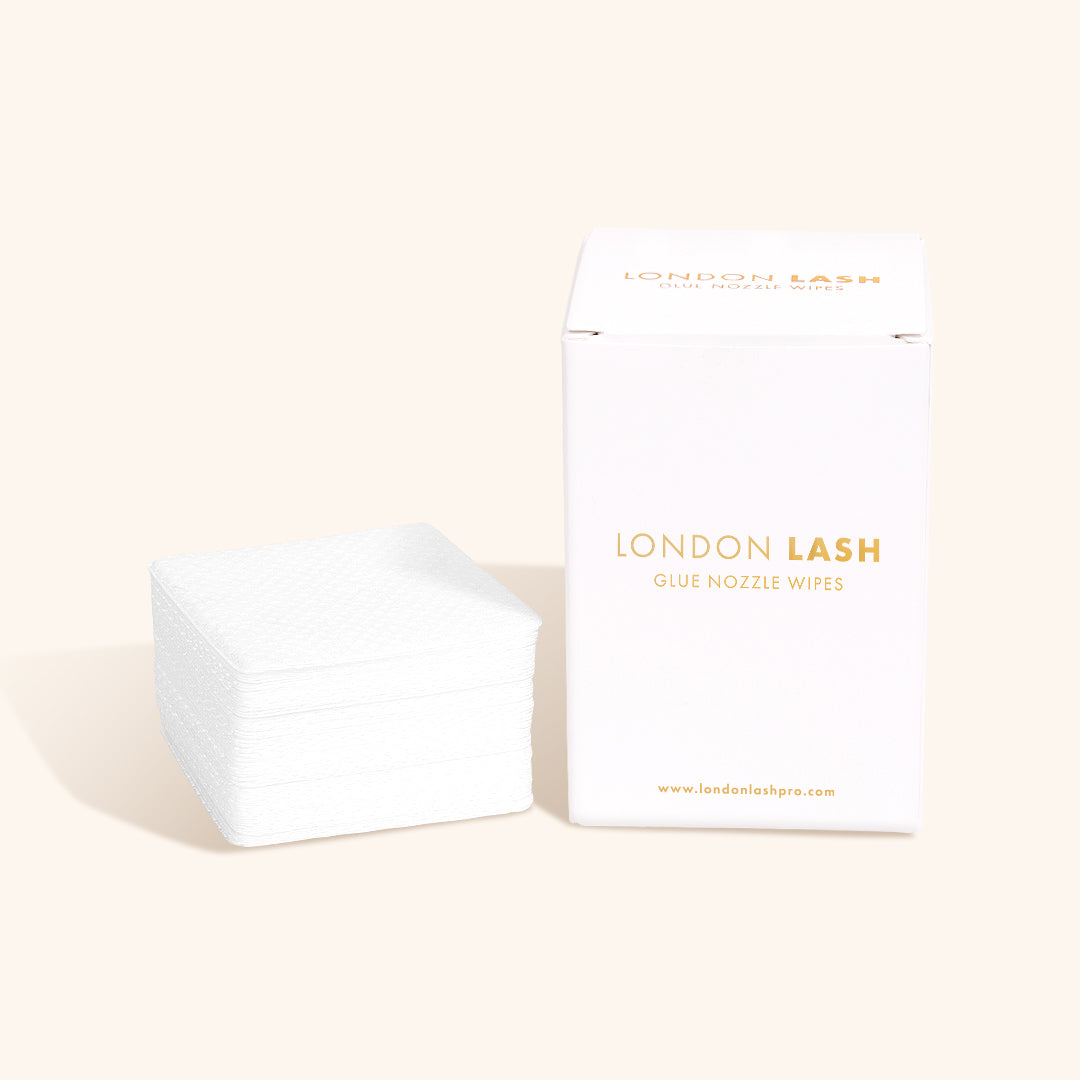
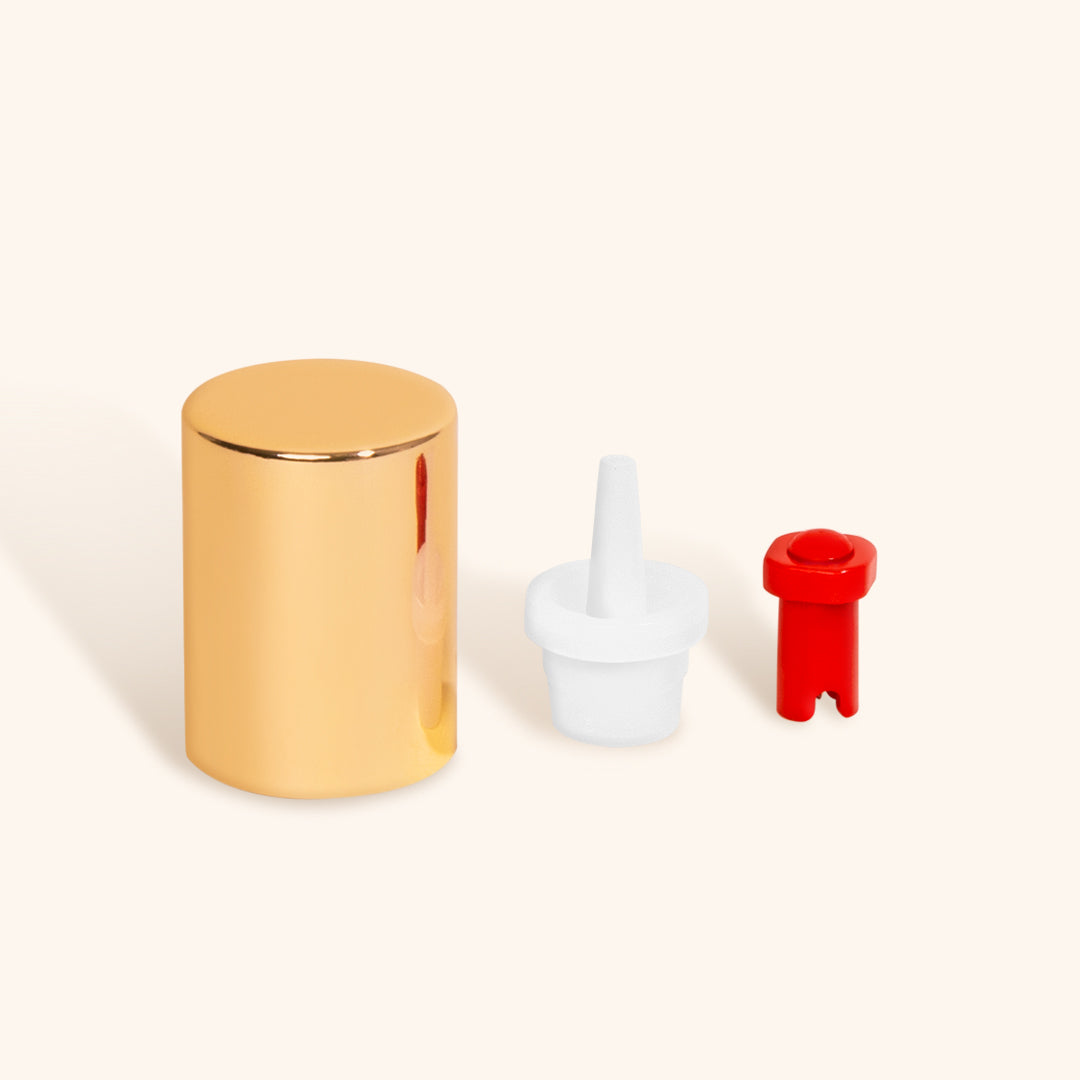
Every time you dispense your glue, make sure you are wiping the nozzle clean with a lint free wipe. We’re a little bit biased but our own lint free nozzle wipes are ideal for this - they don’t leave anything on the nozzle, keep it perfectly clean and you get 200 individual wipes in a pack. We also have a lash glue rescue kit for when your nozzle has been blocked beyond saving.
Pro Tip: Use one wipe multiple times during your lash sets to get even more use out of your wipes!

On A Similar Note…
If you’re always having to unblock your nozzle because there’s a glue build up inside it, you’re going to be making the nozzle wider than normal. When you unblock your nozzle, you also run the risk of causing your glue to polymerize inside the bottle, this is because polymerized glue polymerizes glue!
Pro Tip: When dispensing a new drop of glue, place it as far away from the old drop as possible as the older drop will affect how the new drop behaves!
Due to these factors, it’s better if you can keep glue out of the nozzle to begin with - prevention is better than cure etc., here are some of our top tips for keeping your nozzle fresh, clean and unblocked:
Don’t Squeeze!
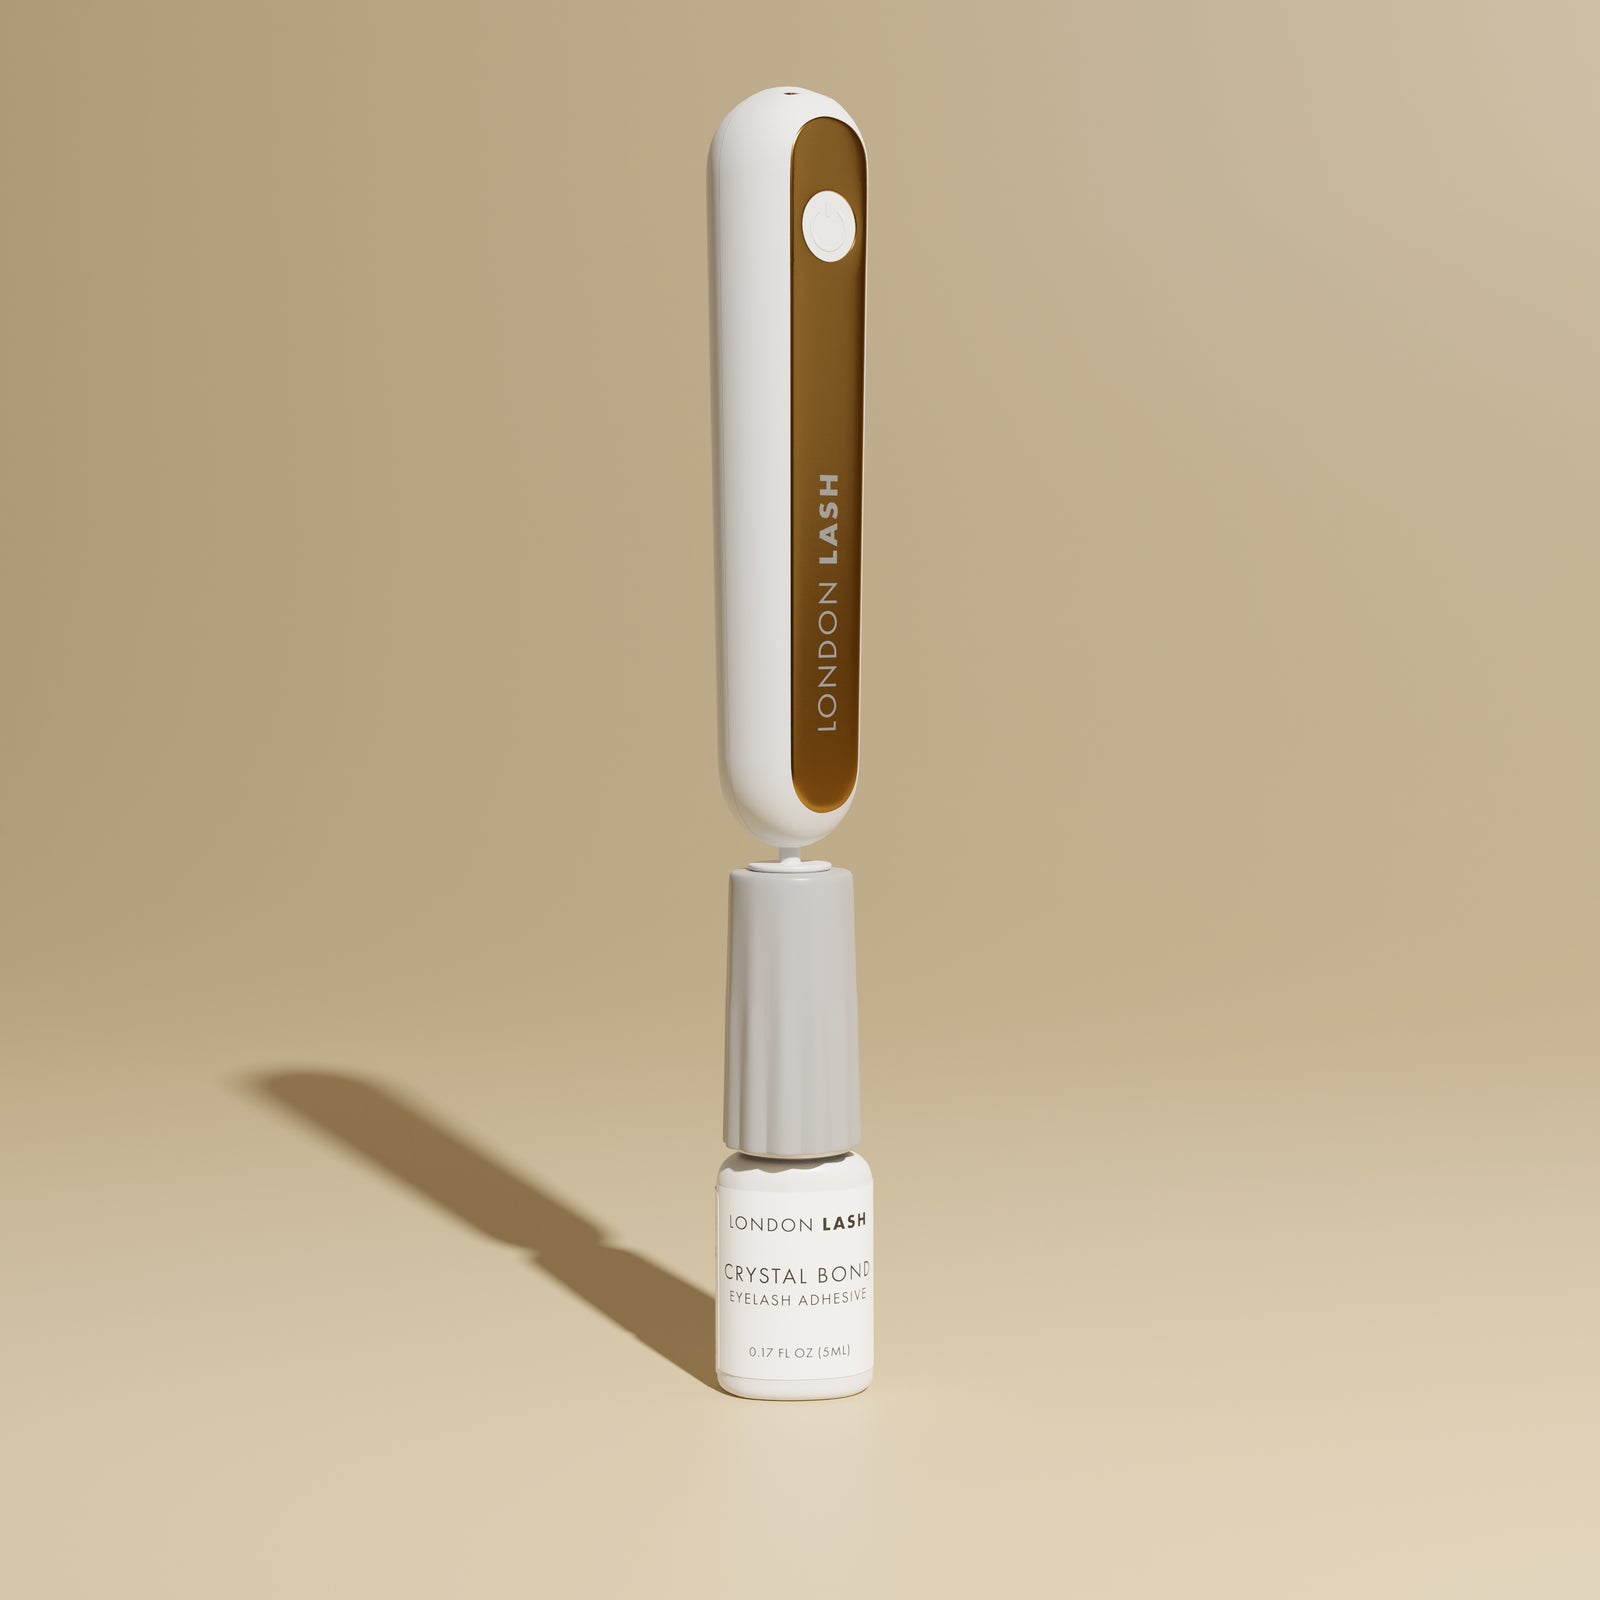
We know it’s tempting to squeeze the lash glue out of the bottle when we’re in a rush, but squeezing glue out means that you end up sucking air back into the bottle which takes moisture with it, polymerizing the glue inside the nozzle and potentially further inside the bottle too. To that end, it’s better to simply let gravity do the work. If you want to save time the better way to do it is to shave off a few seconds of glue shaking time by using a glue shaker, instead of shaking your lash extensions glue manually.
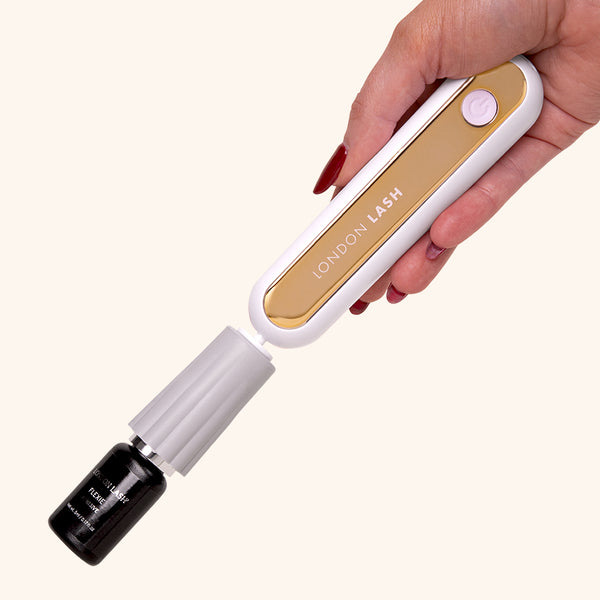
Burp the Bottle
Once you’ve dispensed your glue, it’s quite important that you not only clean the nozzle, but get anything left in the nozzle out. Before you replace the lid, just give the bottle a little tap on your trolley to help any air that’s in the nozzle come out - if you don’t help it out, it’s highly likely that the air will ‘burp’ out of the bottle into the lid, which will result in the lid becoming stuck to the nozzle. Once you’ve burped your glue, give the nozzle a wipe and then replace your lid nice and tight!
Stocking Up
One thing to remember is that you should never stock up on more glue than you can safely use within 3 months (this is especially important to remember when those big sales are running at the end of November…)
All of the lash extensions glues we stock have a shelf life of 6 months from the date of production (this is stamped on the bottom of the bottle and on the aluminum pouch too. Always check this when you get your new glue, and rotate your stock as necessary. While we receive a fresh batch of glue every month and will never send you a bottle that’s more than 2 months old, when it comes to glue, fresh is best!
Pro Tip: To ensure your lash extensions glue is always fresh, stick a piece of tape to the bottle with the date that you opened it written on it, and replace the bottle 4-6 weeks after opening – keep in mind that the more you use your glue, the more moisture it will be exposed to so if you're lashing all day every day, you should consider starting a new bottle sooner.
Check out these featured products
Subscribe
Sign up to get the latest on sales, new releases and more …

