FREE STANDARD SHIPPING FOR ORDERS OVER $99!
FREE STANDARD SHIPPING FOR ORDERS OVER $99!
New In
Glues & Liquids
Lashes
Ebooks

Ombre Nails: Endless Opportunities
July 19, 2023 4 min read
Ombre Nails: Endless Opportunities to Try
One of the longest-running trends in the nail industry is ombre nails and we can see why! There are so many different design options when it comes to ombre and they can be done in literally every color, with as many colors as you want! In this blog we’re going to look at some of our favorite ombre nail designs and how you can create them for your clients!
French Ombre Nails
As we know, French nails never go out of style, but now, it has received a contemporary twist with the introduction of French ombre nails. Instead of the traditional white tip, this style features a delicate ombre effect. This is the perfect style for someone who loves the look of ombre but wants something more subtle. This can be done with neutral colors to create an elegant look or bright colors which we see a lot in the summer months! To achieve this timeless look, use an ombre brush for nails to blend a pale pink or nude base with a white gel polish on the tip, creating a subtle yet sophisticated gradient.
Glitter Ombre Nails
For clients who crave a touch of sparkle, glitter ombre nails are the ultimate showstopper. Begin with a solid gel color base, then, using an ombre brush for nails, apply a layer of glitter gel polish from the tip of the nail, gradually fading it out as you move towards the cuticle. You can also blend it from the cuticle towards the free edge of the nail depending on what the client wants - see, endless opportunities! This technique creates a mesmerizing gradient effect that catches the light and adds a touch of glamor to any look.

Full Ombre Nails
The most known ombre nail look is a full ombre nail. Most will know this by the signature pink and white Ombre design which was a unique spin on a french tip. With a pink base starting at the cuticle, fading into white towards the free edge of the nail, you get this gorgeous melting french nail look… However, it doesn’t stop there! You can use literally any colors together to create an ombre nail! Of course, the closer in color the shades are to one another, the more seamless the blend will be, but contrasting colors can look equally as amazing! Some combos we love are ‘Tutti Cutie’ with ‘Desire’ for a gorgeous pink/purple ombre and ‘Kiss and Tell’ with ‘Deep Trouble’ for all the blues!

Our current favorite, and summer must-have are Tequila Sunrise nails! Inspired by the popular cocktail, tequila sunrise nails combine the gorgeous hues of a sunset perfectly capturing the drink's colors. Start with a bright orange or red gel polish as the base, then, using an ombre nail brush, blend into bright yellow. Not only is this color combination stunning but it is a fun choice for your client’s summer vacation nail set! Why not get someone in as a model and take some tequila sunrise nail pictures to pop on your Instagram page? This way potential clients know it’s something you can offer!
How to Achieve Ombre Nails
Now you know about the endless Ombre options, you’re probably wondering how to create them…
Ombre Nail Brush
To give yourself the best chance to get that seamless blend we’re all looking for, you need to be using an ombre brush for nails. A good ombre brush has dense bristles at the base with soft, sparse bristles at the top that allow you to create smooth and even gradients.

Ombre Nail Technique
Now you have your handy little brush, all you need to do is apply the colors that you are wanting to blend to the nail. Of course, they need to be roughly where you want them, so if you’re doing a red and black design starting with red at the cuticle, then apply red gel polish on the top half of the nail and black on the bottom half. All you have to do now is gently move the ombre brush back and forth over the meeting point of the two shades. You can do this as much as you like until you get the desired blend. It may take you a few attempts to get this right! It’s a very fine movement so don’t be frustrated if it doesn’t look perfect on your first go.
Ombre nails aren’t so scary after all! They look like they’re difficult to achieve but it’s actually really simple. Mastering your ombre technique unlocks a whole host of new designs, as there are truly so many different options. It’s a popular trend and one that will continue to be for a long time, so jump on the bandwagon and get some ombre nail content added to your portfolio!
Make sure to tag us in your ombre pics! We can’t wait to see your creations.
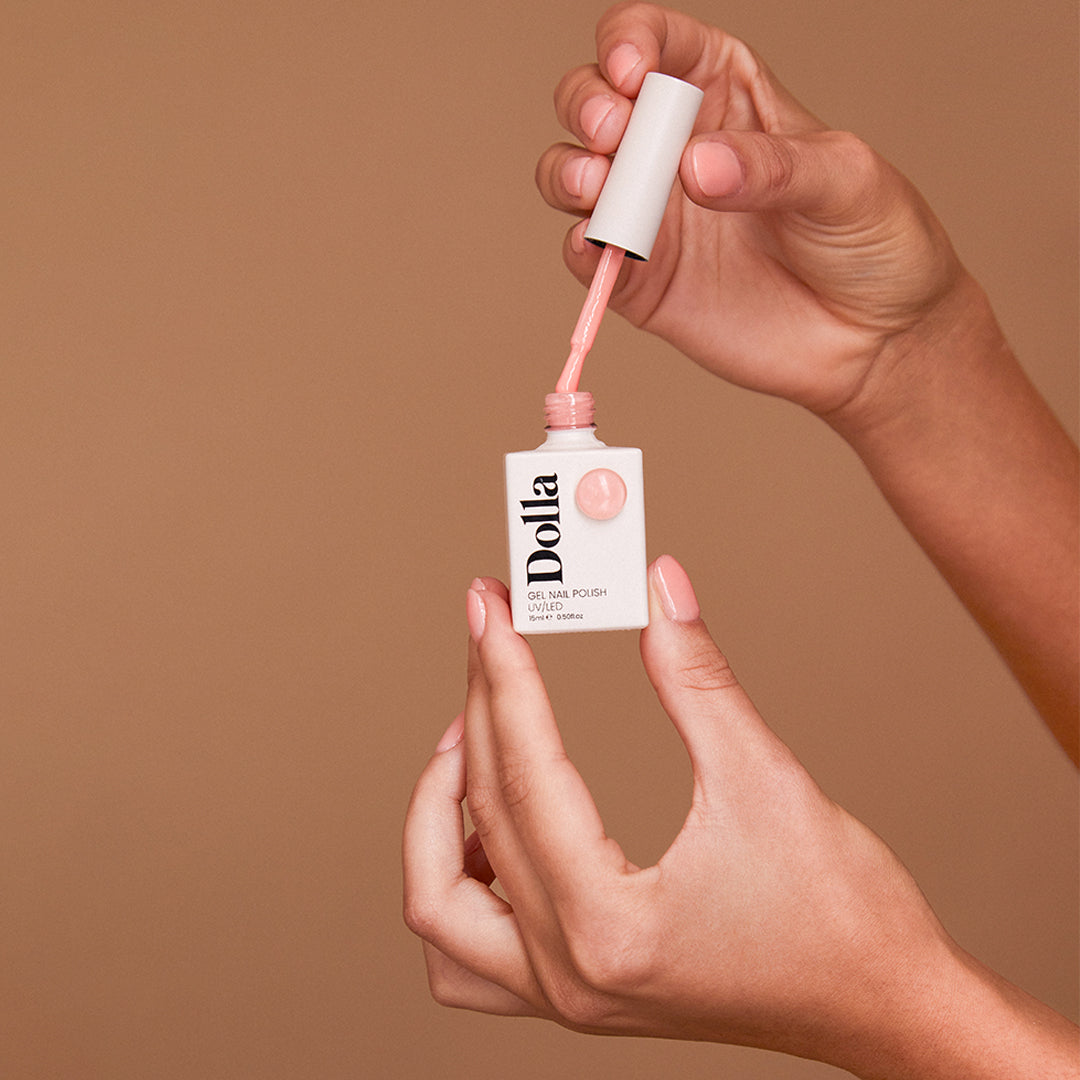
PS The beauty industry is ever-evolving, and as professionals, it’s crucial we keep ourselves updated. Gel nail polishes, renowned for their longevity and glossy finish, are a must-have in any nail salon. But with a plethora of brands available, which ones stand out in terms of quality, colour range, and application ease? We recommend you to try Miss Dolla gel polishes. A rising star in the nail industry, Miss Dolla offers an exquisite range of shades tailored for every occasion. What sets them apart is their commitment to quality, ensuring every bottle meets the high standards of professionals like you.
Check out these featured products
Subscribe
Sign up to get the latest on sales, new releases and more …


