FREE STANDARD SHIPPING FOR ORDERS OVER $99!
FREE STANDARD SHIPPING FOR ORDERS OVER $99!
Glues & Liquids
Lashes
Ebooks

6 Tips for a Longer-Lasting Gel Manicure
June 15, 2022 2 min read
Our Top 6 Tips for a Longer-Lasting Gel Manicure
If you love a long-lasting manicure but find that your nail polish chips or wears at the edges, gel nails are about to become your new obsession! Gel nails have actually been around since the 1980s. However, back then, they were trickier to use as it took some time for the formulas and UV lamps to work well together. This led to their decline in popularity for nearly a decade before they made a comeback as the beloved trend they are today. Nowadays, gel nails are super accessible, with UV lamps readily available on Amazon!
Even though gel nail polish has a different formula than regular polishes you find in stores, they look and are applied similarly. This can lead new users to treat them the same way as regular polish, which won’t give you the long-lasting results that make gel nails special. So, how can you make gel nails last longer? The secret lies mostly in the prep…

Tip 1: Cuticles
Pushing back the cuticles is crucial for longevity! If left alone, cuticles can, in fact, cause the gel polish to lift, tempting you to pick at it, which can damage your nails and ruin your or your client's manicure. You can buff or simply push back the cuticles and trim any excess to keep your nail beds neat, but be careful not to trim too much skin, as breaking the skin can be uncomfortable and can actually cause adverse reactions if nail polish gets into the wound.
Tip 2: Gently Buff the Nails
Use a fine grit nail file or buffer tool to gently buff the shiny layer on the nails. You’re not trying to thin the nails, just remove the shine and any leftover cuticle. This gives the base coat more surface area to adhere to, making it less likely to peel.

Tip 3: Apply Acetone or Nail Primer
After buffing the nails, cleanse them with a cotton pad soaked in acetone. This removes oils, dust, and dirt, ensuring the gel bonds well and finishes smoothly. Nail primer can be applied similarly to gel polish; just brush it onto the nails before starting your application to help with retention.
Tip 4: Apply Thinner Layers
Thick layers might seem like a good idea, but they are super counterproductive as the UV light needs to penetrate the entire layer of gel polish. Thick layers can prevent proper curing, leading to poor retention. Additionally, thick layers can cause ridges at the sides of your nails as the gel moves before curing. Thinner layers are better, but for lighter shades, you might need to apply a third coat.
Tip 5: Check the Instructions
Different brands have different formulas for UV gel polish, so check the curing times for yours as it can range from 15 seconds to 2 minutes. This ensures you don’t end up with under-cured polish!
Tip 6: Avoid Very Hot Water for a Few Hours
Heat and steam from hot water can cause lifting. Avoid it for a few hours after your manicure to keep your nails looking fresh for longer.
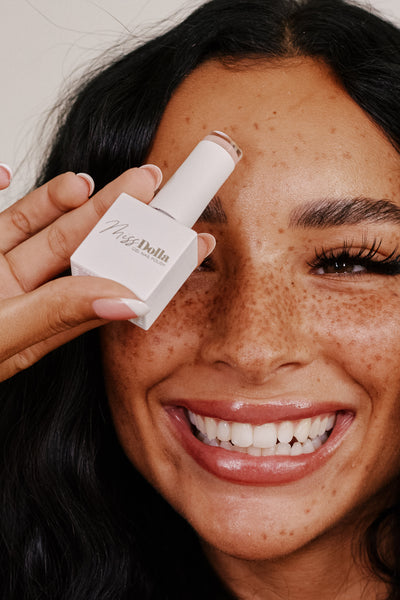
Explore the full Miss Dolla range of gel nail colors here!
Check out these featured products
Subscribe
Sign up to get the latest on sales, new releases and more …


