


How to Avoid Getting a Blocked Glue Nozzle, Fix Your Blocked Glue Nozzle, and Maximize Retention
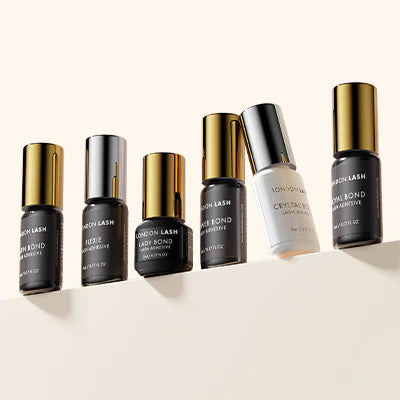
Lash Techs listen up! We know that your clients depend on you for luscious, long-lasting lashes and to achieve those stunning results, it all starts with the right lash glue. In this guide, we'll delve into the world of lash glue, sharing expert tips on how to maximize its performance and ensure your clients leave with their dream eyelashes. From the essential "shake well" mantra to must-have glue accessories, we've got you covered!
Shake Well for Success
When it comes to lash glue, the first rule of thumb is to ensure that it is shaken well before use. This simple yet crucial step assures that the adhesive components inside the bottle are thoroughly mixed, guaranteeing consistent and reliable results. A proper shake helps to prevent any separation of the adhesive, which could lead to poor results and bad retention.
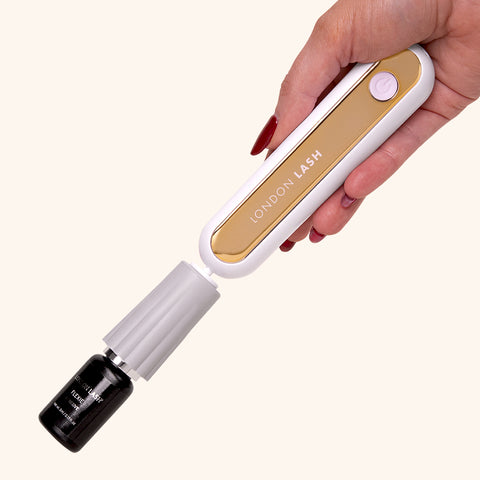
To make this process even more efficient, consider investing in a quality glue shaker. A glue shaker ensures that every drop of your lash glue is perfectly blended and ready for application. It saves you time and ensures that your lash adhesive is always in prime condition. Ditch the manual shaking as with just the press of a button, your lash glue shaker will have your glue ready in just 10-15 seconds!
Burp the Bottle
No, we're not talking about a baby here! "Burping" the lash glue bottle is a technique that can extend the life of your adhesive. Burping involves gently squeezing the bottle to release any excess air trapped inside before closing it tightly. This prevents air bubbles from forming in the glue, which can negatively impact the adhesive’s properties.
Burping your bottle correctly also helps to maintain the freshness of your lash glue, ensuring it remains at its peak performance throughout its lifespan. Incorporate this quick and easy step into your routine, and you'll definitely notice the difference in the consistency and longevity of your clients' lash extensions.

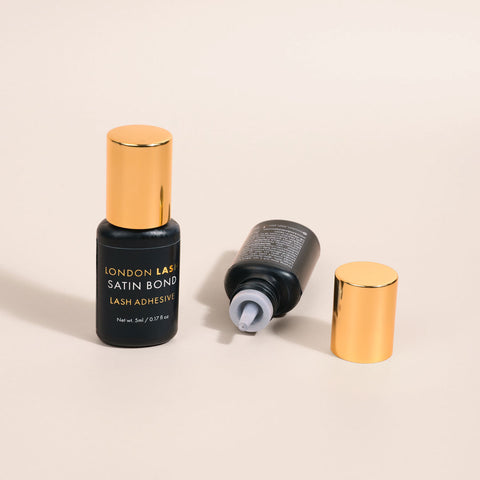
Wipe the Glue Nozzle
In addition to routine cleaning and maintenance, it's essential that you wipe your glue nozzle with every use. Although a small step, it’s important to make wiping your glue nozzle a standard practice after, and even before, each lash application. Giving the nozzle a quick clean with a lint-free wipe helps remove any adhesive residue that may accumulate on the nozzle's exterior. This simple step not only prevents buildup that can lead to blockages but also ensures that your lash glue dispenses consistently and precisely, resulting in impeccable lash application. So, remember to take a mental note to wipe your glue nozzle, pre and post-application, for consistently outstanding results!
Store Your Lash Glue Properly
The way you store your lash glue can significantly affect its shelf life and overall quality. Here are some storage tips to keep in mind:
Store it in a cool, dry place: Lash glue is sensitive to temperature and humidity. Avoid storing it in excessively hot or humid areas, as this can cause the adhesive to degrade. It’s even as simple as not storing your lash glue near a radiator in your lash studio - it’s an easy mistake to make!
Seal it tightly: Always ensure that the bottle is tightly sealed to prevent any air from getting in.
Store upright: Storing the glue bottle upright helps to prevent leakage, avoid the glue nozzle getting blocked, and maintains the consistency of the adhesive.
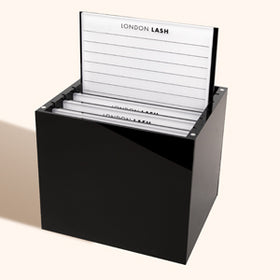
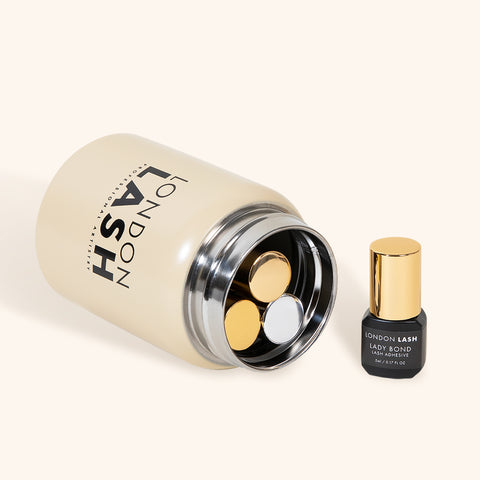
Store it in an airtight container:If you’re unsure of how to store your lash glue, this is the number one solution! A humidity-controlling airtight container will help prolong the lifespan of your lash glues as it will protect them from being exposed to moisture in the air. This is a simple way to keep your glue fresh, allowing it to perform at its optimum condition for longer.
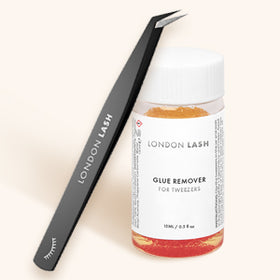
What to do When Your Adhesive is Blocked
While working with lash glue, you may encounter the frustrating issue of a blocked nozzle. A blocked nozzle can disrupt your workflow and could even compromise your future appointments! Here's how to troubleshoot and resolve this common problem:
Identify the Blockage:
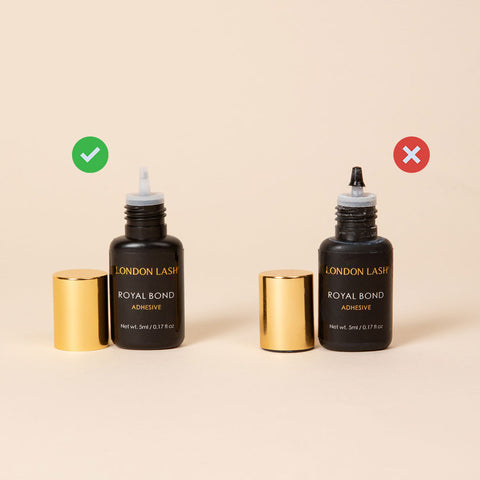
Start by recognizing the signs of a blocked nozzle. If you notice that the adhesive is not flowing smoothly, comes out unevenly, or seems thicker than usual, it's likely that the nozzle is partially or completely blocked.
Fix The Issue Immediately:
When you suspect a blocked nozzle, immediately stop using the adhesive to prevent any mishaps during lash application. If you’ve got a spare lash glue to hand, then happy days! But, if you haven’t, then it's essential to address the issue before continuing with your client’s lash set.
Remove the Nozzle:
Carefully remove the nozzle from the lash glue bottle. Gently twist or pull the nozzle off the bottle while being cautious not to spill any adhesive.
Can’t Remove the Nozzle?
If you’re struggling to remove your glue nozzle, then we’ve got just the thing! Introducing… our BRAND NEW Glue Nozzle Opener! Despite its small size, it really does pack a punch and is a lash-saver when you cannot open your adhesive. Think of it like a tiny jar opener because that’s essentially what it is! If you ever get stuck trying to de-clog or replace your glue nozzle, this must-have accessory will truly give you that helping hand you need when it’s really stuck on there!

Clean the Nozzle:
To clear the blockage, if you don’t have any spare nozzles to hand, you could use a fine, soft needle or pin to carefully dislodge any debris or dried glue from the nozzle's opening. However, this is not the most efficient thing to do, as you must be gentle to avoid damaging the nozzle or enlarging the opening, which could lead to excess glue flow. To avoid this entirely, it’s best to completely replace the glue nozzle if you have a spare. It’s always handy to have spare glue nozzles and a glue rescue kit, as even if they’re stored on your lash trolley for months on end, you know you have them in the chance there might be a terrible glue mishap.
How to Replace the Nozzle
After cleaning the nozzle, reattach it to the lash glue bottle securely. Make sure it's properly aligned and tightened to prevent leakage. Before resuming your lash application, perform a test to ensure that the adhesive flows smoothly and evenly from the nozzle.

With your expertise, our advice, and using the right lash glue for you, lashing will be a breeze! Remember the key points: shake well, burp the bottle, store your lash glue properly, and regularly wipe the nozzle. By following these steps, you'll ensure that your clients leave with the best possible lashes, and your reputation as a skilled Lash Technician will continue to flourish. So, go ahead, transform those lashes, and make every lash set count!