


A Complete Guide on Classic Lashes | Which Products to Pick for Classic Lash Sets
Creating the perfect set of Classic lashes is both an art and a science. Whether you're new to lash extensions or already an experienced Technician, understanding the basics and fine-tuning your technique is crucial for achieving stunning results. In this guide, we’ll walk you through everything you need to know, from selecting the right lashes to ensuring a flawless application. Let’s dive in and explore the steps to create beautiful, Classic lash sets that will leave your clients looking and feeling fabulous!

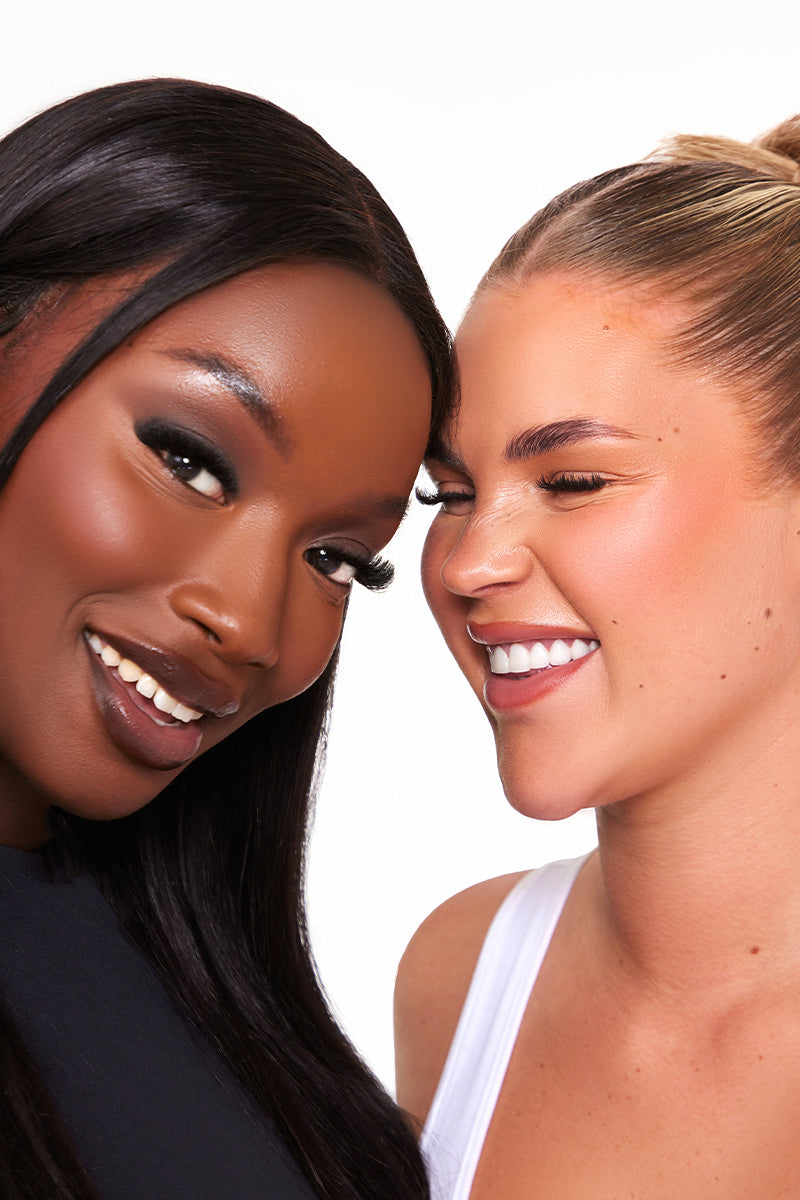
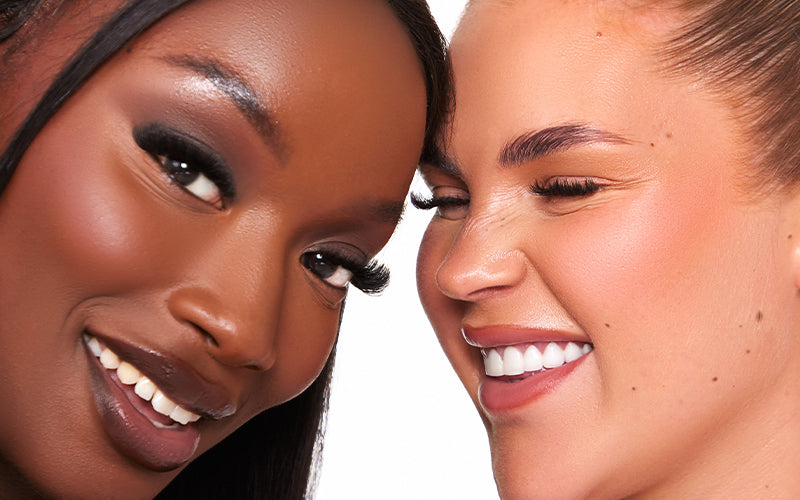
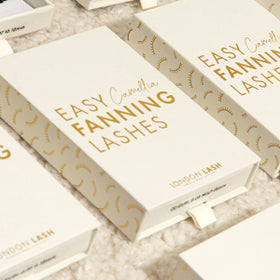
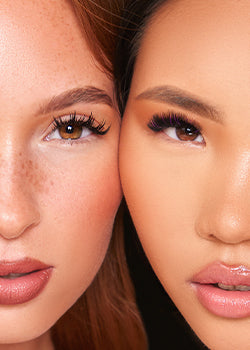
Let's Get Started with the Basics! First things first - which Classic lashes are you going to use? You’ll start with a consultation with your client to figure out their desired look. Are they aiming for a natural appearance? A mascara-like effect? Or something a bit more dramatic? Whatever the goal, we’ve got you covered!
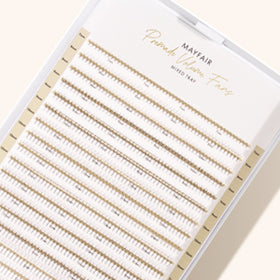
Choosing Your Lashes:
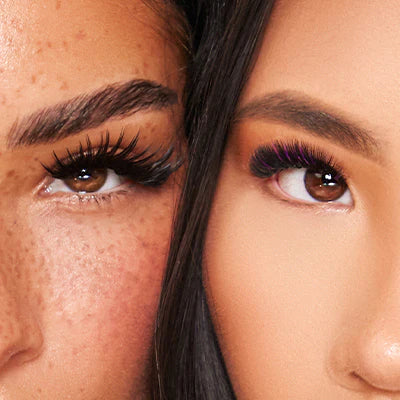
Mayfair lashes offer a glossier, bolder, and darker look, while Chelsea lashes provide a more subtle effect.

Deciding on Thickness:
- 0.12 Lashes: These provide a beautifully natural finish, subtly enhancing your client’s eyes and making people look twice.
- 0.15 Lashes: Perfect for achieving a mascara effect.
- 0.20 and 0.25 Lashes: Ideal for a dramatic effect. If you want dramatic but lightweight, try our Flat lashes. They come in thicknesses up to 0.25 but weigh only half as much as a regular Classic lash of the same thickness. All the drama, none of the damage - what could be better?

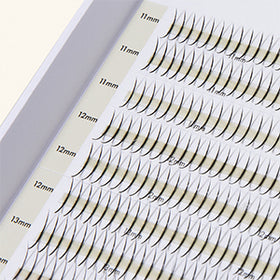
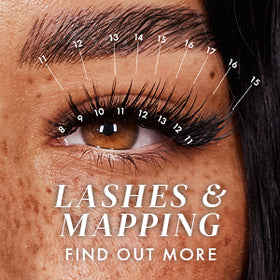
Choosing the Length:
The lash extensions you select should be no more than 3mm longer than your client’s natural lashes. If their natural lashes are already quite long, you don’t need to go longer. Remember, the goal is to enhance their eyes, not just to add length.
Selecting the Curl:
Consider the look your client is going for:
- Natural Look: B or C curls are perfect.
- More Lift and Drama: Opt for CC or D curls.
Additionally, you also need to take into account the natural growth pattern of your client’s lashes.

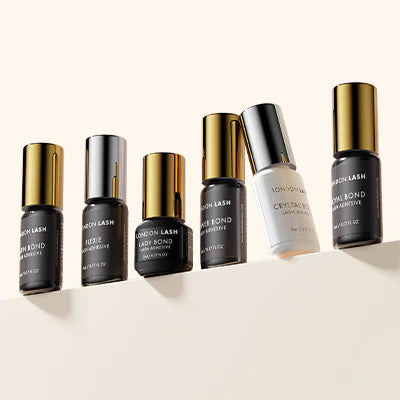
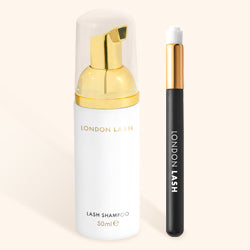
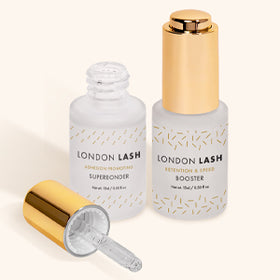
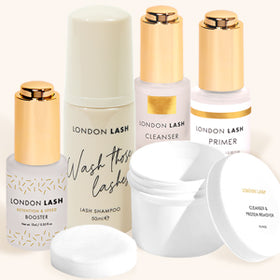
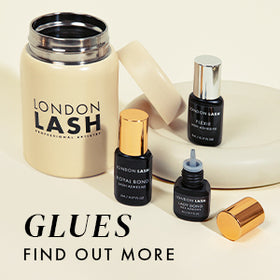
Pretreatment - An Essential Step:
This crucial step is often overlooked or not done properly! We recommend using Lash Shampoo, Protein Removing Pads, Cleanser, Primer, and Booster to prepare the lashes perfectly for lash extensions. For a detailed guide, check out our blog post on mastering pretreatment!

Lash Application Tips:
When applying lashes, we suggest applying 5 lashes on one eye first (spreading them evenly across the lash line) before moving to the other eye to do the same. This approach ensures:
- Symmetry in your work
- Reduced risk of stickies
- If the client has to leave unexpectedly or you run out of time, they’ll still have a symmetrical and even set
- Less risk of chemical burn, as prolonged work on one eye can expose the client to more fumes, potentially causing watery eyes, stinging, or chemical burn (if their eyes aren’t completely closed).
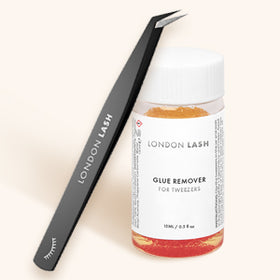
Always set aside 10-15 minutes per eye at the end of your session to check for stickies! Go through each lash one by one with your lash tweezers to make sure it’s not stuck to any other lashes. Stickies can cause discomfort for your client and even damage their natural lashes, which we definitely want to avoid!
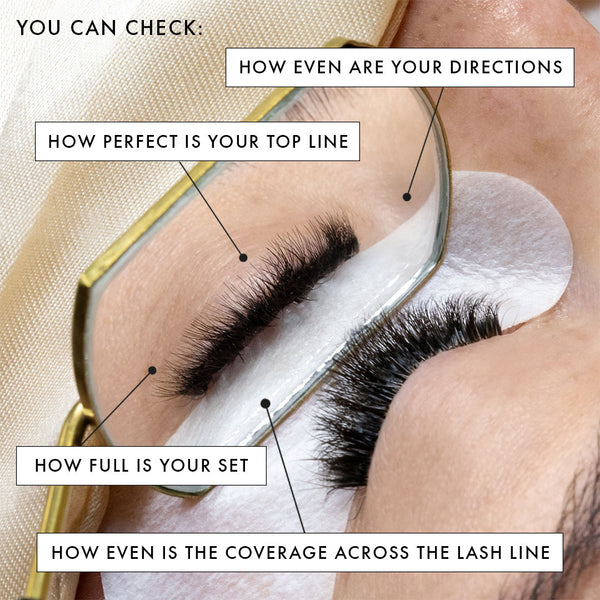
During the application, use a lash mirror to check the lashes from underneath. This helps you ensure there are no gaps and that your work is symmetrical, giving you confidence that you’ve created an incredible set before your client even opens their eyes!
Mastering the art of Classic lash application takes practice and attention to detail, but with the right techniques and tools, you can create stunning results every time. By carefully selecting the right lashes, lengths, and curls, and ensuring a thorough pretreatment and application process, you'll enhance your clients' natural beauty while providing a comfortable experience. With these tips, you’re well on your way to becoming a lash expert!
Post prepared by London Lash Expert, Laura Brown