


Eyelash Extensions Removal Tips and Tricks - How to Remove a Fresh Full Set of Lashes
As much as we can’t imagine ever wanting to remove our lashes, the fact of the matter is that sometimes they just have to go!
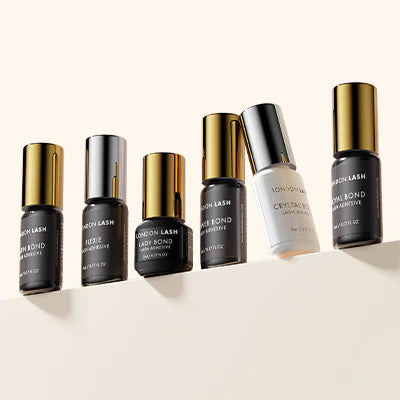
Sometimes though, you might have a bit of trouble with a removal, or maybe you’re not sure which remover to pick out of the two options we currently offer - lucky for you, we’re here to help guide you through something which can actually be kind of stressful!
If you’d like a little more information on how to actually go about a removal, check out this blog post which goes into a bit more detail about the removers themselves as well as gives you a little step by step guide to lash removal.
Use an Eyelash Remover
Removing an older lash set is easy as pie - the glue is older and less willing to stick around when it’s asked to leave - for a removal of an older lash set, just apply your eyepatches as normal and apply the remover to the glue bonds with a microbrush, then leave it to work its magic!

If you need to remove a newer set though, you may be about to face more of a challenge than you first anticipated - this is coming from my direct experience from a recent removal, where I confidently assured a girl that ‘the remover gets to work in like, 20 minutes’ only to still be removing her fresh lashes 2.5 hours later.
So what did I learn from the set that took 2.5 hours to remove? Well…
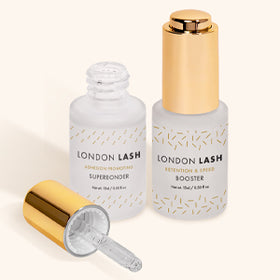
I still used cream remover and I’d recommend that you do too. It stays exactly where you put it and being as there were so many lashes and having to sit there for so long, had I used gel it would have definitely gotten into my client’s eyes and caused some discomfort, to say the least!
Work In Layers
One thing I highly recommend though is to work in layers. When you have lots of lashes to remove, the likelihood is that you’ll apply a bunch of remover only to realize it’s only worked on the top layer. What you’re going to do in this case is apply your eyepatches as normal, and then take some tape and tape back the top layer or two of lashes. Then just apply your remover to that layer and let it sit. Keep doing that until they’re all off.
Use 2 Pairs of Tweezers
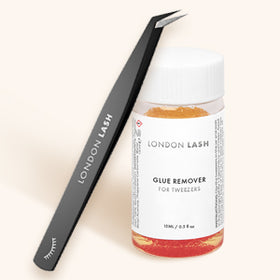
Something else I found super helpful (and this is something I tend to do anyway, but which really helped me out this time) was using two pairs of tweezers for the removal rather than microbrushes or lip applicators etc. With the tweezers, I was able to really get close to the glue bonds and interfere with them, giving them a little tug or just poking at them (gently, of course!) until I saw movement. There was a lot of very patiently pushing and pulling at lashes until there was some movement, and then quietly celebrating when they came off of the natural lashes!
Clean Up!
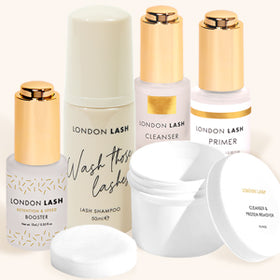
When I had finally removed all of the lashes, it was time to clean up. Of course after so much time, the remover being present and all the pushing and pulling of the lashes, my client’s eyes had watered a little bit, which meant there was some stubborn residue around the bases of the lashes which had shock polymerized. I removed the eyepatches and grabbed two Protein Remover Pads so that I could clean up the lashes and see what I was working with.

Once the lashes were clean, I was able to see the leftover residue, and this is where it came in supre handy having some gel remover around! I’d not usually use gel remover for a full set but if you need to remove one lash or residue, it will be your very best friend - it’s fast and controllable! I squeezed some out onto my lash palette and used some lip applicator wands to apply the gel remover to the residue, then used my tweezers to slide it off. I finished up with some more protein remover pads before giving her eyes a gentle and relaxing cleanse with some foam cleanser!

One last thing I should mention - and this is a top tip when it comes to customer service and making your clients feel cared for - is that all through the set I was honest about what was going on (the lashes aren’t moving, but I’m just going to apply some more remover and let you sit for a bit longer!) I also made sure to check with her every so often to make sure she was comfortable and wasn’t experiencing any stinging. The whole experience wasn’t exactly fun, but in being honest with her, it meant that she knew what to expect, and meant that she knew she could tell me if she needed anything or if she was uncomfortable.
So, the moral of the story is not to panic! Sometimes things don’t go exactly to plan, but so long as you’re working safely and keeping your client’s safety in mind, you’re never going to have a problem!