


Eyelash Extensions Pretreatment Routine: Bare Minimum vs Ultimate Process
By now, we're all aware of the critical role that proper lash pretreatment plays in ensuring the longevity of eyelash extensions. So, we'll skip the detailed 'why' for now (but if you're curious, check out this blog post for a brief overview).
Navigating through the plethora of pretreatment products and routines available can be overwhelming, especially for those new to the whole process. Then, when you do find a routine that you’d like to follow, it may be a bit pricey if you're just starting out.
To assist you in this journey, we've put together two guides - one covering the bare essential steps, and the other detailing a more extensive pretreatment process. With these, you won't have to compromise between cost-effectiveness and maintaining a stellar reputation - you can achieve both!

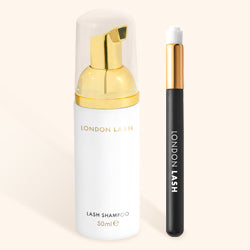
The Bare Minimum: The Single-Product Strategy
Operating on a tight budget? A foaming cleanser can serve as a basic, yet effective, single-step pretreatment option. It's capable of removing makeup, dirt, and oils from the lashes and surrounding skin. However, it's important to note that this method is definitely not as thorough as a five-step routine. You also need to ensure that all foam residue is thoroughly rinsed off, as any leftover product can hinder the adhesive's ability to bond with the natural lashes.
To use, apply a pump of foam onto your client's lashes and gently massage it into the lash line and surrounding skin using a lash cleansing brush. Afterward, rinse with saline solution and pat dry with a tissue before proceeding to apply the eyepatches, carrying on with your eyelash application.
Product Cost: $19.00 USD
Time Spent: 3 Minutes

The Absolute Essentials: 3-Step Method
Every lash application should start with a thorough cleansing of the eye area and lashes - this ensures that both the eyepatches and, of course, the eyelash extensions stay in place.
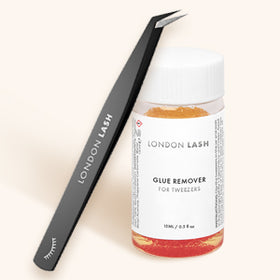
Begin with Protein Remover Pads to gently cleanse the skin around the eyes and the lashes. For a deeper clean, use two micro brushes and push them into the protein pads to pick up some product, and apply directly along the lash line, removing hidden dirt. Seriously, you won’t believe how much dirt is still hidden there!
If you're doing infills rather than a full set, be cautious around the glue bonds to avoid fibers from the pads getting stuck to them. To avoid this, wrap the protein pad around your fingertip and wipe around the eyes. You can also dab around the bonds or use micro brushes again for a closer clean without the risk of fibers getting caught in the bonds.

Next, you’re going to use a Cleanser with two micro brushes. Apply a drop of cleanser to the brushes, dab off the excess with a tissue, and then gently brush through the lashes,sandwiching the lashes between your two micro brushes. Whilst brushing from root to tip,focus on the lower two millimeters - the critical zone for glue bonding. This step can be taken with a fresh set or an infill, it’s a crucial one!
Since the Cleanser is alcohol-based and can dry out the lashes as it’s breaking down all of the oils that can affect retention, we recommend following up with a Primer to reintroduce moisture.
This step is crucial for optimal glue curing as adding moisture back into the lashes ensures that your lash glue doesn’t take too long to cure, as it’s moisture that causes the adhesive to cure. If you skip Primer, you’ll probably find that your glue will start misbehaving, even if your room conditions are spot on.
Apply the Primer with clean micro brushes, from root to tip, using the same technique as you did with the Cleanser.
Now, the lashes are prepped and ready to be lashed!
Product Cost: $61.00 USD
Time Spent: 10 Minutes

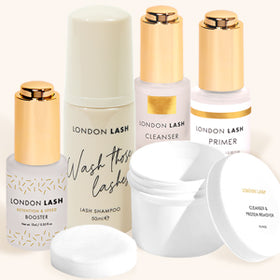
The Ultimate: 5-Step Eyelash Extensions Pretreatment Routine
If you’re looking to elevate your pretreatment routine even further, combine the above methods and add a fifth and final step.
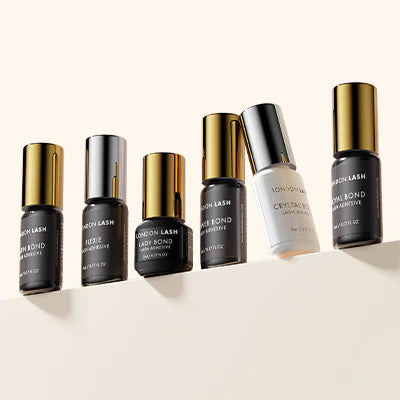
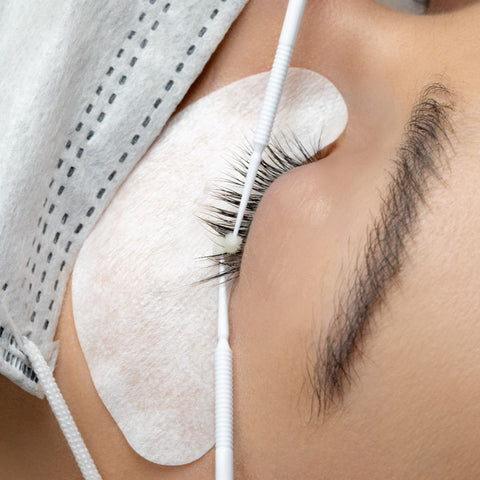
Start with Lash Shampoo, cleansing the lashes with a Lash Cleansing Brush, making sure to rinse with a saline solution and pat dry. This is followed by Protein Remover Pads for a thorough cleanse to ensure that any remaining remnants of makeup are removed. Then, apply Cleanser and Primer using the two micro-brush technique.

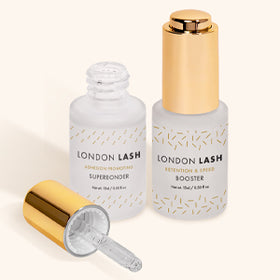
The final step involves Booster, a product that enhances lash retention by opening the hair cuticle, providing more surface area for the glue to adhere to. This is achieved through its slightly alkaline pH level.
Apply a drop of Booster in the same manner as the Cleanser and Primer, with your two microbrushes. With this approach, the lashes are impeccably clean and are more prepared for lash extensions than they ever have been before!
A word of caution: the Booster isn't for beginners - it can accelerate the glue's drying time, so be prepared for that. If unsure, maybe try a sample of the Booster first before investing in a full-sized bottle.
Product Cost: $116.00 USD
Time Spent: 15 Minutes

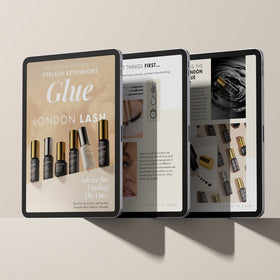
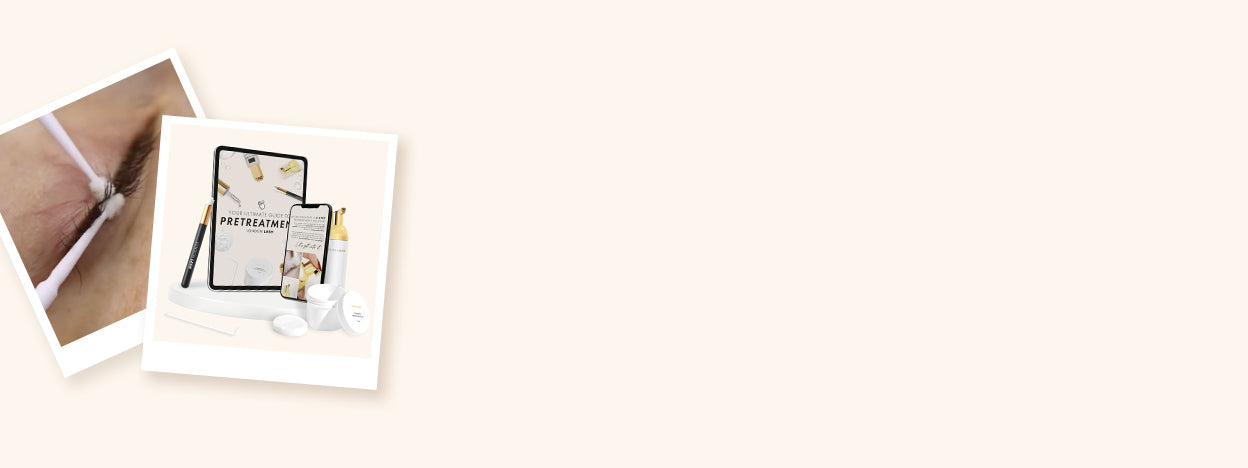
Regardless of the pretreatment method you choose, be sure to never skip it, and always be thorough. Remember, great lash retention leads to client retention. If you want to learn more about the benefits of pretreatment with a comprehensive product deep dive, sign up to our newsletter to receive your FREE Pretreatment eBook!